This is a basic white bread that rises high and fluffy, yet is not so fluffy that it falls apart under a sandwich. It fits in an 8 ½ by 4 ½ inch loaf pan and can be made with or without a bread machine.
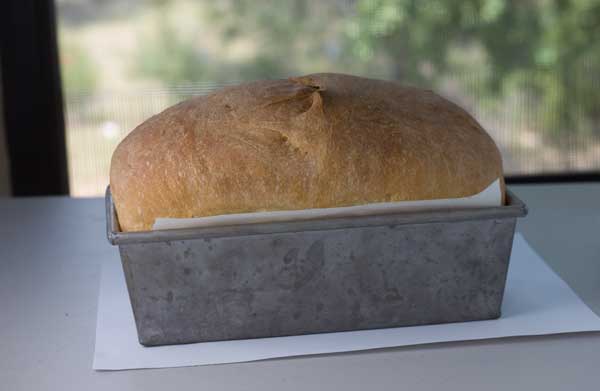
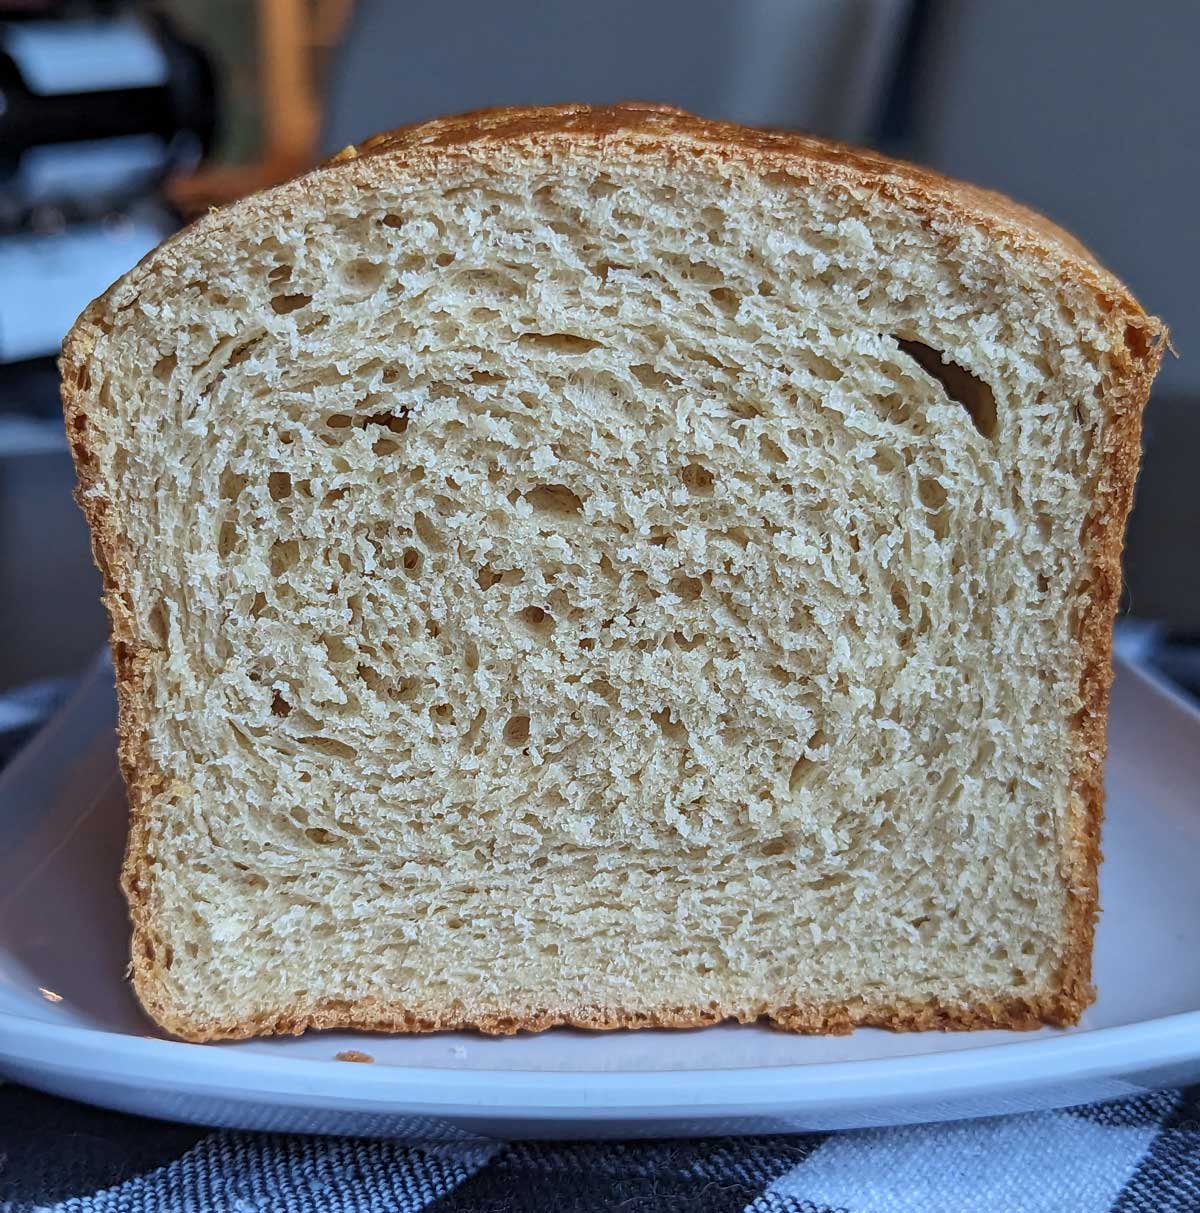
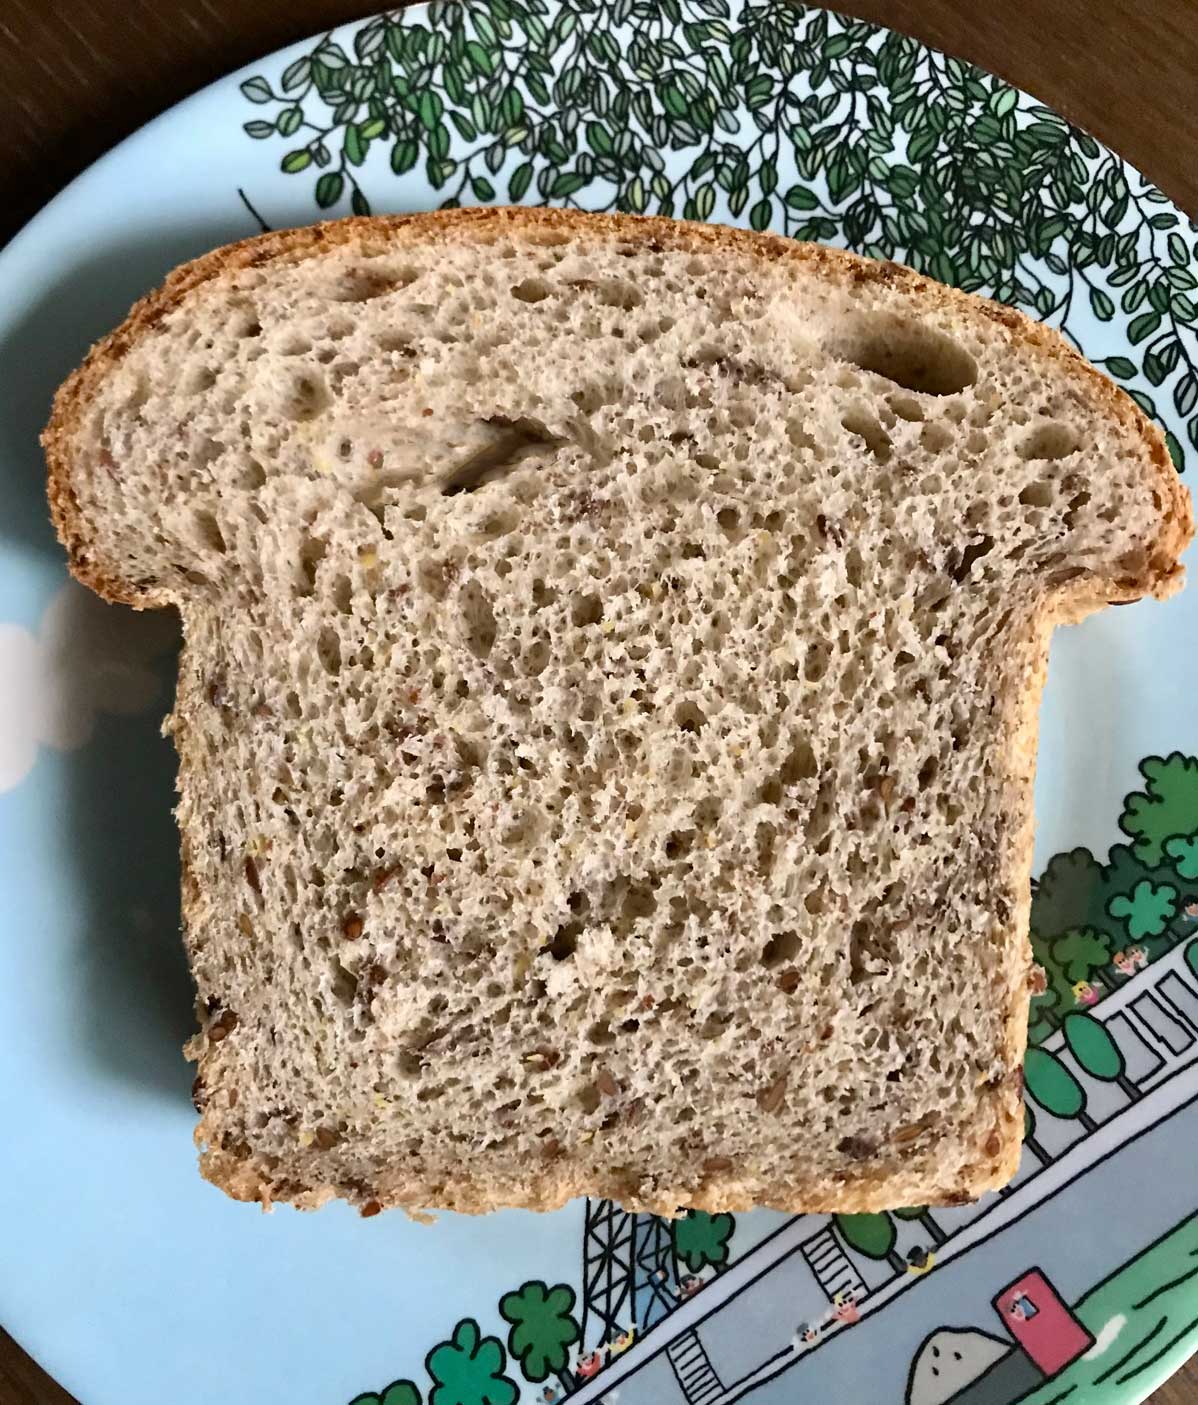
I've been making this for a few years now with little changes here and there. Here's a picture of the latest loaf cut so that you can see the cross-section. I used a standard 8 ½ by 4 ½ inch loaf pan.
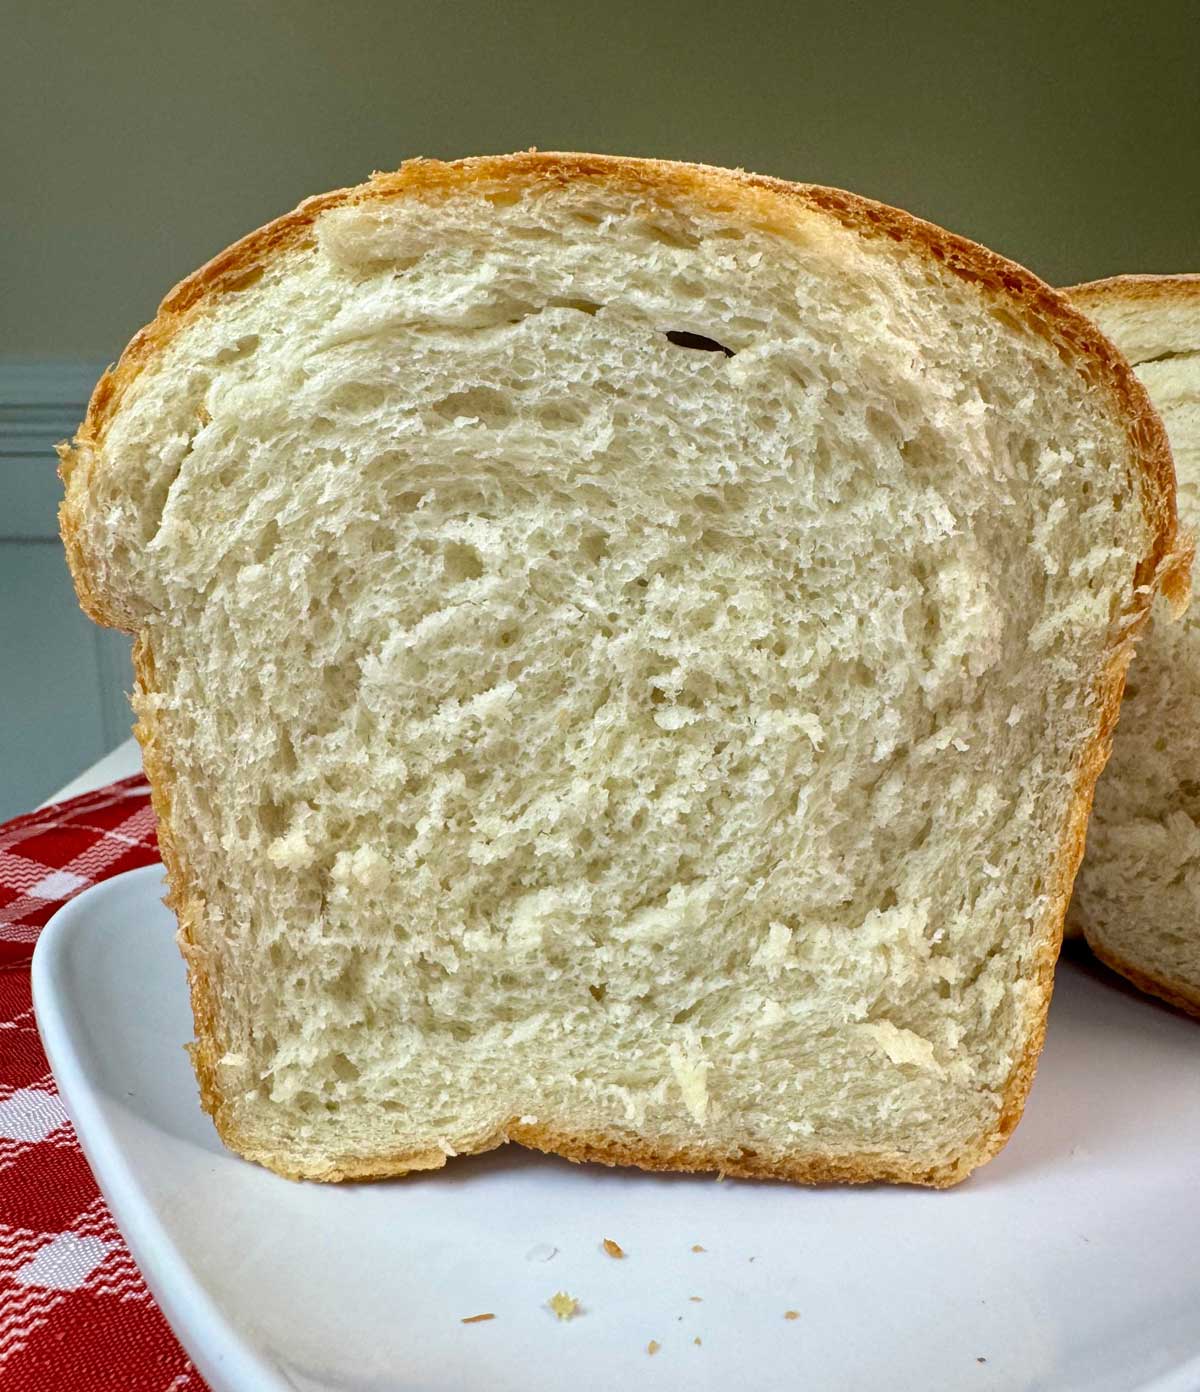
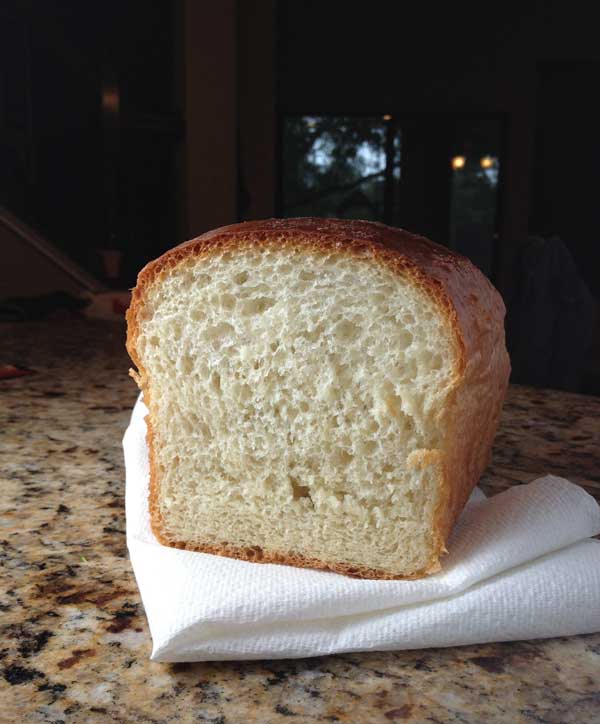
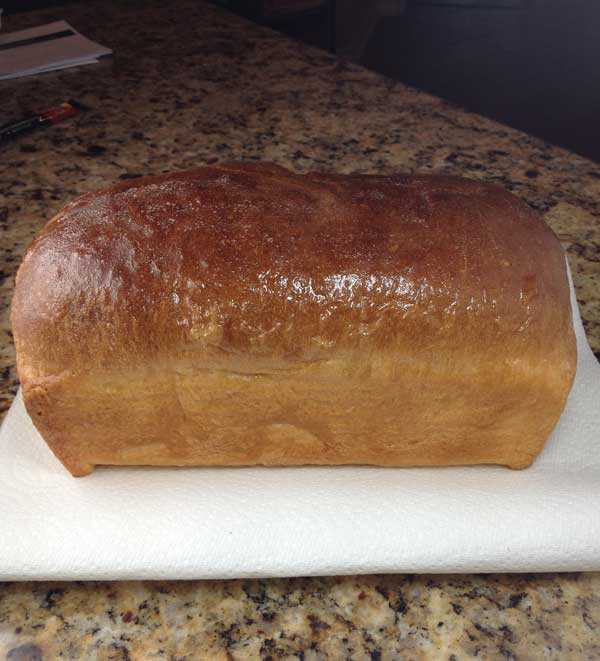
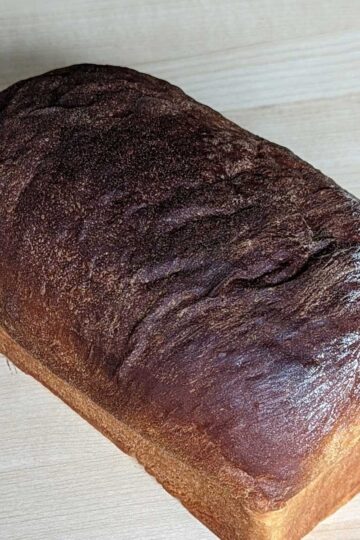
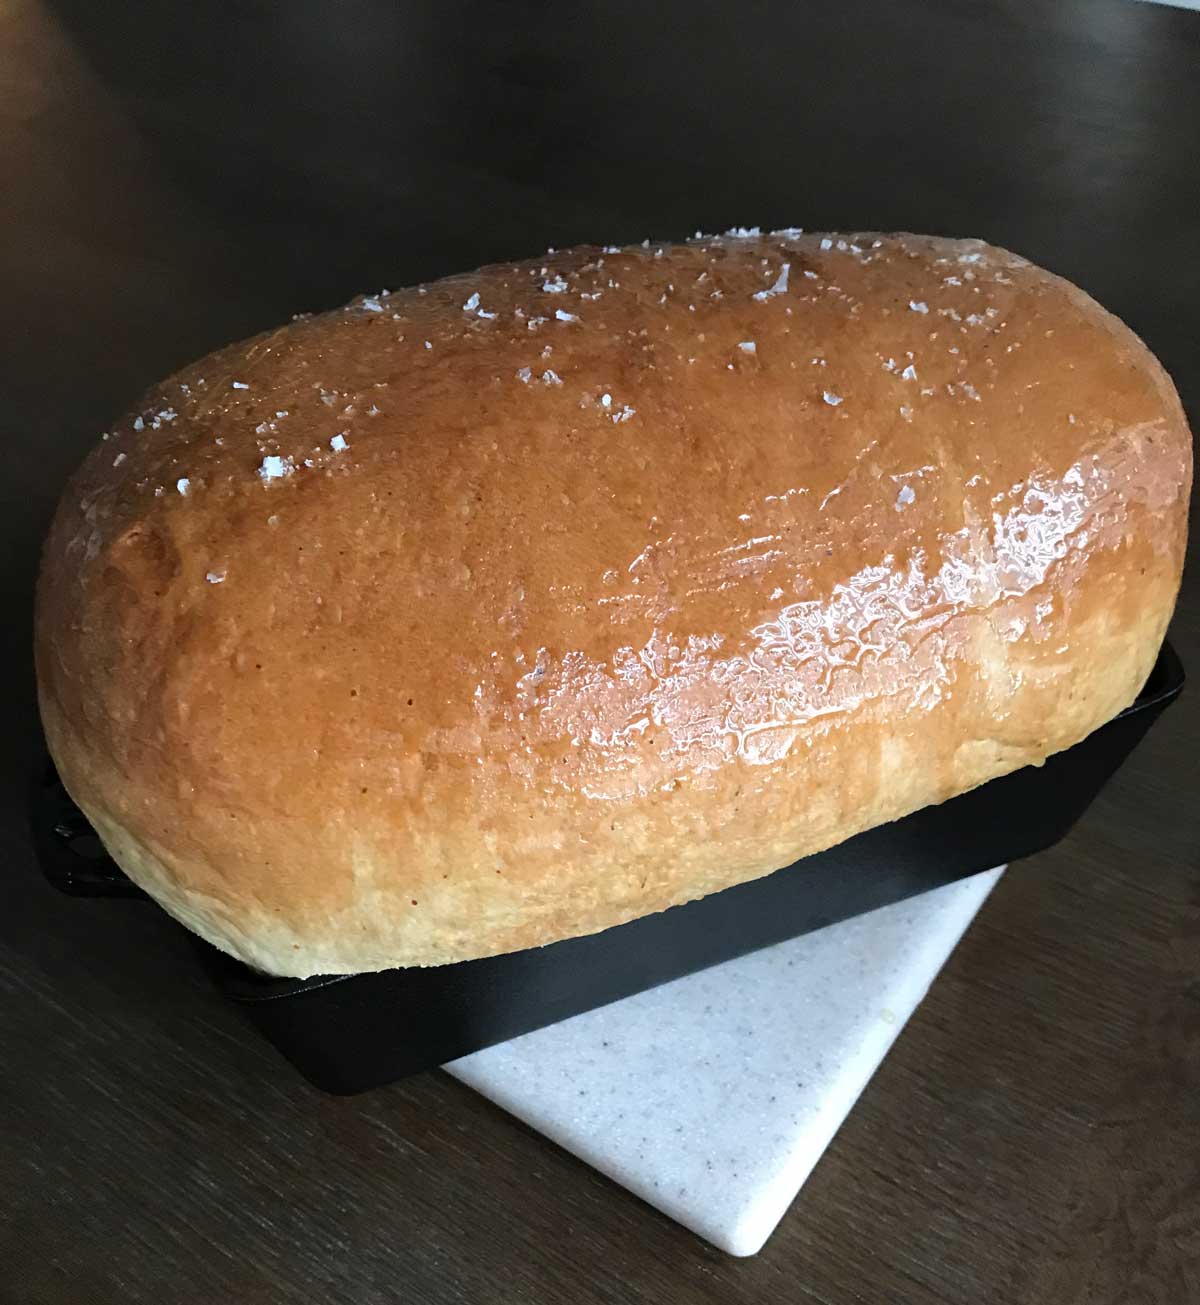
And here's an earlier photo.
Basic White Bread Adjustments and Flour
I've adjusted the recipe slightly. Instead of sugar, there's the option to use honey, which works well and adds flavor and moisture. I also got rid of the milk and just use 1 cup of water. Most importantly, some flour is thirstier than others, so you may have to make minor adjustments with the water even though I've listed the exact gram amount of flour I use. For this recipe, I use 420 grams total of bread flour (which is usually 3 cups) and 1 cup of water plus an extra 2-3 tablespoons. If using all-purpose flour, you might need slightly less water more flour. You won't really know until you start to knead with the dough hook.
Active Dry Yeast in Flour Mixture
At one point I made this with active dry yeast which I mixed directly in with the flour. Now I almost exclusively use instant yeast (SAF), so the yeast is added in with the flour and the hotter than usual water goes in to activate the yeast. If you want to use regular active dry yeast, you can use cooler water and proof the yeast or you can try adding the active dry directly to the flour mixture, which is supposed to work even though it's generally proofed in water.
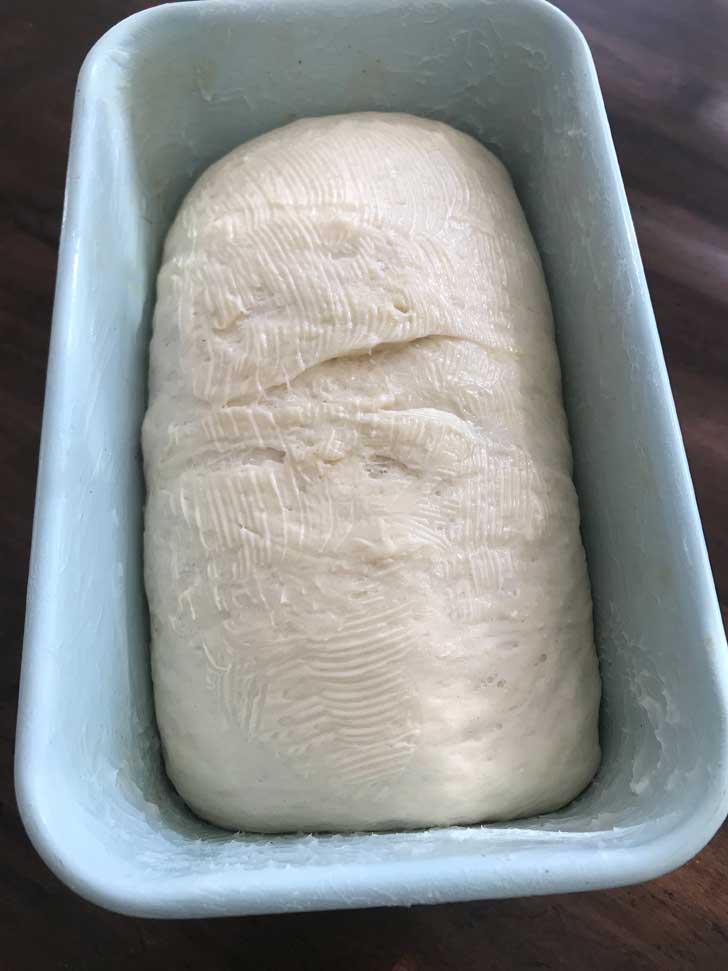
How to Shape a Bread Loaf
My favorite method has always been to roll loaf into a cylinder, turning down top corners as you go and pressing out the air. There are other methods, but this one seems to help prevent big air gaps between the top of the loaf and middle.
- Press the risen dough into a rectangle.
- Fold two top corners inward, then start rolling downward from top.
- Continue rolling down from top, pressing air out as you roll.
- Shape into a neat log.
Variation: Using Whey Instead of Water
I recently made some homemade ricotta cheese and had a ton of whey leftover. We needed a quick loaf of bread for sandwiches, so I tried making this basic white bread using a cup of the whey instead of water. I'm not sure the whey added any flavor, but it did seem to help the rise.
Recipe
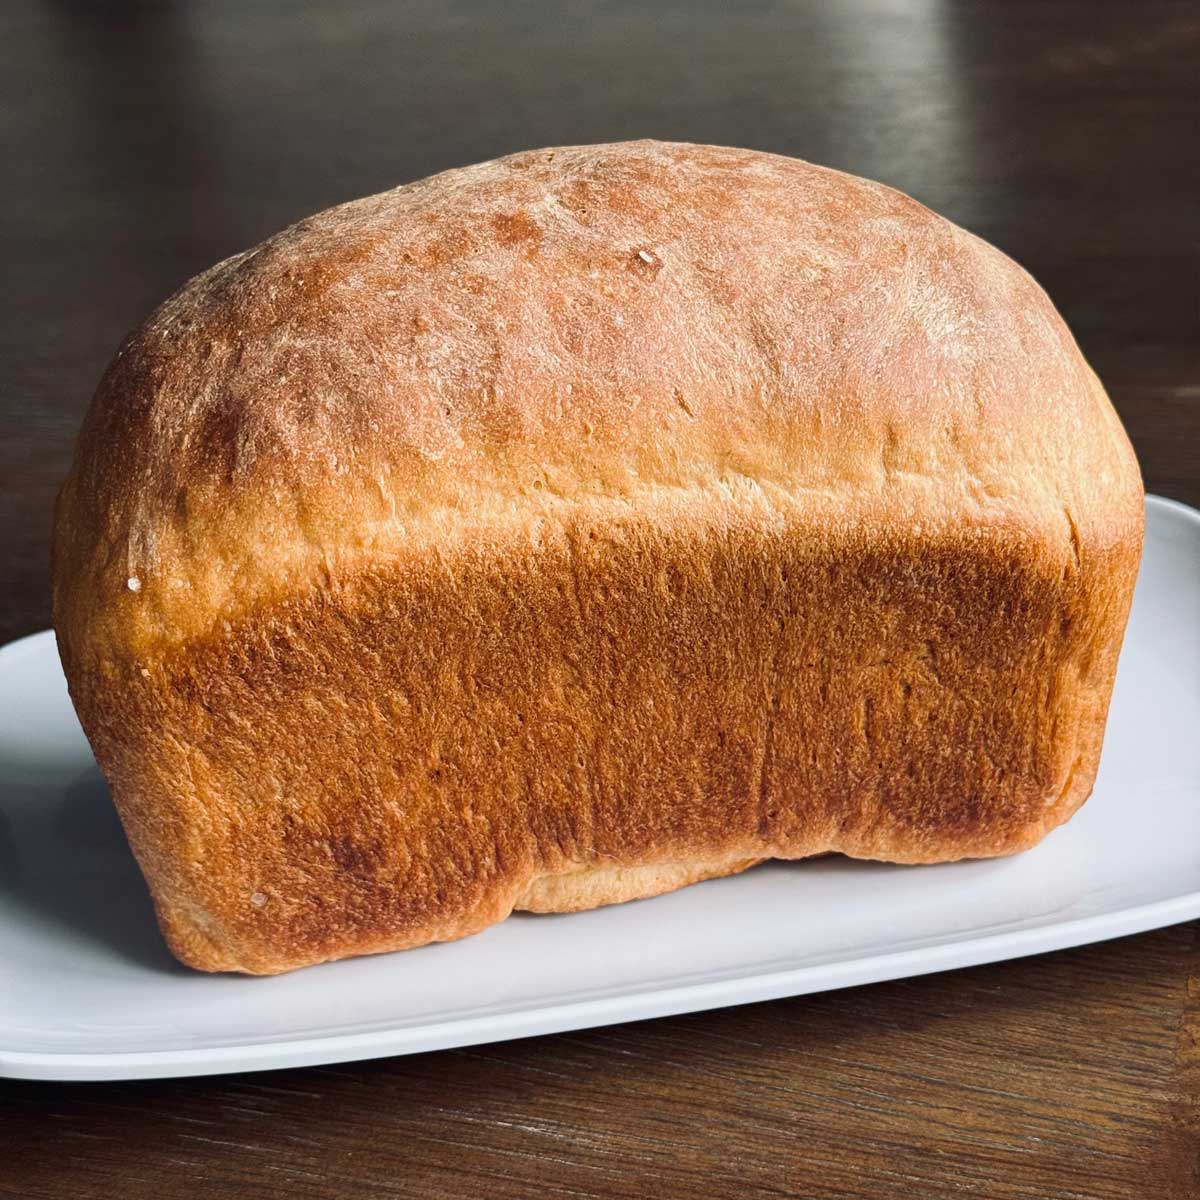
Basic White Bread Without a Bread Machine
Ingredients
- 1 cup water, plus another 2-3 tablespoons (240 grams)
- 2 tablespoons of unsalted butter (28 grams)
- 3 to 3 ½ cups bread flour (all-purpose okay too) (380 to 420 grams)
- 2 tablespoons of granulated sugar OR honey (24 grams of sugar or 36 grams honey)
- 1 ⅛ teaspoon salt Morton Kosher**
- 2 teaspoons quick rising yeast (SAF instant)
Instructions
- In a small saucepan, combine 1 cup of the water with the 2 tablespoons of butter and heat until butter melts. Let cool to 125 degrees F.
- While the liquid is cooling, combine 2 cups of the flour (280 grams), sugar or honey, salt and yeast in the stand mixer bowl. Gradually add the 125 degree water to the flour mixture and stir well. Dough will be very soft at this point.
- Attach the dough hook to the mixer and gradually add the remaining 1 cup of flour along with about 2 tablespoons of water (if needed). Knead with the mixer for about 8 minutes or until dough is smooth and elastic. If dough feels too dry, use more water. If too wet, add a little more.
- Rub a second bowl with butter or oil. Put the dough in the greased bowl, cover with plastic wrap and let rise in a warm place for 1 hour. Press it down and pat it into a rectangle. Roll into a cylinder, pressing out air as you go, and put in a greased 8 ½ by 4 ½ inch loaf pan.
- Put the loaf pan in a warm place and let it rise for 45 minute or just until the dough is about an inch over the top of the pan. Don't overproof it.
- During the second rise, preheat oven to 375 degrees F. Bake risen dough for 45 minutes or until loaf is browned and feels hollow when tapped. Let cool completely, then remove from the pan and and let cool.

Chad D Shulters says
love the recipe making a second loaf now !!
Anna says
Awesome! Thanks, Alex!
Alex Reitor says
Love this recipe five
Anna says
Hi Val! I mostly use instant yeast, but when I use active dry I do like to proof it even though some recipes work without proofing. So to proof the yeast for this one, I'd add the butter separate from the water. So heat the water to about 110 112 degrees F. and add the yeast. Let it proof for 5 minutes or so, then just add to the dry ingredients. Add the butter last. You can also try adding the active dry yeast directly to the flour as you would instant yeast and using hotter water (like around 125-130).
Val says
How would you change the order to use the tradiaitonal active dry yeast instead of instant quick rising yeast?
hopeinbrazil says
I can't get bread flour here so I used regular and got a smaller loaf. Still, I loved the buttery taste and it sliced beautifully. I was surprised to get that nice texture without the use of an egg in the recipe. Thanks for sharing this.
Gloria says
This is like a no-knead recipe I have other than the punching down. It looks delicious. How do you keep from eating the whole loaf right out of the oven???
June C says
Anna, thanks for the reply. I liked the open texture of the top of the loaf. I use a bread machine and I make a very wet dough so that I will get the large holes, I like it that way
Anna says
It wasn't really that noticeable in the actual bread, but you can see it in the photo. I guess the dough on the bottom had less room to expand, while the dough on the top was able to rise more freely and air bubbles got bigger. It wasn't an issue for us, but it reminded me of the existence of those covered loaf pans they sell at Williams Sonoma called Pullman Loaf Pans which make a perfectly square loaf. Using something like that might help make a really dense, even, crumb.
June C says
Looks like a really wonderful loaf of bread. I wonder why the botton looks more dense than the top of the loaf (less air bubbles)
Cookie Sleuth says
I don't have a bread machine, so this is perfect for me!
Anna says
Allie, thanks for the tip! I think I have that recipe somewhere and will give it a try.
Allie B. says
Have you tried the America's Test Kitchen American sandwich loaf? It's WONDERFUL - and 2 hours from start to finish with no bread machine.
Darlene says
The finished loaf looks beautiful - I bet it would be delicious in French toast.