
No-Knead Cream Cheese Braids is a recipe inspired by Entenmann's Cream Cheese Danish Twists. They are rich, soft, sour cream packed cream cheese filled yeast breads that don't require kneading, but rather an 8 to 12 hour stint in the refrigerator. However, if you want to skip the overnight chill and make the kneaded version, that's an option too!
Texture and Flavor
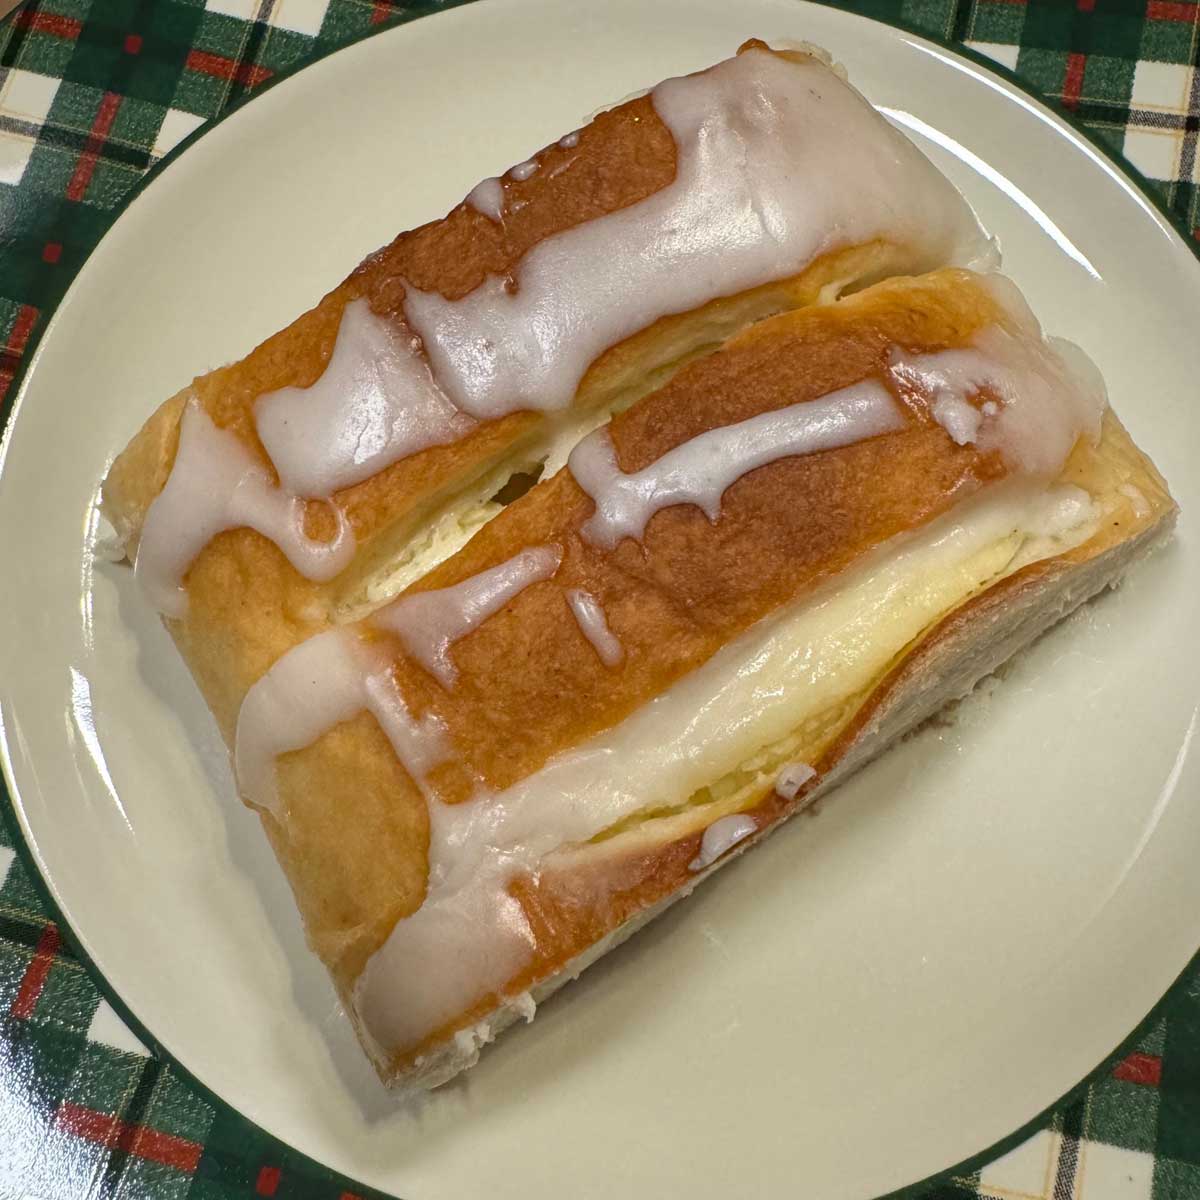
No-Knead Cream Cheese Braids have a soft texture from the sour cream which also adds flavor. The filling is a typical cream cheese or cheesecake style filling with vanilla and a hint of lemon. It's good by itself or you could incorporate some fruit preserves for even more flavor. You can serve it at room temperature or just slightly warmed.
Chilling Dough Instead of Kneading
The no-knead version is in the recipe card. After you mix the ingredients you put the bowl in the refrigerator and chill it for 8 hours. This is similar to the technique used in the famous New York Times No-Knead Bread by Jim Lahey. The long slow rise brings gluten molecules into an alignment which helps produce an elastic network similar to what you get from kneading. Another benefit is that the cold dough is easy to work with so you won't need to add much flour to the mat and the loaves are easy to shape.
Shaping the Loaves
The original recipe made four loaves, but I halved it to make two. You don't really braid the dough. You shape it into a rectangle, spread with cream cheese and roll into a log. You then crimp the seams, turn and make slashes. The slice in the photo below was made using the no-knead method and all-purpose flour, so it spread a bit more than versions made using the kneading method.
Stand Mixer Knead Version
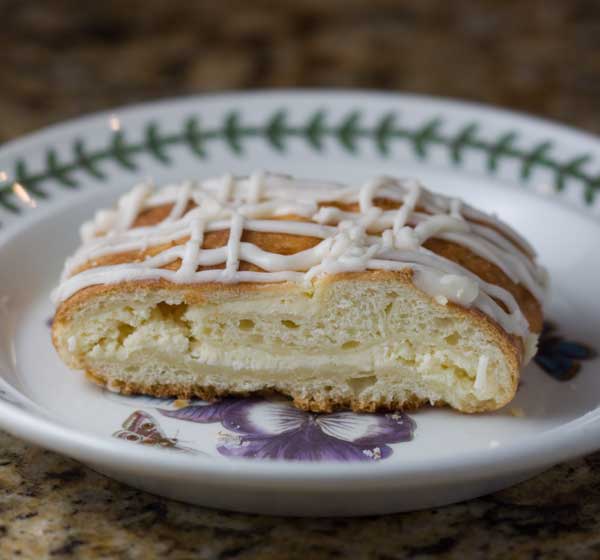
Using a stand mixer to knead the dough gives you a puffier, rounder loaf. To make this with a stand mixer, just mix everything in the bowl and let the dough hook knead dough until very smooth. Let rise for an hour, punch down, shape, let rise again and bake. This version in the photo below was made with dough that had been kneaded with the stand mixer, so it was rounder and the loaf didn't spread as much.
More Recipes
Recipe
Cream Cheese Filled Coffee Cake
Ingredients
Dough
- ½ cup sour cream (120 grams)
- 4 tablespoons unsalted butter (56 grams)
- ½ teaspoon kosher salt
- ¼ cup granulated sugar (50 grams)
- 2 ¼ teaspoons active dry yeast
- ¼ cup warm water, about 110 degrees (56 grams)
- 1 large egg
- 2 cups bread flour or all-purpose flour (270 grams)
Filling
- 8 oz cream cheese, softened (114 grams)
- 6 tablespoons sugar (75 grams)
- 2 tablespoons lightly beaten egg**
- 1 teaspoon vanilla extract
- ½ teaspoon lemon juice plus a little lemon zest (¼ to ½ teaspoon)
Icing
- 1 cup powdered sugar (110 grams)
- 1 tablespoon melted butter (14 grams)
- 2 tablespoons whole milk (28 grams)
- 1 teaspoon vanilla extract
Instructions
- Combine the sour cream, butter, salt and sugar in a small saucepan and heat until butter is melted. Let cool to about 105 degrees F.
- Combine the yeast and water in a small bowl and let sit until it starts to foam.
- Put the flour in a mixing bowl. Stir in the cooled sour cream mixture and the yeast to make a soft dough. Cover with plastic wrap and chill dough for at least 8 hours.
- Punch down the dough (it probably will not appear to have risen much) and divide it into two parts.
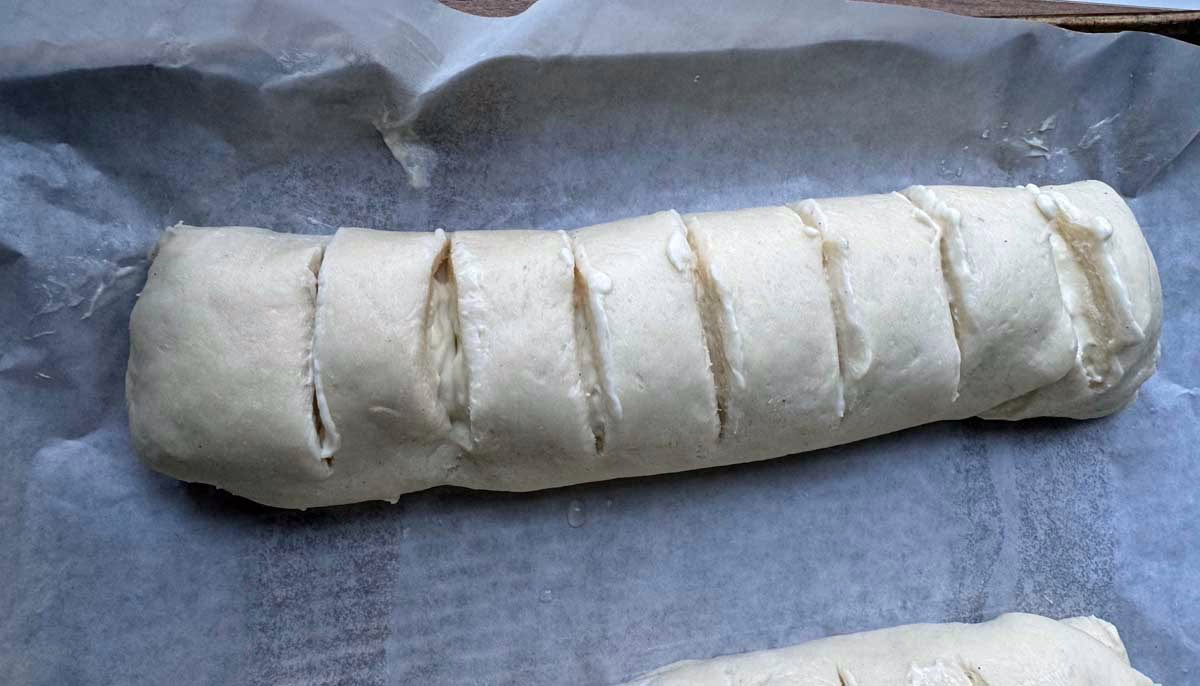
- Roll each part into a 12- x 8-inch rectangle, and spread each rectangle with half the cream cheese filling, leaving a 1-inch border around edges. Starting on the long end, roll into a cylinder and pinch seam and ends shut. Turn upside down and place on a parchment lined baking sheet.
- Make about 6 ¾ inch slices across top of each loaf spacing a little over and inch each. Cover with a greased piece of plastic wrap and let rise in a warm place (85°), free from drafts, about 1 hour or until doubled in bulk. If using fast rising yeast, second rise should only be about 40 minutes.
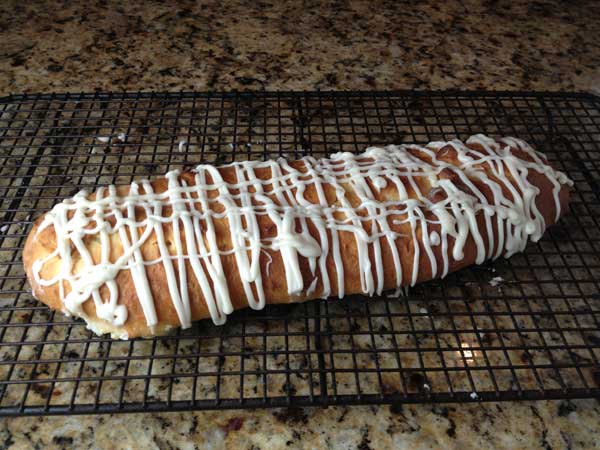
- Bake at 375° for about 20 minutes or until browned. Let cool, then drizzle with icing and serve. If you want the icing to hold its shape and look pretty, I recommend serving at room temperature. I was worried I'd have to warm the bread and deal with melted icing, but the bread actually tastes great at room temperature. If you want to serve it warm, you might consider putting the icing on at the last minute.
Cream Cheese Filling
- To make the cream cheese filling, beat softened cream cheese with the sugar until smooth. Add egg and beat until smooth, then beat in vanilla and lemon juice.
Icing
- Icing: Mix all icing ingredients together until smooth. Put the icing in a freezer bag or pastry bag. When loaves are cool, snip off end of icing bag and drizzle it across the loaves. Let set.


Anna says
Thanks for the tips, Cindy! We really enjoy this recipe, too. In fact, I need to make a batch of braids this weekend.
Cindy says
I have been making this recipe for over 35 years. (except mine does call for lemon juice in the filling--I may try that sometime) Anyway, to answer Corrine's question about freezing---Definitely bake it first, then wrap and freeze it. I always wrap it in foil , as this allows it to be thawed in the fridge then warmed in the oven when one is ready to serve it. This year I am adding an extra step and will use my foodsaver sealer to put the foil-wrapped loaves in. I will be transporting them and want to make sure that they don't get any water in them, as we will need to put them in a cooler to keep them cold until we arrive at our destination. These are a WONDERFUL holiday splurge. My family asks for them every year about this time and I am happy to oblige. I make extra to share with friends, too. That is how I first obtained the recipe---a friend gave us one for Christmas, along with a recipe card, as she knew I loved to bake. Merry Christmas everyone! 🙂
Anna says
Good luck! Let me know what you think.
Carolyn says
Thank you, Anna! I was looking for something without nuts or dried fruit to serve on Christmas morning, and I've found it in this recipe! Merry Christmas from a very snowy and cold Ontario, Canada!
Amy says
Beautiful!
corinne says
Got a few trips and some gf visitors in the next 2 weeks, but as soon as that's over I will for sure be trying this! I always end up quite happy when I try your recipes =)
Anna says
Corinne, if you froze the assembled loaf, you'd have to wait a while for it to thaw before baking and then let it rise. That might be a pain, so I recommend baking as directed, cooling, wrapping tightly and freezing.
Another thing you could do is make half of what I have above. The loaves aren't that big, so I think you'd enjoy one full loaf and wouldn't be stuck with it for days on end. If you really wanted to make it last, you could make one loaf, cut it into four generous pieces and freeze them individually. I hope you try it! I'm ready to make another batch and add fruit.
corinne says
If you had to guess whether it would be better to freeze one of them before or after baking, which'd you say? (Cooking only for one's self is a bit lame sometimes!)