Nutella Instant Pot Cheesecake is one of the four different (maybe 5?) Instant Pot cheesecakes I've made in the past month. I went from hardly ever using the Instant Pot for dessert (Instant Pot Chocolate Cake was the last one) to making cheesecake nonstop. The Instant Pot just makes cheesecake so much more fun! I didn't really think that would be the case and was kind of slow in getting around to buying a high sided 7 inch springform, but I'm glad I did.
Jump to Recipe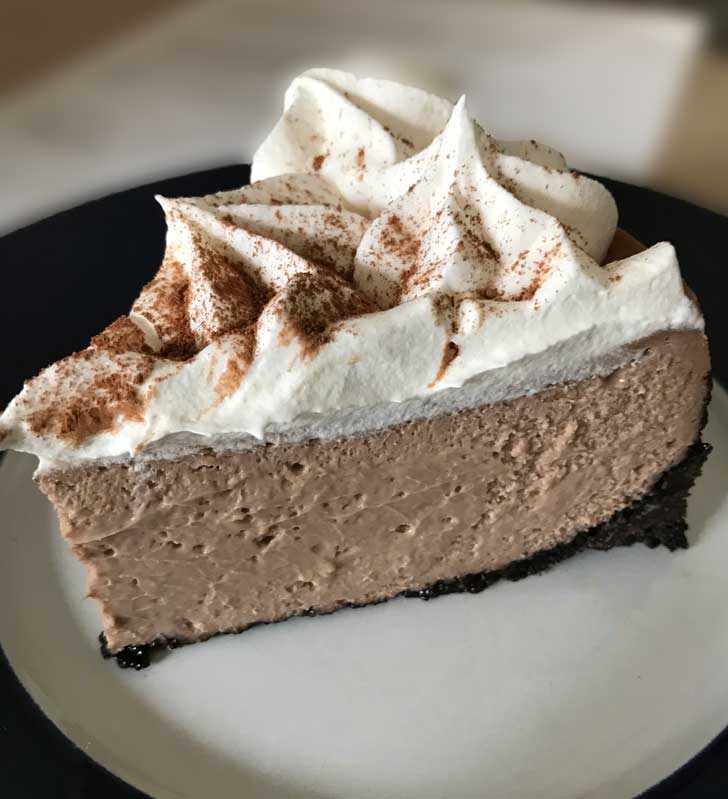
Why Use an Instant Pot for Cheesecake?
Back when I made the chocolate cake, I questioned whether it was worth it to make cake in the Instant Pot when you could just as easily bake it in the oven. I concluded that it was a fun exercise and that the chocolate cake came out extra moist because of the steam. For cheesecake, the reasons to use an Instant Pot are even more obvious.
- It's pretty steamy in an Instant Pot, so you don't have to fuss with a water bath.
- You can make a family size weeknight cheesecake that serves 6 to 8 rather than 20.
- Bake time is pretty straightforward. You just set the timer for whatever the recipe says and push a button. So far I haven't had to do any guesswork to determine whether my cheesecake was done. If you do run into a situation where it's undercooked, you can put the cheesecake right back in the pot and tack on a few minutes. Internal temperature of cheesecake should be between 140 and 150.
- You don't have to heat up the house (not really an issue during this season, but in the summer it's a benefit).
- Frees up the oven for other things.
I'm sure there are more reasons. Probably for me the biggest benefit is the smaller size, which I like because we can finish one off and make a new version. I started with classic cheesecake and am now making different flavors.
Nutella Instant Pot Cheesecake
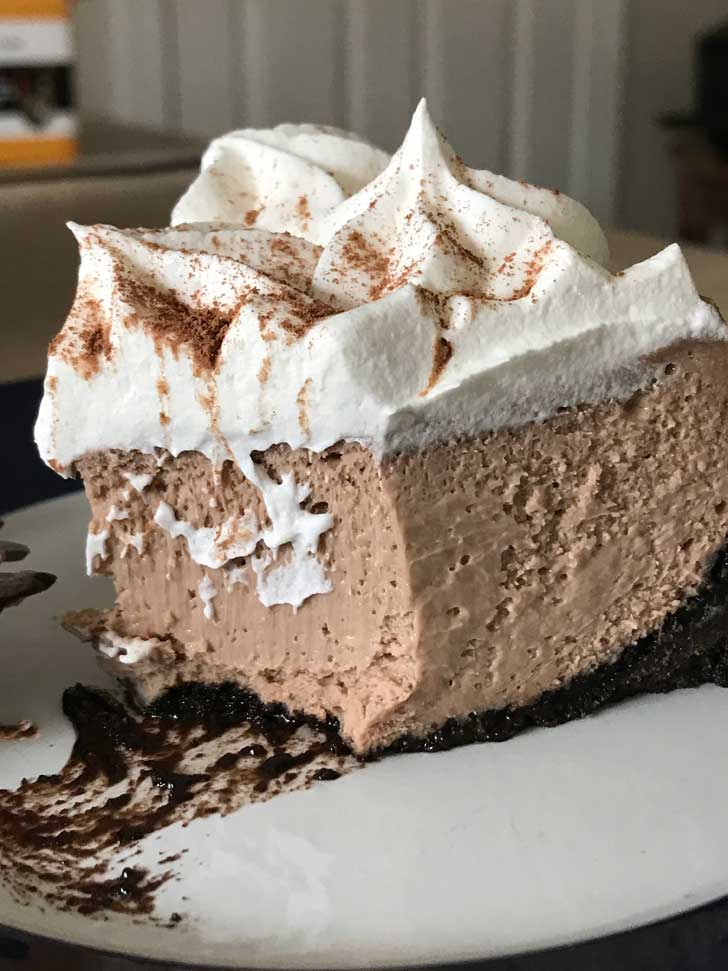
This cheesecake isn't as deeply chocolate as some. The only chocolate in the cheesecake comes from the Oreo crust and the Nutella, so it's not a dark chocolate cheesecake, but rather a lightly chocolate cheesecake with a good hazelnut flavor. I used a dash of Frangelico to boost the hazelnut flavor, but you can leave it out and still have a great cheesecake.
Ingredient Notes
- Oreos -- Any brand will do. No need to remove the cream. I was really pleased with how this Oreo crust turned out and am looking forward to using it in more Instant Pot cheesecake recipes. Also, I kept the crust thick. You can make it thinner by using fewer Oreos and less butter, but thick crusts seems to be firmer and less soggy. Actually, the Oreo crust is not at all soggy.
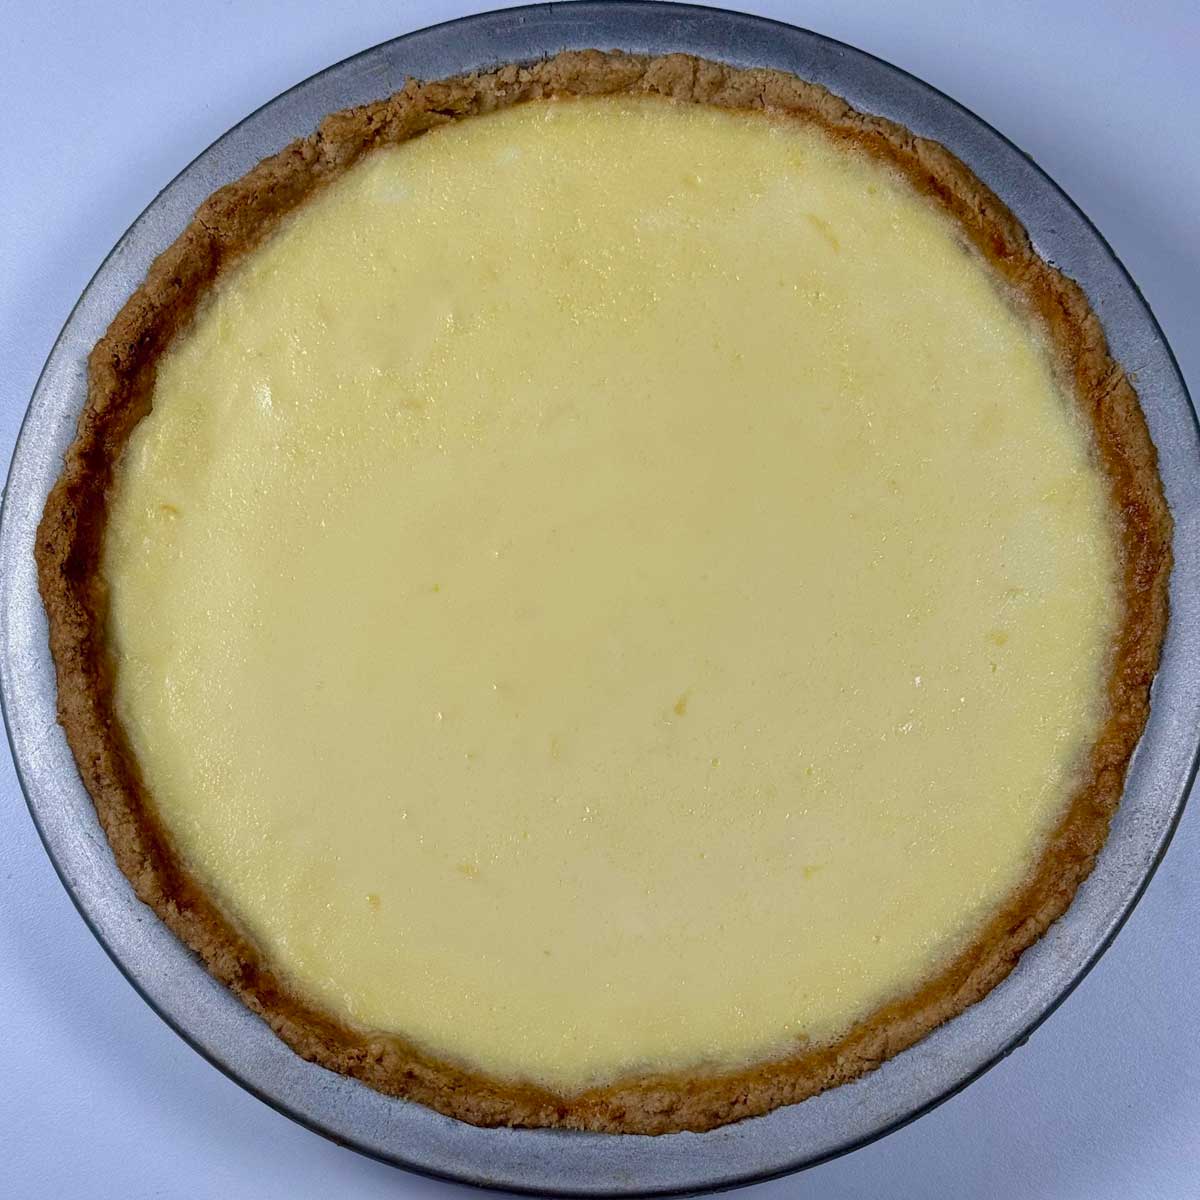
- Thick Crust -- In my first photo I used a thinner crust and pressed it slightly up the sides. I've found the crust is a little firmer and better textured when the crust is pressed flat.
- Butter -- You can use salted or unsalted.
- Cream Cheese -- I've tested all my cheesecakes with Wegman's brand because they are 79 cents a pack, but people say Philadelphia brand makes even better cheesecakes. It probably makes more of a difference in Classic Cheesecake. The hazelnut spread tends to make this cheesecake ultra-smooth no matter what brand cream cheese is used.
- Nutella -- Any brand is fine, but I've tested this twice with Nutella.
- Sugar -- Granulated
- Eggs -- Large. Bring to room temperature by letting sit out or submerging in warm water for a few minutes.
- Vanilla -- Pure vanilla extract is best here.
- Cream -- heavy cream
- Frangelico -- Can leave it out and use more cream if necessary, but if you have some go ahead and use it. It won't make the cheesecake taste boozy, it just boosts the nut flavor.
- Water -- I used 1 ½ cups.
A Few More Notes
- This recipe is for a 6 quart Instant Pot that comes with a trivet with handles. If your trivet does not have handles, you can make a foil sling by folding a 20 inch sheet of foil into thirds and using it to lower and lift the cake.
- 7-Inch Springform Pan -- Use one that is leak-proof and has sides that are at least 2.88 inches high. I linked to the Nordic Ware pan because it has high sizes. The high sides prevent the filling from rising up and sticking to the foil covered pan.
- You can use a food processor or a hand mixer for the filling. The advantage to using the food processor is that it doesn't create as many air bubbles as an electric mixer so the filling should be smoother. That, plus you can use it to make the Oreo crumbs.
- If you use a leak-proof springform, you shouldn't need to seal the bottom of your cheesecake pan with foil, as the cake sits right above the water.
- Some recipes advise you to cover the top of the cake with foil, as the steam that rises falls again and collects on top of the cheesecake. The authors of The Instant Pot Bible and other books on the subject advise leaving the cheesecake uncovered and just blotting up any water that collects quickly. With most cheesecakes that works fine, but for this recipe I do cover it.
.
Recipe
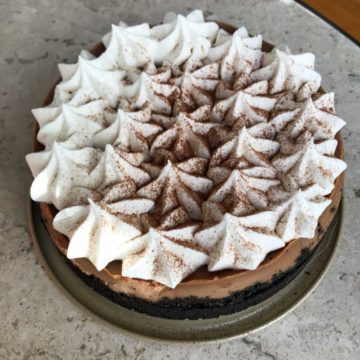
Nutella Instant Pot Cheesecake
Equipment
Ingredients
- 15 broken Oreos
- 3 tablespoons butter, melted (unsalted) (42 grams)
- 2 packages cream cheese, softened (16 oz) (450 grams)
- ⅓ cup Nutella (100 grams)
- 2 ½ tablespoons granulated sugar (35-40 grams)
- 2 large eggs, room temperature (30 grams)
- 1 pinch salt
- 1 teaspoon vanilla extract
- 2 tablespoons cream or use 1 T. cream and 1 T. Frangelico
- 1 ½ cups boiling water for the pot
Instructions
- Bring all ingredients to room temperature. To speed things up, you can soften the cream cheese in the microwave and submerge the eggs in very warm water, but ingredients do need to be room temperature.
- Combine the crumbs and melted butter. Press flat (I usually do it with the bottom of a can) in a greased 7 inch springform pan. Put the crust in the freezer while you make the filling.
- In a food processor, process the cream cheese, Nutella and sugar until smooth. Scrape the sides of the bowl.
- Remove lid of processor and add one egg, then process again until smooth, once again scraping the side of the bowl. Add remaining egg, salt, vanilla, cream and Frangelico (if using).
- Scrape mixture into the prepared crust.
- Place 1 ½ cups of boiling water (I just boil some real quick in the microwave) in the instant pot.
- Set the cheesecake on the trivet and use the trivet handles to lower the cake down into the pot. If your trivet doesn't have handles, you can make a sling with foil. Close the pot, set the valve to the center, lock the lid in place and cook for 32 minutes. Let sit for 10 minutes before releasing (10 minute natural release).
- Remove lid and carefully lift using handles on the trivet or if you made a sling, using the sling. Let cool at room temperature for 1 hour, then transfer to the refrigerator and let chill for 3 or 4 more hours or until ready to serve.

Anna says
Sue, I hope you love your Instant Pot.
Sue Kelly says
My very first Instant Pot is supposed to arrive tomorrow! I’m pretty excited and have spent a ridiculous amount of time reading recipes and trying to decide what to make for my first round with it. I’m looking forward to new dinner options!
The cheesecake sounds delicious! I love chocolate and hazelnut together so I’m sure I will love this. While I was reading I was envisioning having all kinds of little cheesecakes for Christmas dessert. LOL!