Lately I've been testing recipes with Cup4Cup, a gluten-free blend created by Thomas Keller's chefs. I am not afilliated with the company or participating in a promotion, but rather I bought a big bag of Cup4Cupat the grocery store and want to use it. So far, so good! It works really well in cookies, so I've upped the ante by using it in a gluten-free pastry crust.
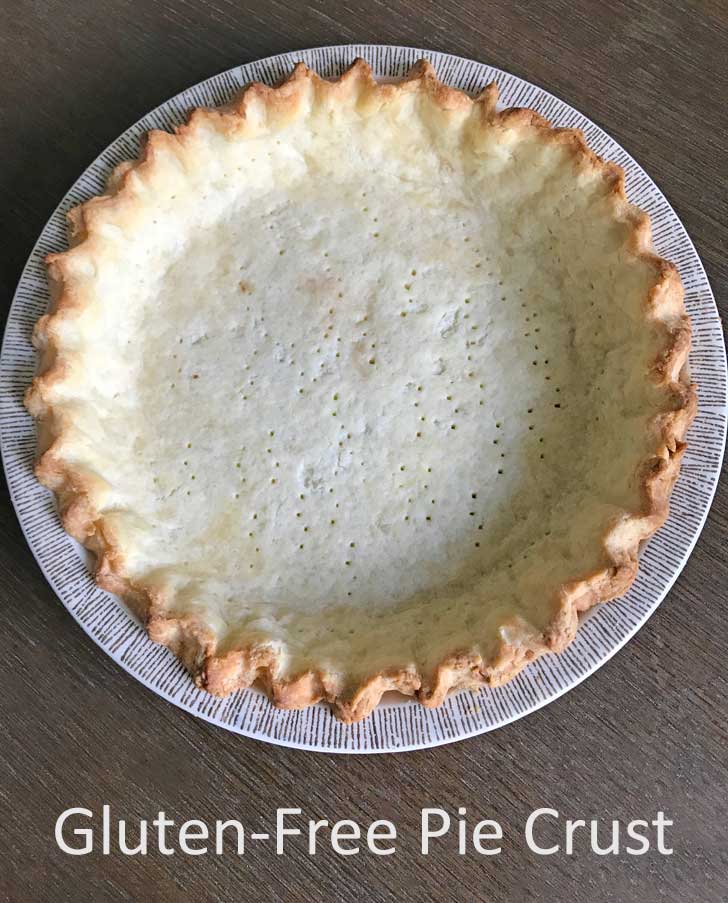
It's easy to forget that no so long ago gluten-free baking meant buying multiple bags of "unusual" flours, blending them in specific proportions, hunting down xanthan gum and creating through trial and error. These days it's easy. You just buy a 1:1 flour blend and follow the directions. Results may vary depending on the brand, but for the most part the 1:1 blends work if used as directed. That was my experience with this crust.
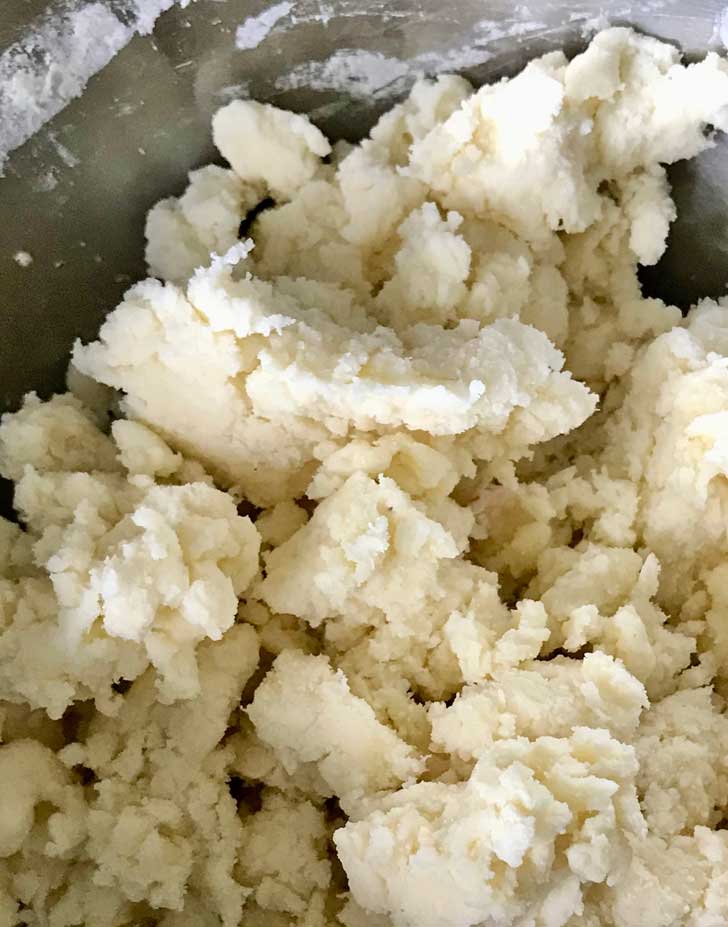
Gluten-Free Pastry Crust
The recipe is from Cup4Cup and it calls for their flour blend, a little sugar, salt, butter, buttermilk and egg. After processing the dry ingredients with the butter, you put the dry mixture in a bowl and gradually add the mixed egg and buttermilk. The dough starts out fairly dry, but after a gentle knead or two it becomes very pliable and easy to work with. The recipe asks you to chill the dough for 30 minutes prior to rolling. Usually that helps relax the gluten, but in this case it's probably to re-chill any butter that softened during the dough making process. When you roll it out, you should see some bits of butter in the dough.
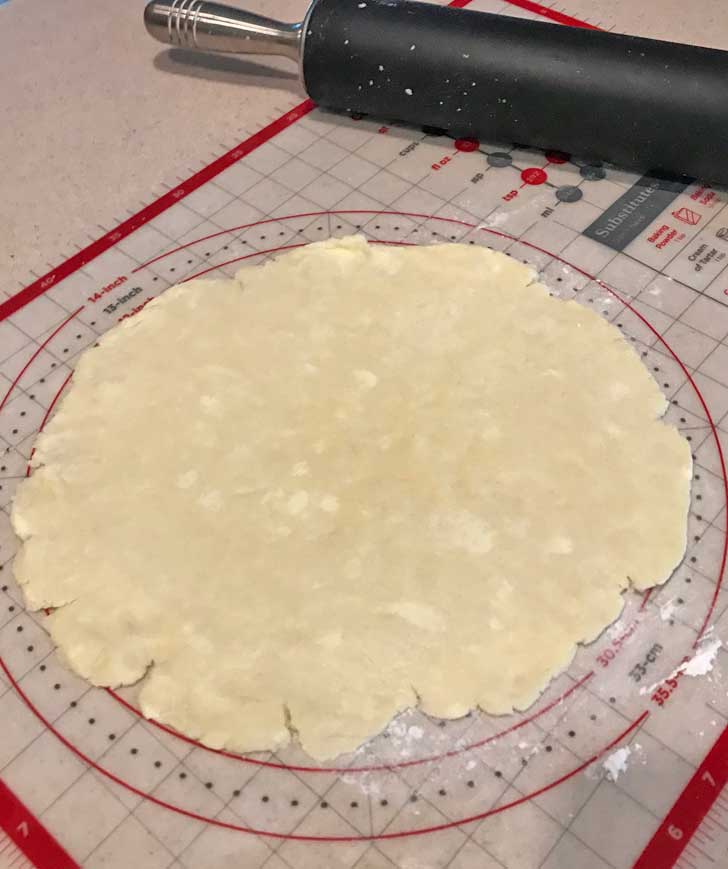
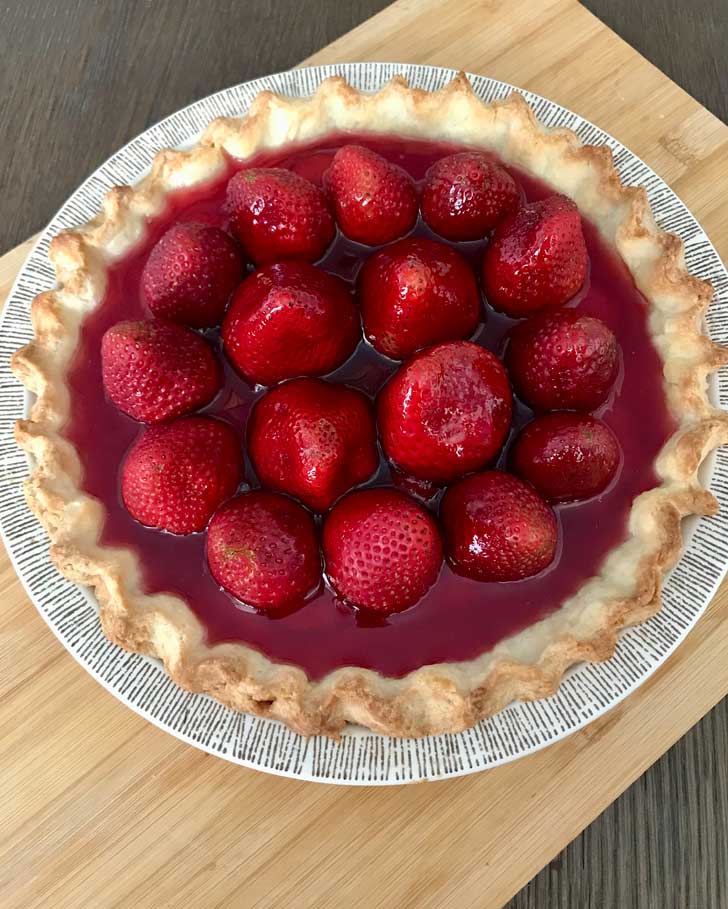
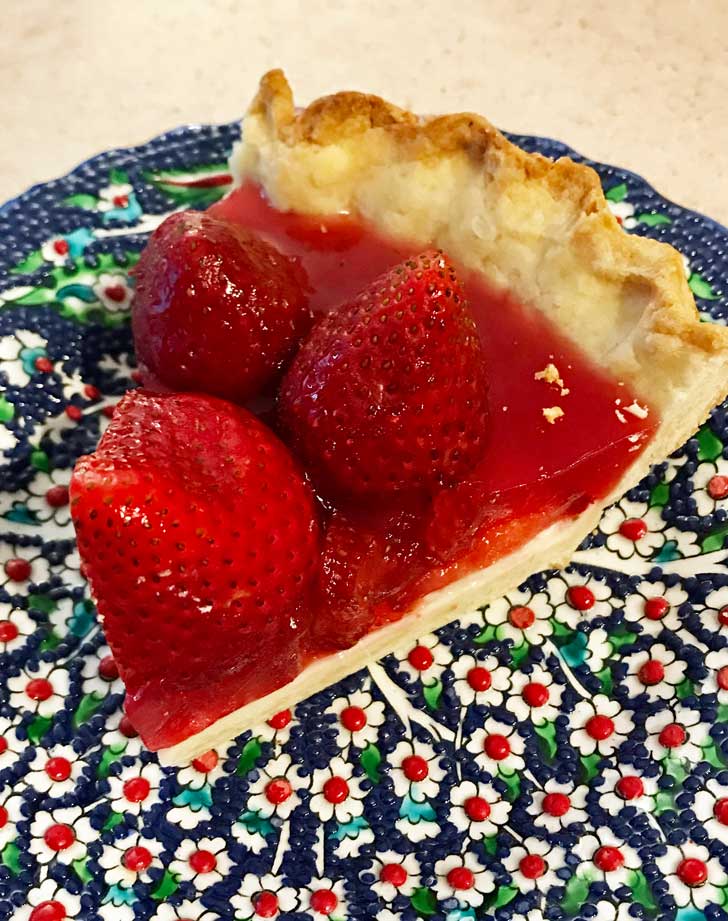
The edges of my circle cracked, but I was able to pinch them together easily and did a decent job lining the pie dish. The blind baking process was glitch-free, but I did have to keep an eye on the crust since Cup4Cup baked goods brown a little quicker. Fast forward to the end result! Here's the crust with a gluten-free version of Strawberry Pie.
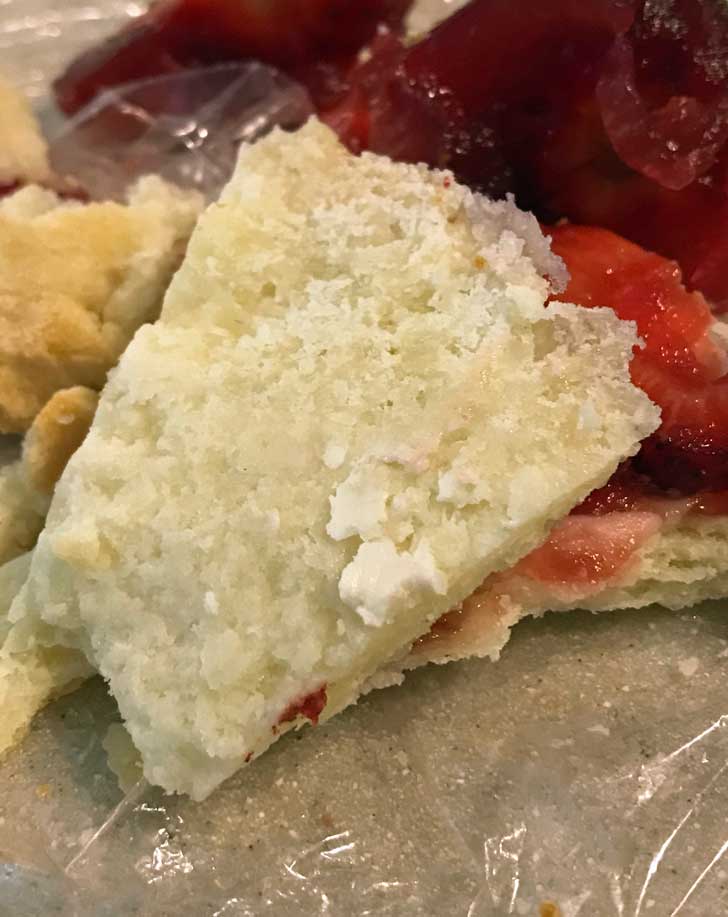
Flakiness of Gluten-Free Pie Pastry
I couldn't wait to slice this one and get some feedback. Fuzz, who does a lot of gluten-free baking at school, was also really anxious to try it. The verdict was that it was pretty good for a gluten-free crust. It wasn't the same as a flaky wheat crust, but it was sturdy and it did have some flakiness. It worked just fine for a cold pie, but the flakiness was more pronounced at room temperature, so I think this gluten-free pie crust will be even better for baked pecan and fruit pies or pies served warm.
Here's a slice of the pie, btw. I used my old recipe for Glazed Strawberry Pie with Cream Cheese since it's strawberry season. Next time I'll probably try the gluten-free pastry crust with a quiche or tart.
Recipe
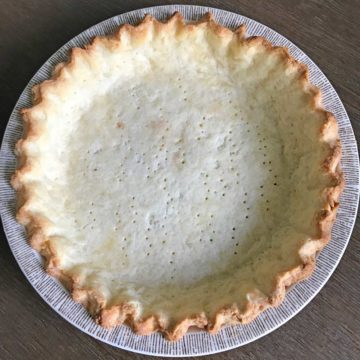
Gluten-Free Pastry Crust
Equipment
Ingredients
- 1 ½ cups Cup4Cup Multipurpose flour 210 grams
- 1 tablespoon granulated sugar 12 grams
- ½ teaspoon kosher salt
- 1 stick unsalted butter, cold and cut into chunks (114 grams)
- 2 tablespoons lightly beaten egg
- ¼ cup cold buttermilk
Instructions
- Stir together the gluten-free flour, sugar and salt until evenly blended, then put in the bowl of a food processor. Add the butter and pulse until coarse and uniform. Transfer to a mixing bowl.
- In a small bowl, whisk together the egg and buttermilk. Gradually add the egg mixture to the flour mixture, stirring with heavy duty scraper to make a dough. Shape into a ball. Wrap in plastic wrap and chill for 30 minutes. Alternatively, you can press it into a flat disk (which is what I do) which makes rolling a little easier.
- On a lightly floured pastry mat, roll into a 12 inch circle. Use a benchscraper or pie lifter to transfer the dough to a 9 inch pie dish. Fit the dough into the dish and crimp the edges. This is a good time to begin preheating the oven.
- Freeze the pastry dough just until firm (this protects the crimped edges from getting squashed), then press a sheet of parchment paper over it. Make sure the parchment comes out over the edges to shield, then and weigh down with pie weights or beans.
- Preheat oven 425 degrees F if you haven't already. Set the pie crust with the foil and pie weights on a rimmed baking sheet and bake for 15 minutes. Remove foil and pie weights. Edges should be just starting to brown. Reduce heat to 375 and bake for another 10 to 15 minutes. Check at 10. The trick is to bake it through and through without it getting to brown, so if edges are browning too quickly, lay a piece of foil loosely over.

Leave a Reply