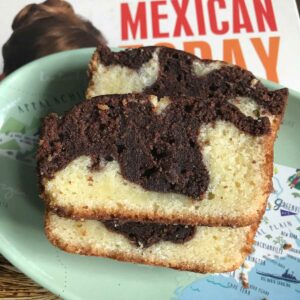
In my opinion, the best type of a cake is a marble. Obviously, right? You get two flavors in one! I've made so many marbles over the years, but my favorite type of marbled cake is a vanilla and chocolate pound cake. This one, which I've been calling Loaf Pan Marble Pound Cake is particularly good.
Jump to Recipe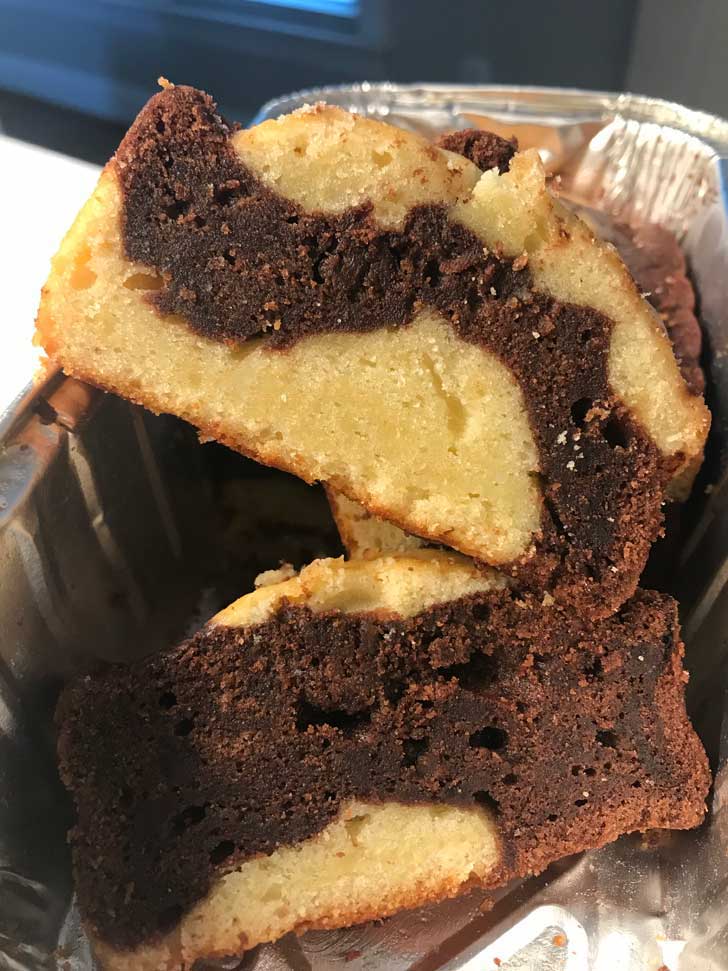
Loaf Pan Marble Pound Cake Texture and Flavor
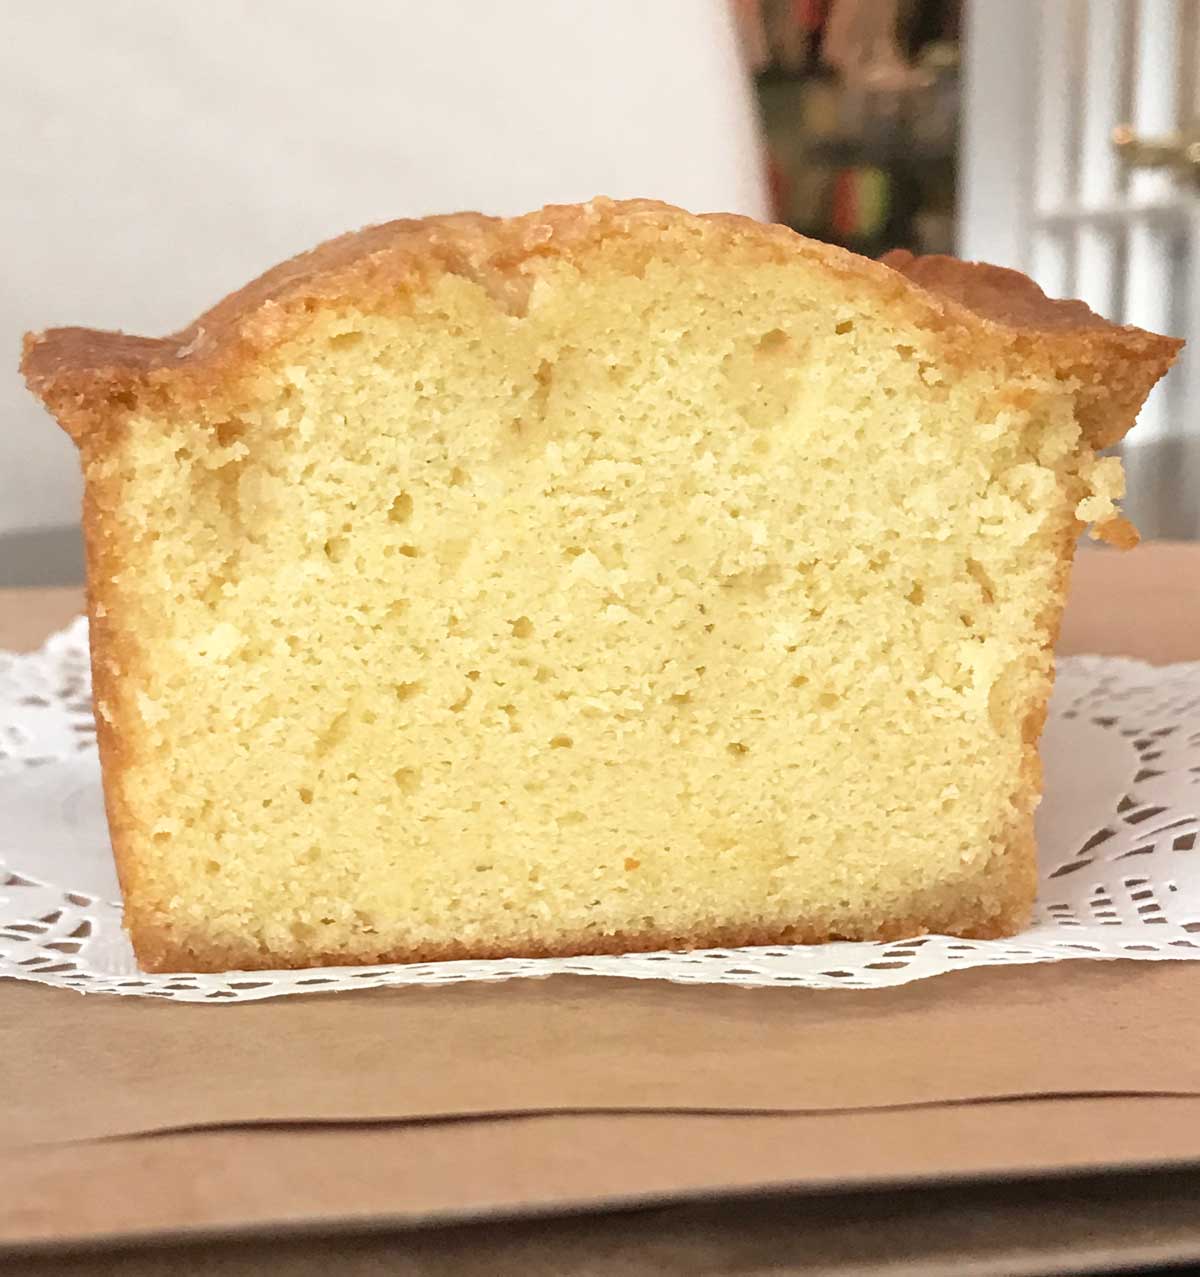
The texture is velvety smooth. Both the vanilla and chocolate batters are buttery and flavorful, plus there's extra punch from the sour cream. That, and the cake rises nicely, which is why it's a loaf. You can make it in a Bundt or tube, but since it does rise a bit in the center, a loaf pan is ideal. As far as flavoring goes, I haven't experimented much but a few little things you can do are add espresso powder and/or mini chips to the chocolate or use a bit of almond extract in the vanilla batter or possibly incorporate a little orange.
Thin Slices, Very Few Crumbs
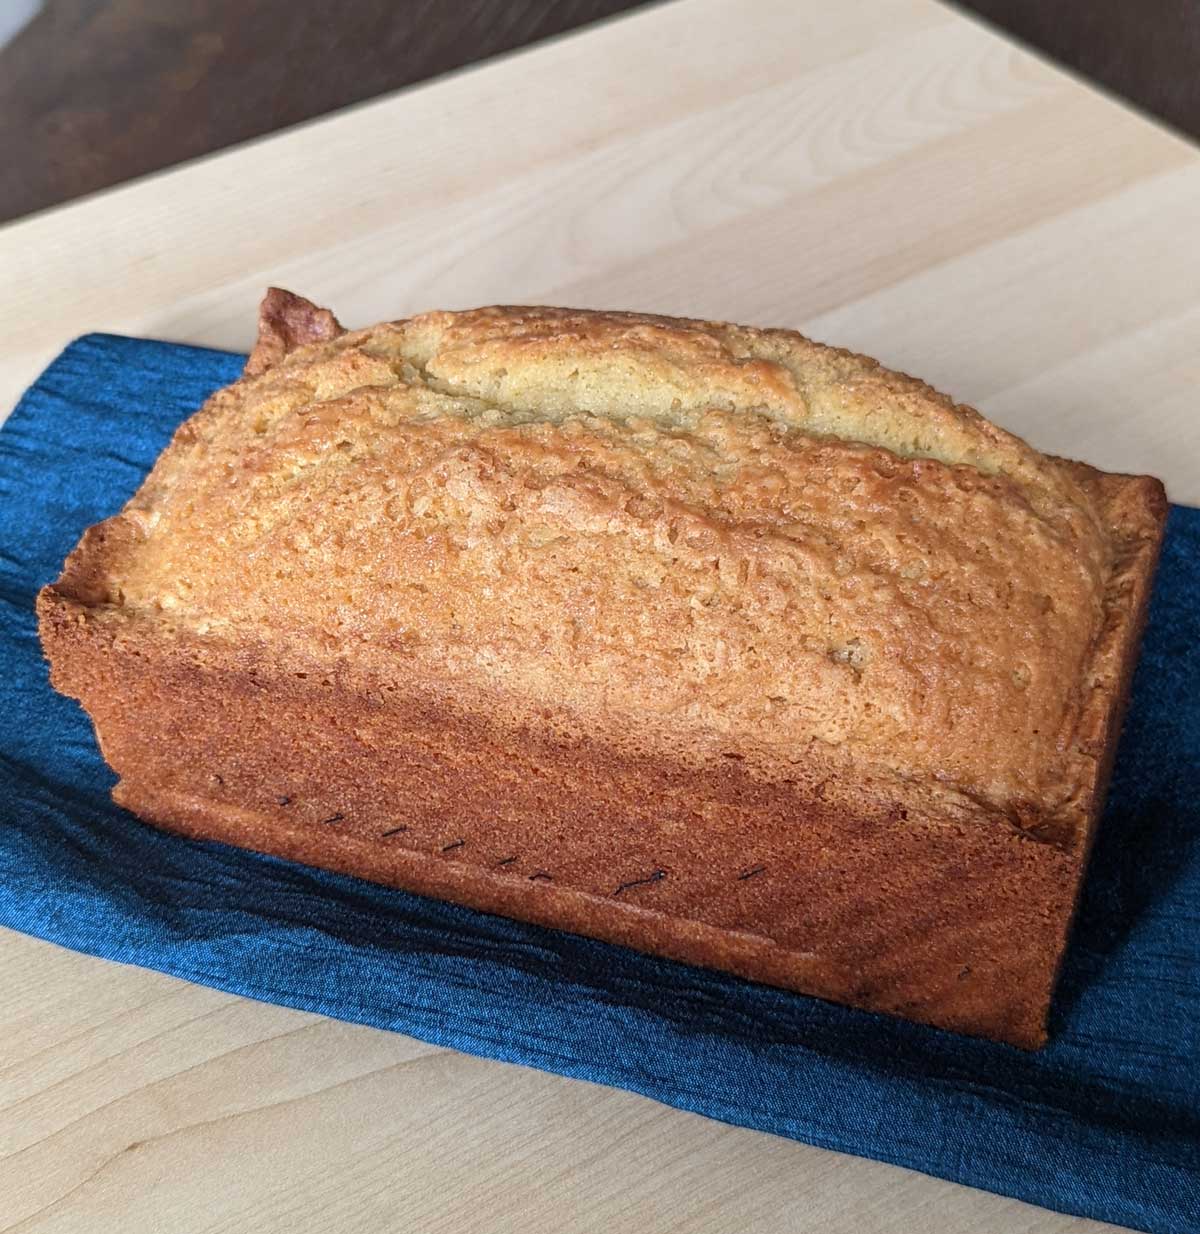
This recipe is from Pati Jinich who credits her sister, Alisa, a professional baker. In her cookbok Mexican Today, Pati says she slices the cake and puts it in her son's lunchboxes. She also mentions cutting it into squares and saving the bite size pieces with the most chocolate for last. Hmm, sounds familiar. But the take-away here is this cake slices beautifully and leaves nary a crumb. You can cut it into extremely thin slices or make neat cubes. It's tight crumbed and soft as you'd expect from a cake that has so much butter and sour cream. My changes were minimal. Aside from experimenting with all of the different loaf pan sizes, I halved the recipe, used a little more salt and I threw some mini chips in with the chocolate batter.
Avoiding Sad Streaks
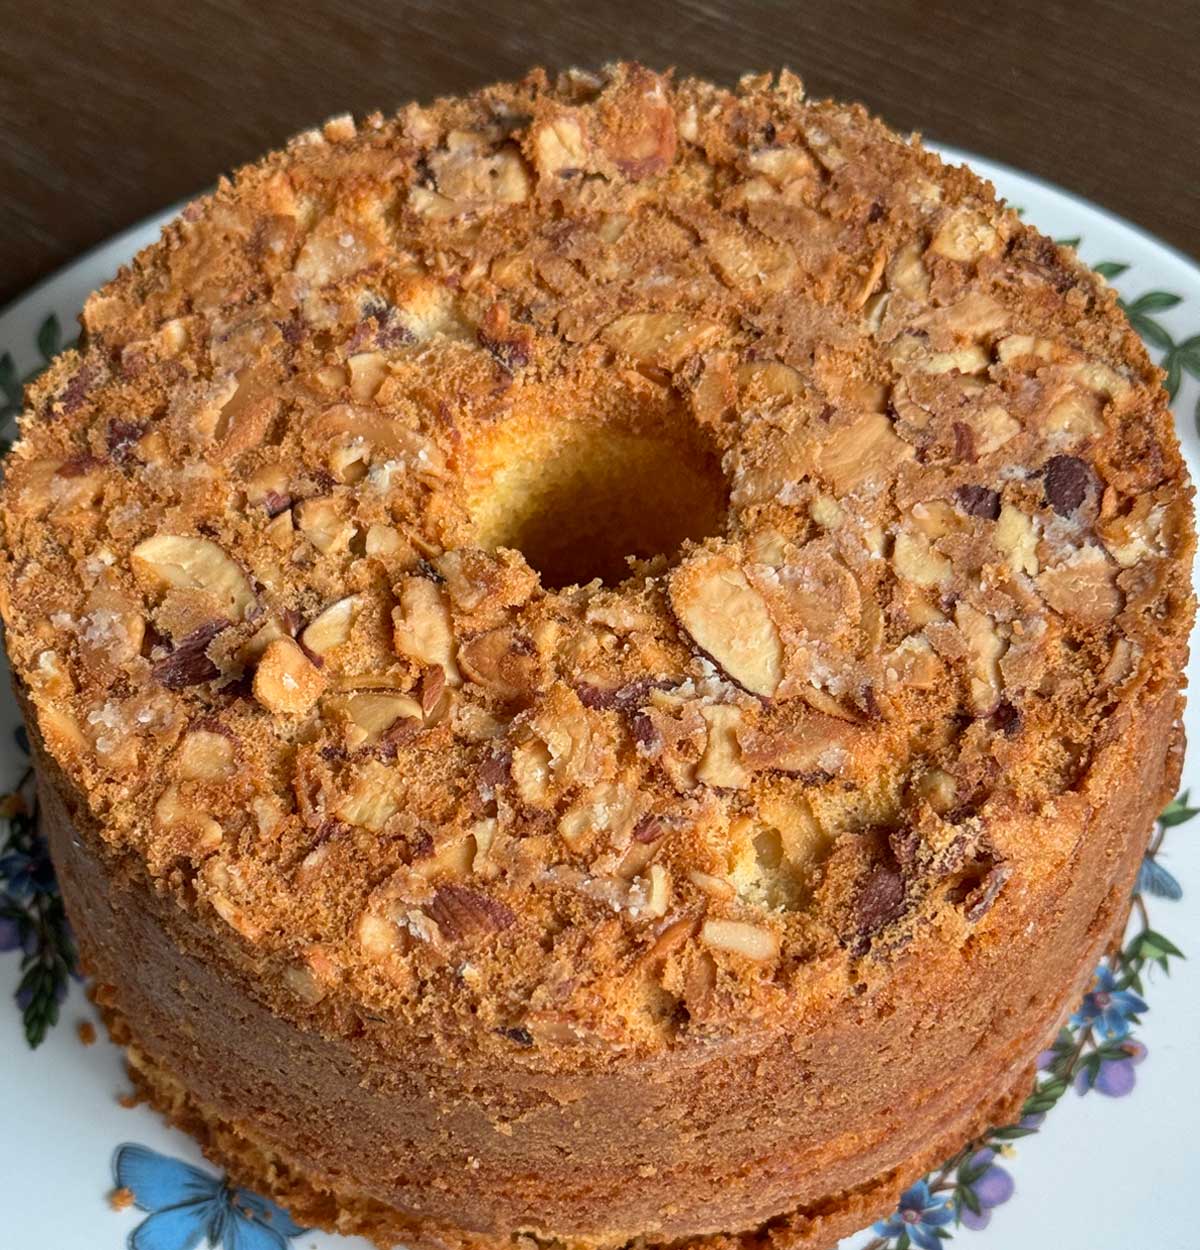
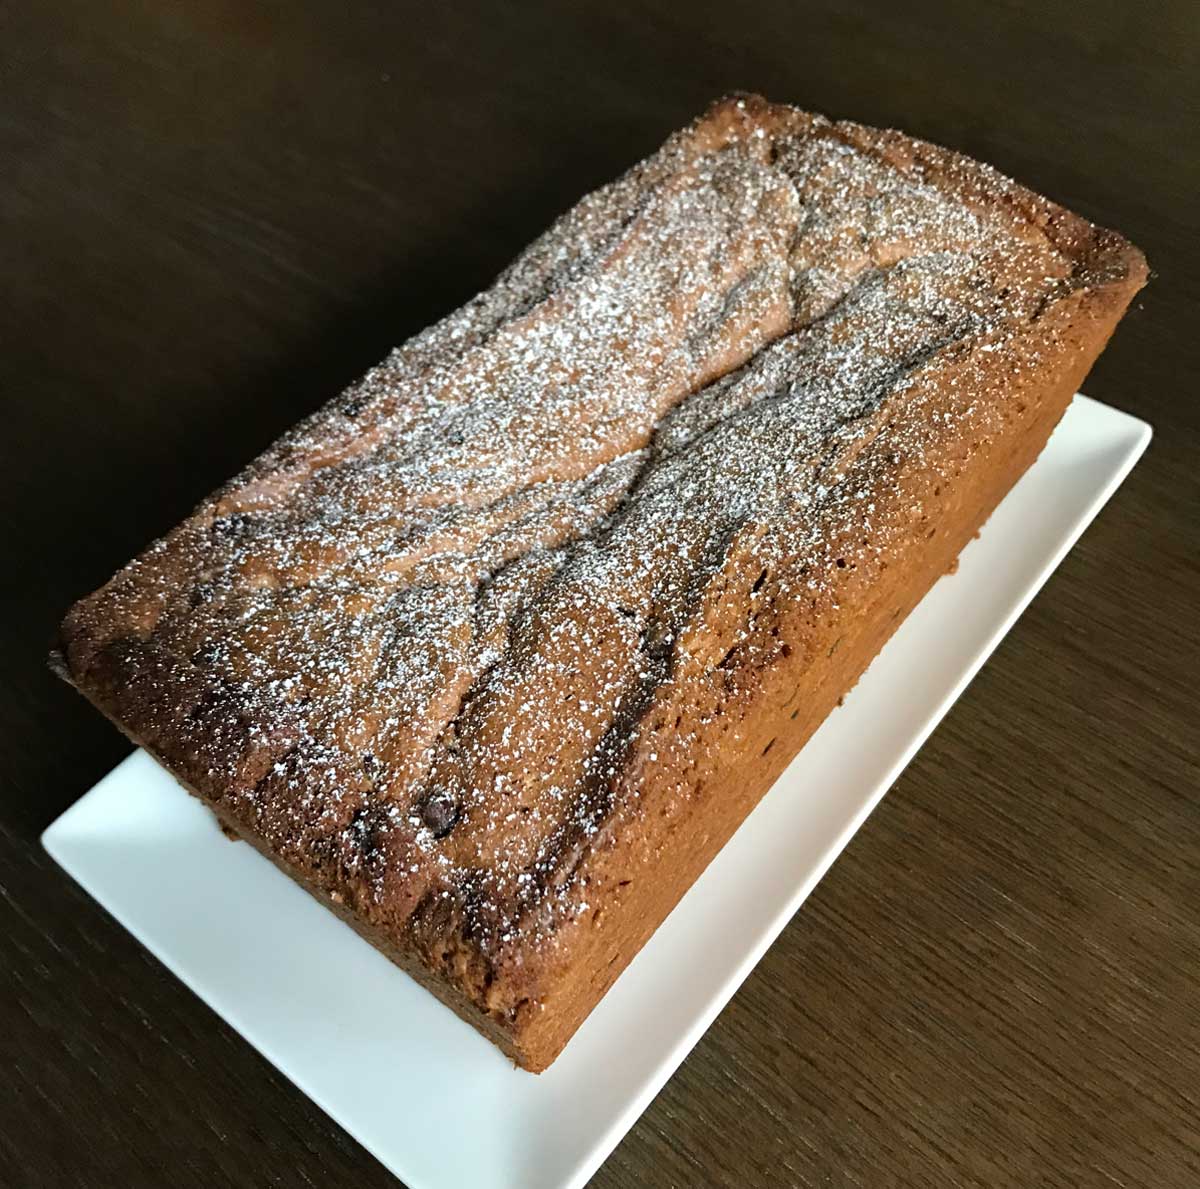
I've made this cake several times, and a couple times I even followed the directions. The times I didn't (like when I halved it and baked it in a small Wilton 7.5x 4.5 inch removable bottom tube pan) I got sad streaks which were most likely due to using too high a mixing speed. Nevertheless, the cake was delicious.
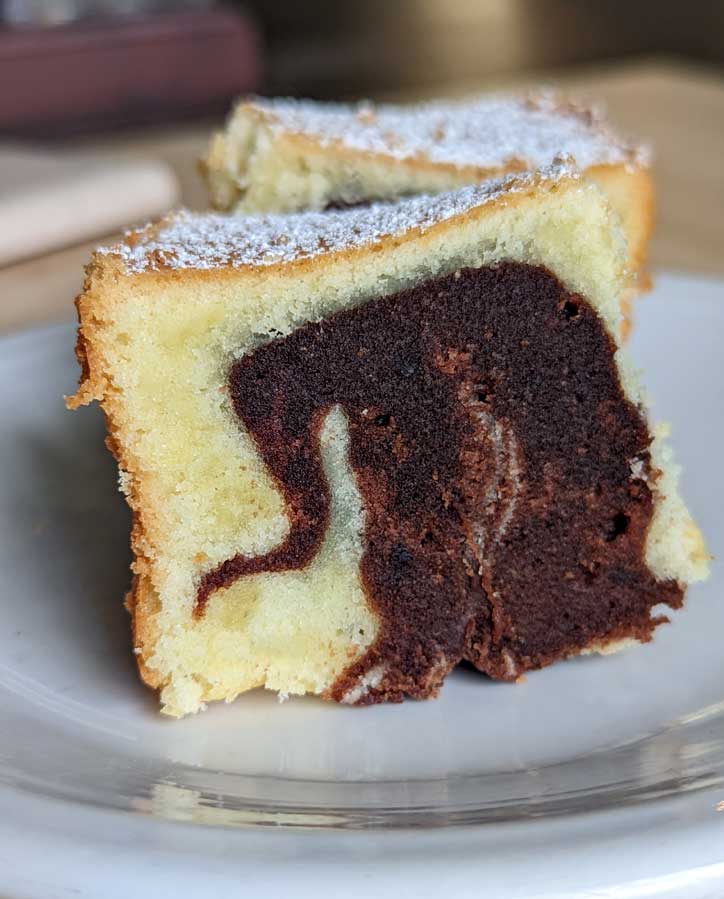
After that cake I started paying closer attention to my mixing speed and taking into account the power of my mixer. Slowing down the mixer speed reduced the sad streaks, but the cake still had that very tight, buttery, soft crumb. Given the high ratio of butter in this cake, that's not too surprising.
Another way to avoid sad streaks is to add the eggs and flour the way the book says to. The book instructs adding half eggs and flour at the same time and beating, then adding the rest of the eggs and flour and beating. This also mitigates sad streaks and gumminess. So I think the only thing you can do wrong here is to over-cream the ingredients, and even then you'll still get a very tasty cake.
Loaf Pan Marble Cake Pan Size
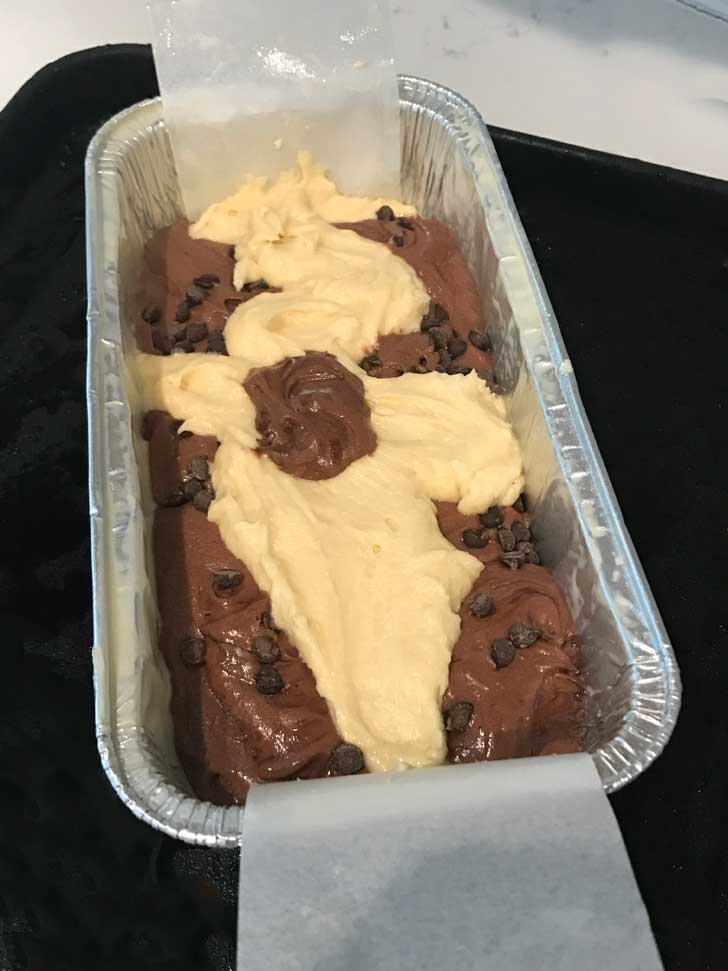
The original recipe calls for a 9x5 inch loaf pan which means the pound cake is a little shorter than most. An 8 ½ by 4 ½ pan seems like a better choice, but I wouldn't know because I have been halving the recipe and baking it in smaller loaf pans. As mentioned, I used the small tube pan and also made a half version in an 8x4 inch (4 cup capacity) pan. These are the old school 8x4 inch pans that measure 8x4 inch on the top but 7x3 if measured on the bottom. That size is harder to find now because everything has been super-sized and most pans are at least 8 ½ by 4 ½. Dollar Tree sells some disposable ones that are just about that size.
Nordicware Bundtlettes Pan
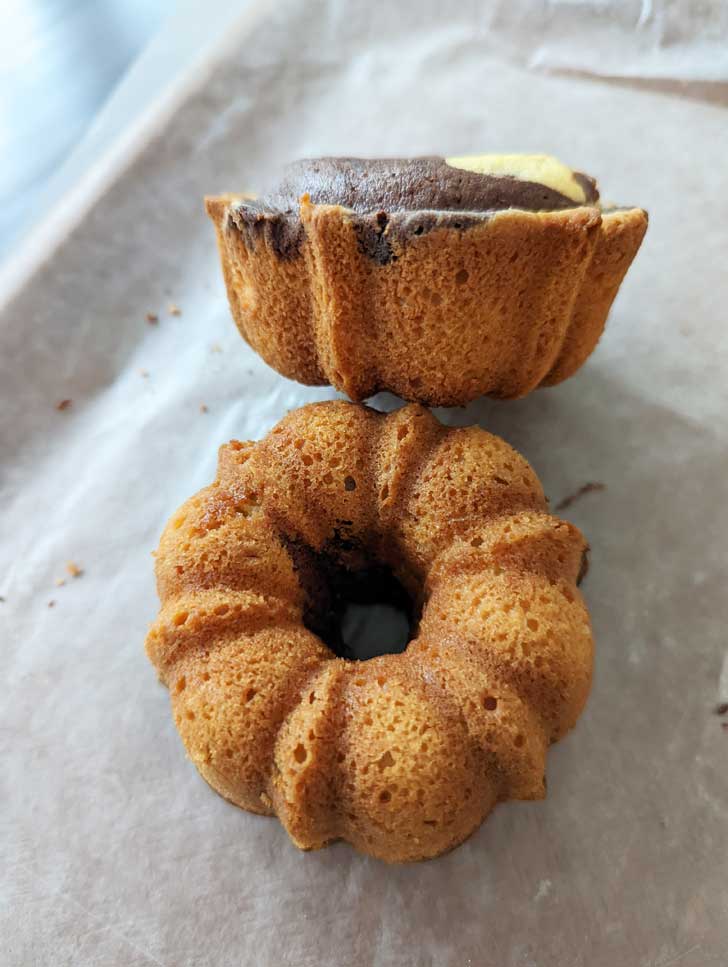
Another pan that works well for this recipe is a Nordicware Bundtlettes Pan. The Bundlettes are larger than mini Bundts and each pan has six little Bundts. The full recipe for this cake will give you 8.
Here's the recipe plus a link to Mexican Today All of the Pati Jinich books are great for anyone interested in Mexican cooking.
Recipe
Marbled Pound Cake
Ingredients
- ¼ cup water
- ¼ cup unsweetened cocoa powder
- 1 ½ cups all-purpose flour (210 grams)
- ¼ teaspoon salt (I use ½)
- 1 teaspoon baking powder
- 4 large eggs at room temperature 30 minutes
- 2 sticks unsalted butter, softened (1 cup) (230 grams)
- 1 ¼ cups granulated sugar (250 grams)
- 1 teaspoon vanilla
- ½ cup sour cream (120 grams)
Instructions
- Preheat oven to 350 degrees F. Grease a 9x5 inch loaf pan and line with a strip of parchment paper. Grease again and dust with flour. The original recipe calls for a 9x5 inch pan, but I think an 8 ½ by 4 ½ would work better.
- Heat the water in the microwave until very warm, then add cocoa powder and stir until smooth. Set aside to cool slightly.
- Whisk the flour, baking powder and salt together in a bowl and set aside.
- Whisk the eggs together in a separate bowl, preferably a medium size bowl or one big enough to use when dividing the batter into two flavors.
- In the bowl of a stand mixer (or in a mixing bowl using a handheld), beat the butter on medium-high speed for 3 minutes, scraping the side of the bowl as needed. Add sugar and continue beating, but reduce to medium-low and beat for 2 minutes, scraping bowl as needed. Add vanilla and beat for 1 minute.
- Add half the flour mixture and half the beaten eggs and beat on medium low, scraping bowl, until blended. Add remaining beaten eggs and flour and continue beating on medium low until blended.
- Add the sour cream and beat until smooth.
- When fully blended, pour half the batter into another bowl (I use the one I used for the eggs). You can eyeball the half or weigh out 480 grams. Beat the cocoa mixture into the batter you measured out.
- Spoon batter into pan, starting with vanilla, layering with chocolate and topping with vanilla or you can spoon all the vanilla, then add chocolate and drag a knife or spoon through the batter to marble somewhat.
- Bake until golden and a wooden pick or skewer inserted in middle of cake comes out with a few crumbs adhering, 50-60 minutes (half versions usually take 50 minutes in my oven).
- Let cake cool in pan on a rack 20 minutes. Run a thin knife around inner and outer edges of cake, then invert rack over pan and invert cake onto rack to cool completely.

Leave a Reply