It took me a while to master gluten-free yeast bread, and after many bricks and weird textured baguettes, I have a handful of good recipes. Easy Gluten-Free Dutch Oven Bread is one of them. It's modeled after Jim Lahey's No-Knead Bread in that it's a round chewy loaf (boule) you bake in a Dutch oven. While it's pretty easy to put together, you do need to make it ahead of time to allow plenty of time to dry out the interior and prevent gumminess.
Gluten-Free Flour Blends
Most gluten-free breads call for a blend of different flours. For this one you can use a gluten-free blend, but they don't all work the same. The brands I've tested with so far are as follows:
- Pillsbury's multipurpose blend that comes in a greenish bag. I haven't seen it in stores lately, but it worked well.
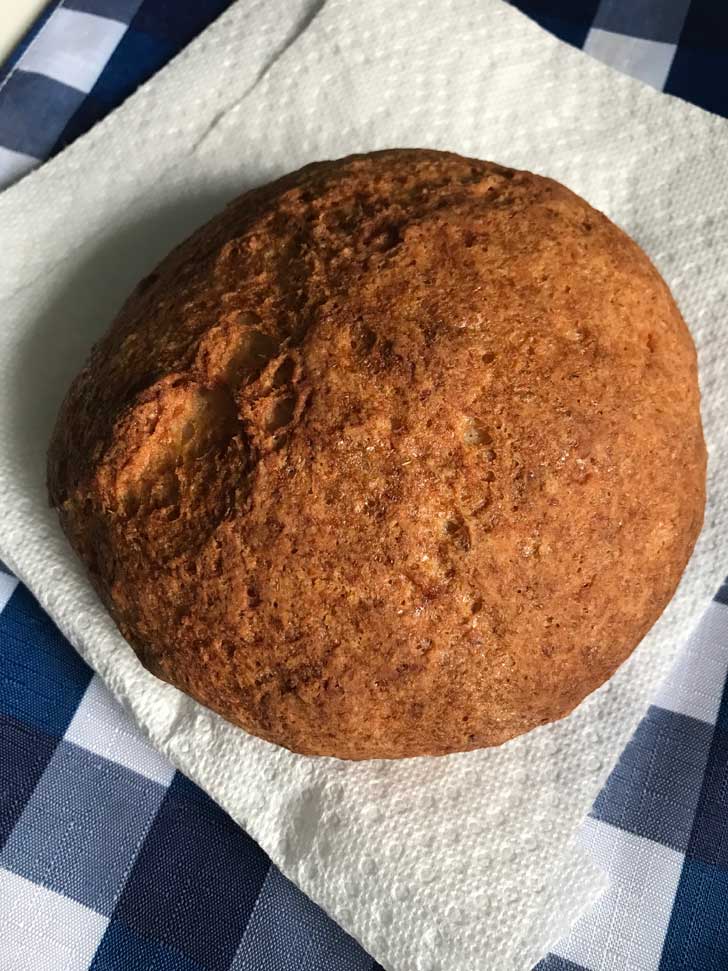
- Cup4Cup multipurpose in the blue bag which was reformulated in August and does not include milk powder. So far it works the best! It's the featured image.
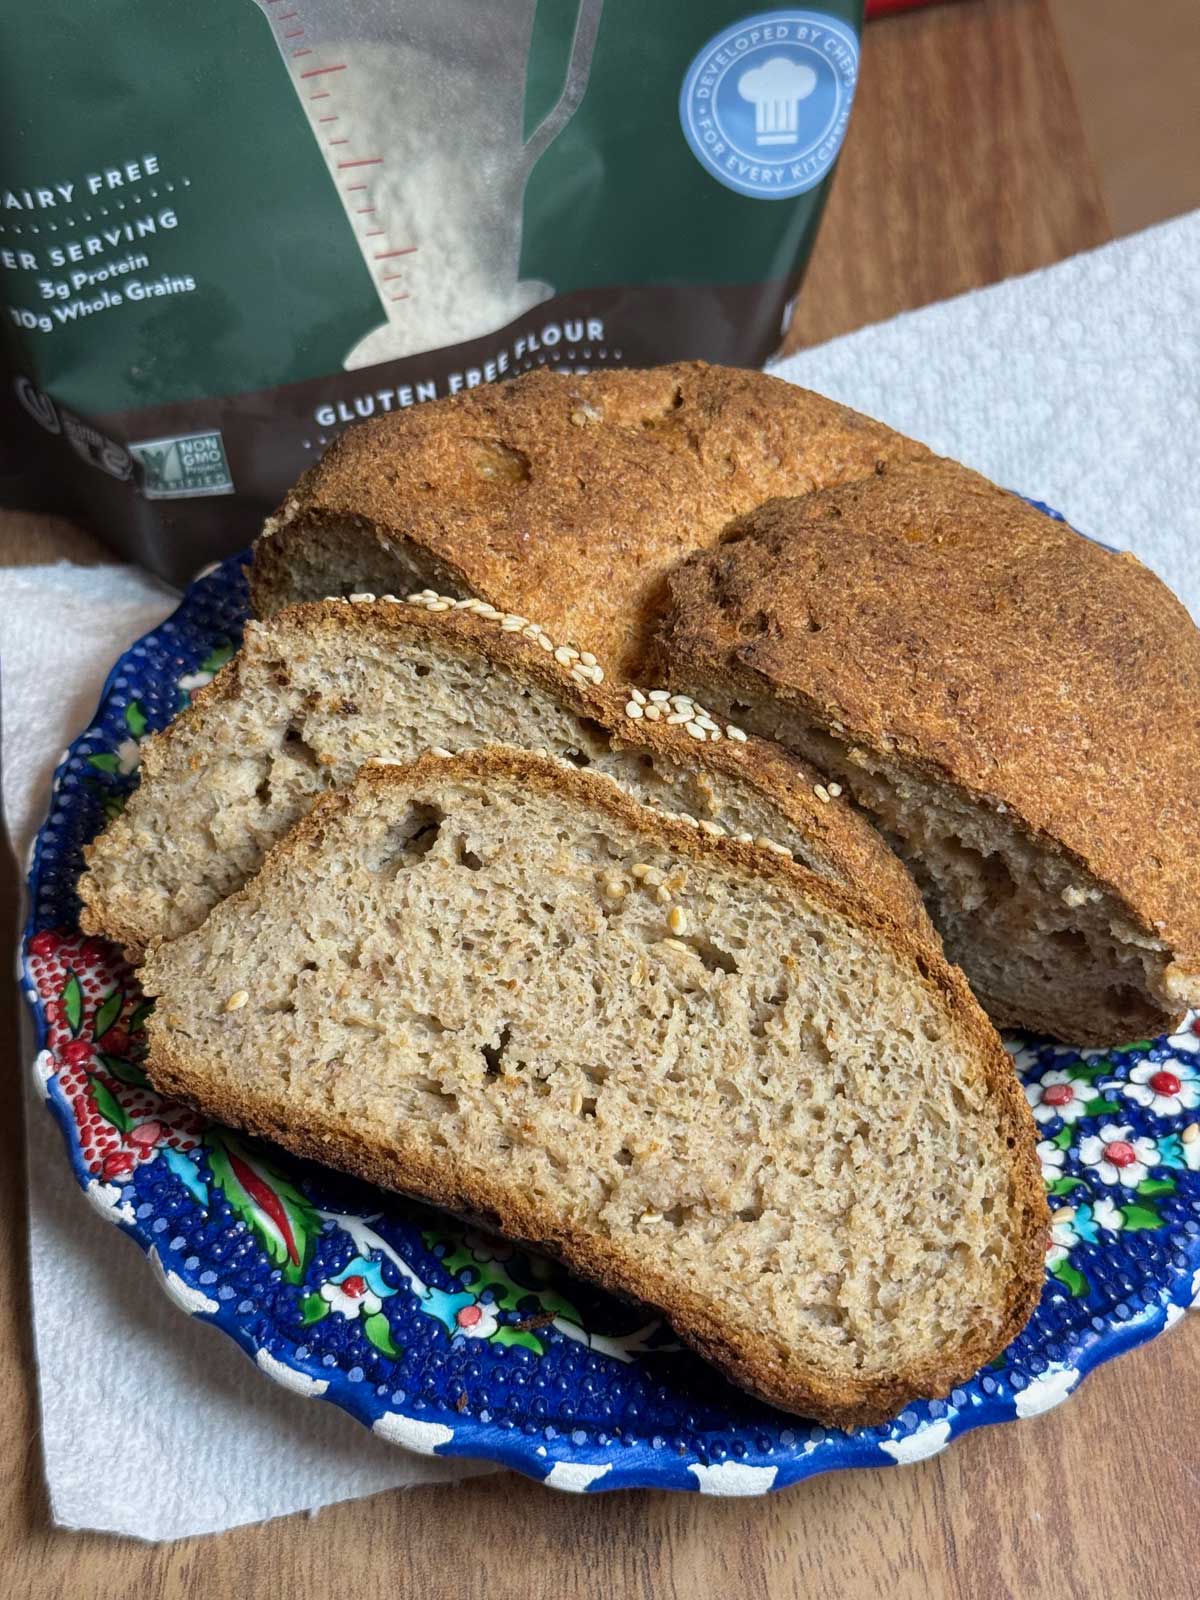
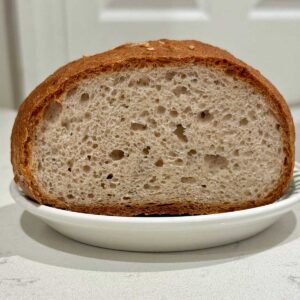
- Cup4Cup "wholesome blend" which comes in a green bag and is made with rice flours, flax and rice bran. It makes darker loaf with richer grain flavors. Pictured below. It makes a bit of a stubbier loaf, but tastes really good.
All of the blends have xanthan gum added. The recipe calls for psyllium as well. I don't think it would work well without the psyllium.
Psyllium Husk
Along with the gluten-free flour, you'll need psyllium husk, which is often used in place of xanthan gum to help bind gluten-free bread. There are two types of psyllium, whole psyllium husks and psyllium husk powder. The whole husks are fluffy and similar to wheat bran in texture, while the psyllium husk powder is very fine like Metamucil. I use whole psyllium husks -- specifically Now brand, Sprouts or Whole Foods, because they don't turn the bread purple like some brands of psyllium.
Psyllium Husk Powder Version
Psyllium husk powder can also be used, just use the same weight. The volume will be more like 4 teaspoons since it's finer. The powder tends to lump, so if using the powder I recommend mixing it directly in with the flour rather than making a gel, then beating with the paddle attachment of a stand mixer. So consider the psyllium husk powder version "the stand mixer version" because you need that paddle to work out lumps.
Picture of the Dough in a Bowl
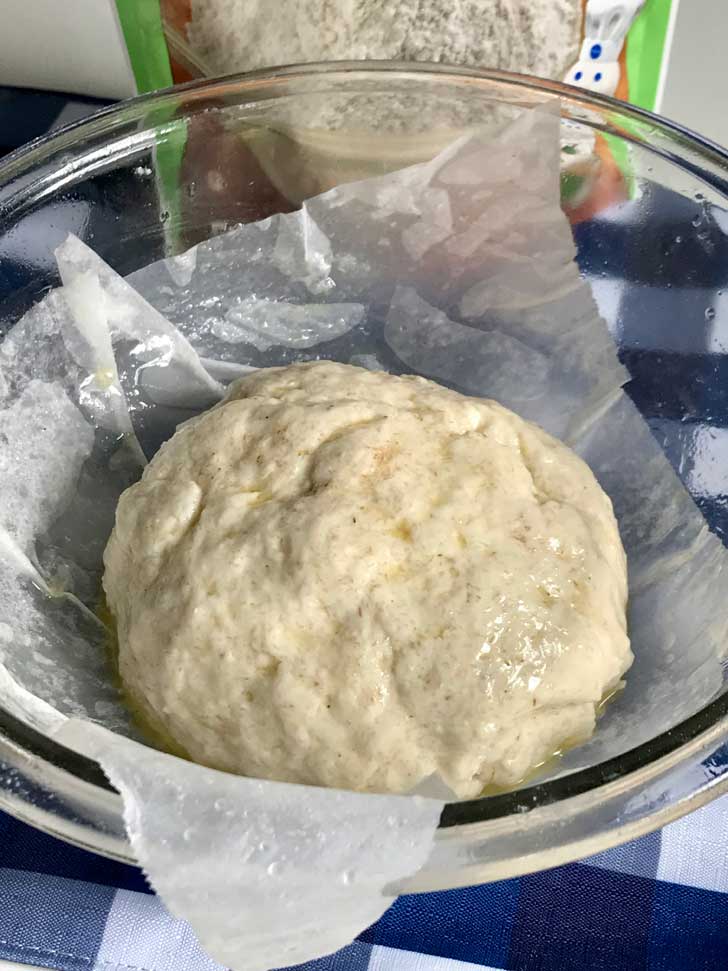
This is the dough made with the Pillsbury blend. It's lighter in color. It should be stiff enough so that you can lift it and move it, but it should not feel at all dry because it needs that bounciness and moisture to rise. If you fold it and it creases and breaks, add a little more water. It is not like regular bread dough at all.
Risen Dough
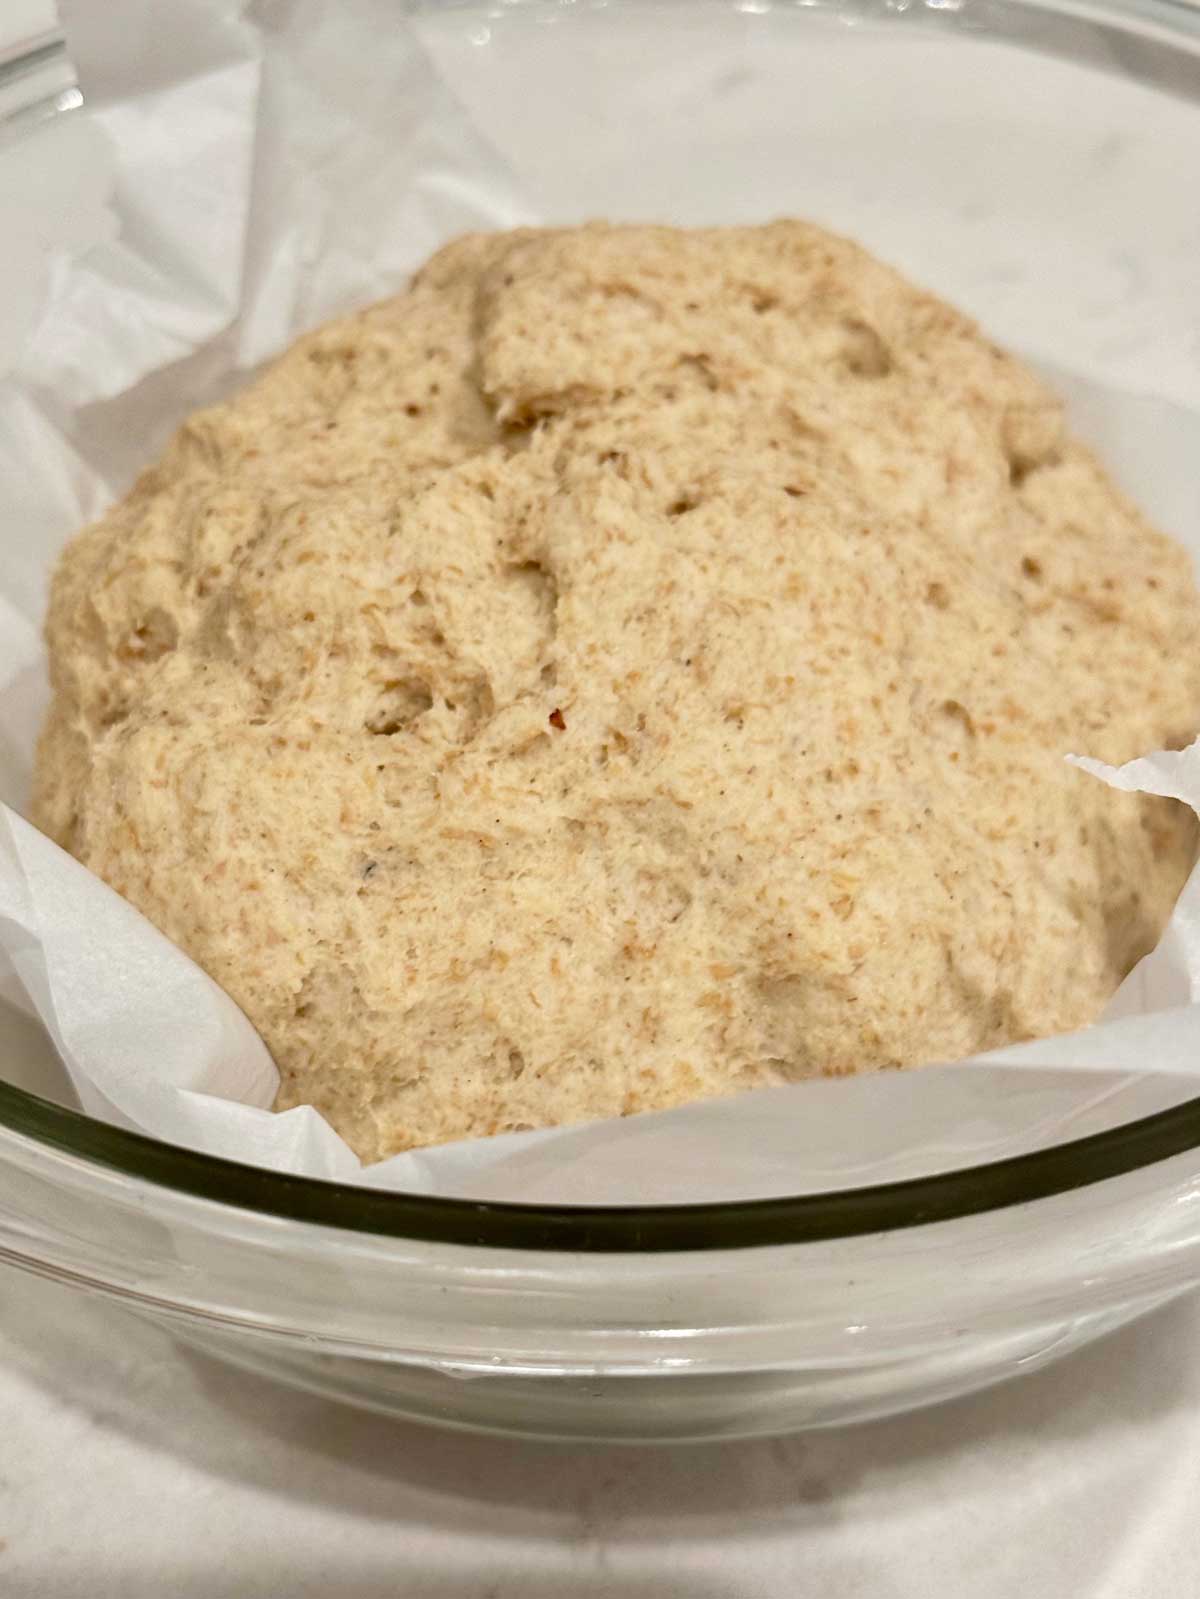
Here's another picture of the dough, risen and read to bake. This one was made with the Cup4Cup wholesome blend so it's darker.
How to Make
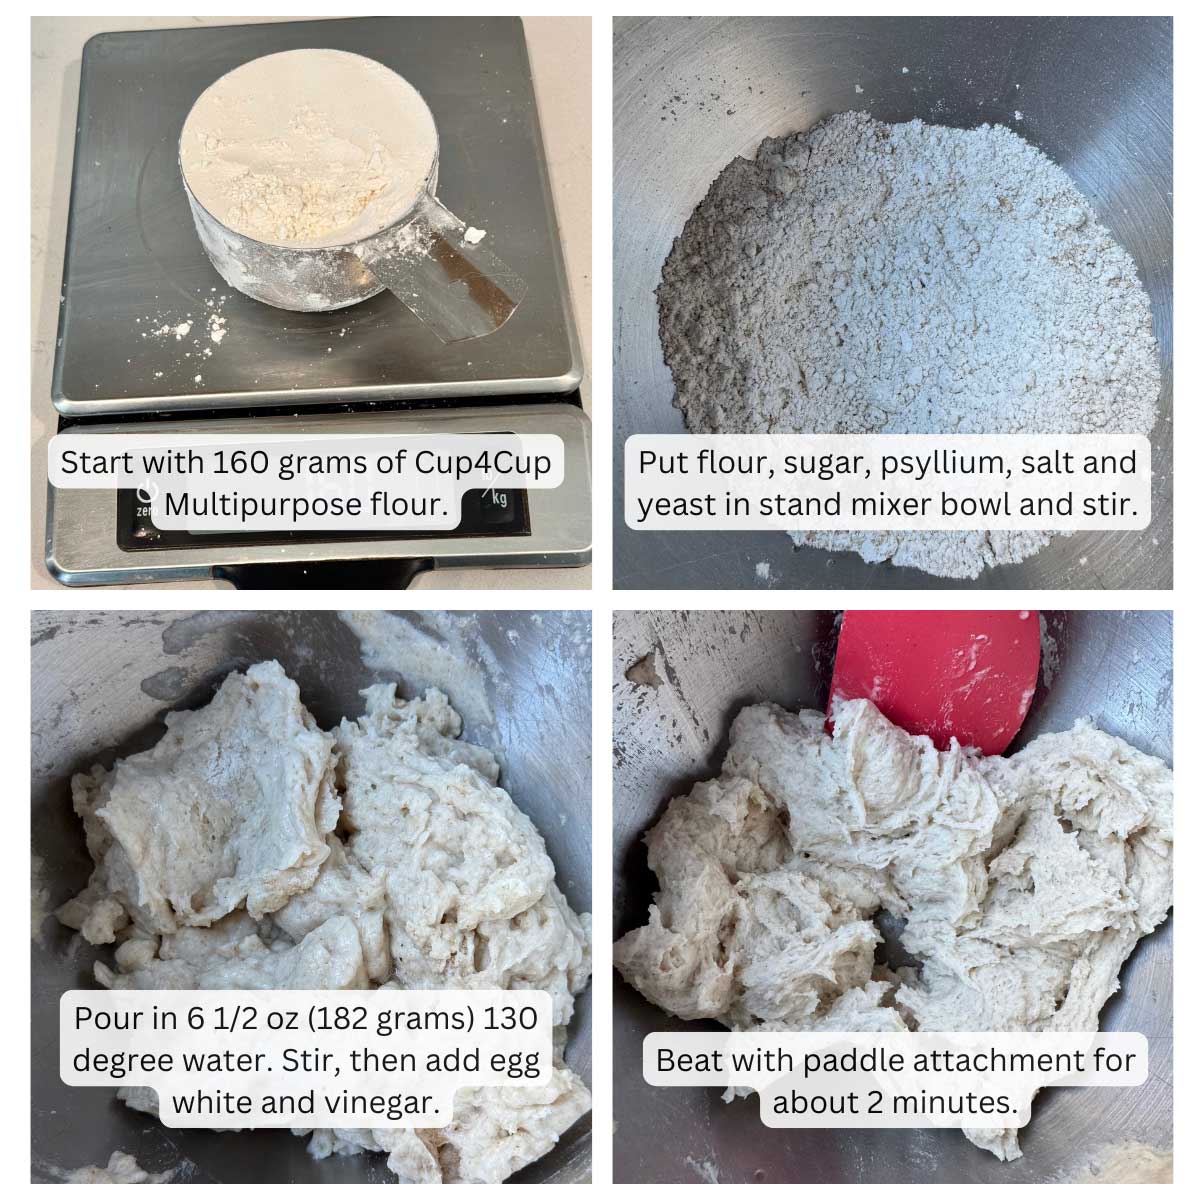
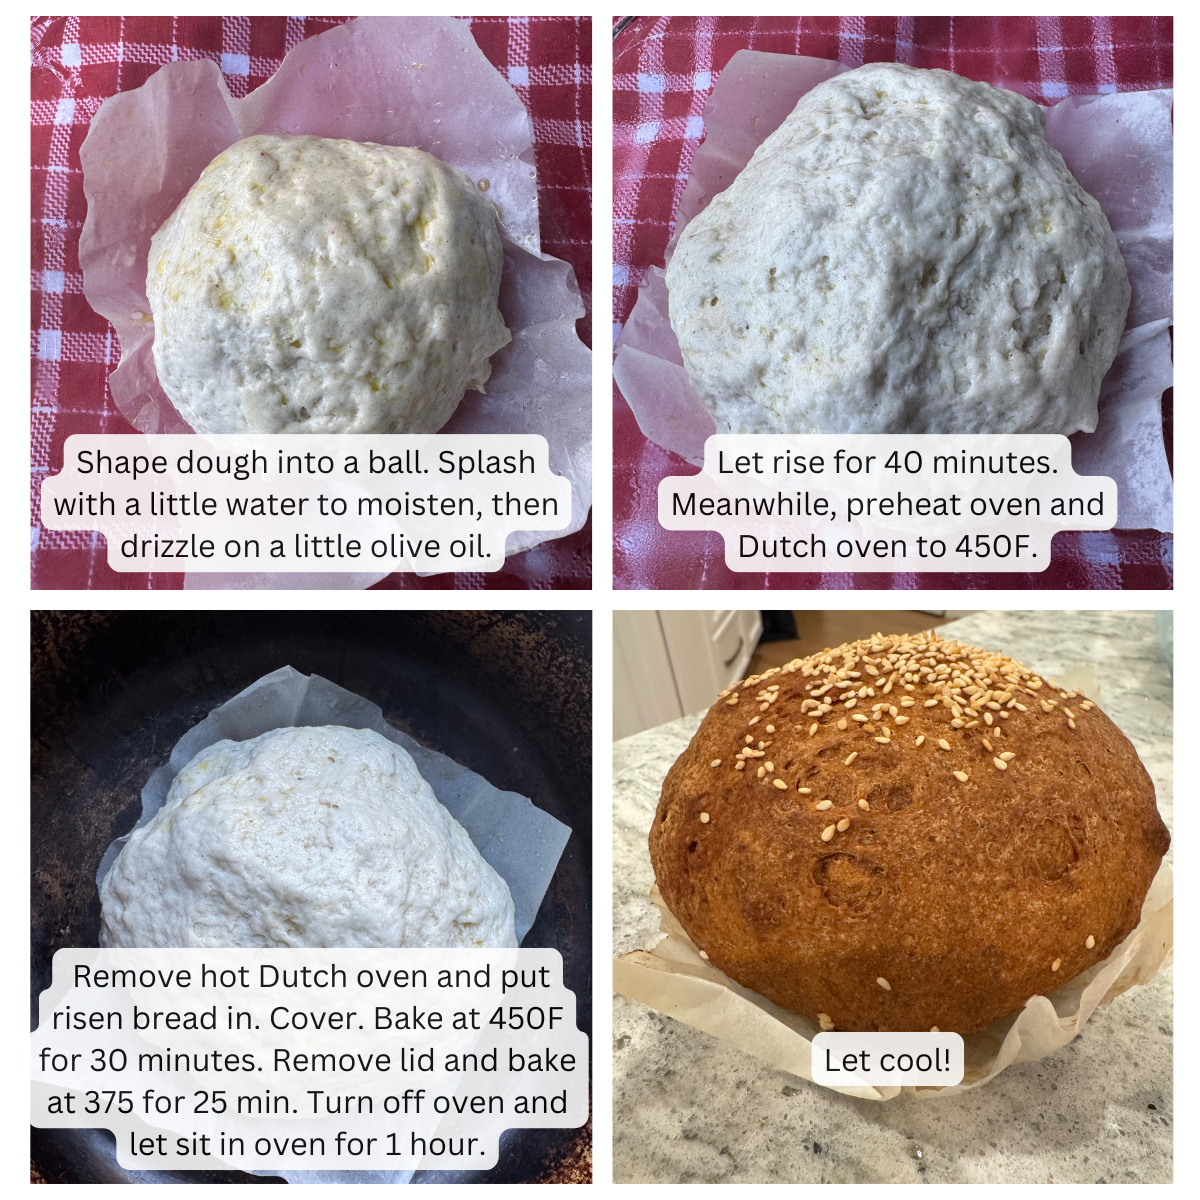
I took some photos while making the stand mixer version. Here's a quick rundown.
Recipe
Gluten-Free Dutch Oven Bread
Ingredients
- 160 grams of either Cup4Cup blue or green bag or Pillsbury multipurpose blend. Volume will vary (volume will vary, see note)
- 1 tablespoon sugar (12 grams)
- ¾ teaspoon salt
- 1 ¼ teaspoons quick rising yeast
- 1 teaspoon vinegar
- 2 tablespoons psyllium husks or 4 teaspoons powder (12 grams)
- 1 large egg white (27-33 grams)
- ¾ cup very warm water plus 1 tablespoon (will need up to 1 ½ tablespoons more if using Wholesome Blend) (182 grams to 228 grams depending on flour)
Instructions
- In a mixing bowl, combine the gluten-free flour, sugar, salt and yeast.
No Stand Mixer Method
- Heat water in the microwave to about 130 degrees F. Pour only ½ cup of the water (114 grams) into a separate bowl and add the psyllium. Stir and allow it to form a gel.
- Make a well in the center of the flour mixture. Add the psyllium gel, vinegar and egg white. Begin stirring. At this point it will be very dry, so continue adding the remaining warm water (¼ cup plus 1 tablespoon), stirring with a heavy duty rubber scraper, until you have a squishy odd textured dough that holds together in a ball. Mash it over on itself a few times with the heavy duty scraper. You're basically kneading it a little, but in the bowl. It should clump up in a ball and not stick to the sides or feel dry (pictured on blog). Add about 1 ½ oz more water if using the Wholesome Blend or if dough feels dry.
Stand Mixer Method
- If using a stand mixer, put psyllium powder in the bowl with the flour mixture and just dump in all of the water (¾ cup plus a tablespoon or 182 grams). Give it a stir, then put on the mixer stand and mix with the paddle for about 2 minutes. It will be chunky at this point. It should feel a bit wet, but hold together. If using a whole grain flour, you'll probably need to add the next 1 ½ oz of water.
Shape and Let Rise
- Press a square of damp parchment paper into the bottom of a bowl somewhere around 1 ½ quarts or liters. You just need something for the dough ball to fit in while it rises. Set the loaf on parchment. If you want you can drizzle a little olive oil over to keep it moist. Cover loosely with plastic wrap and let rise for about 40 minutes. It will not double but it will rise and puff.
- While the dough is rising, place a Dutch oven and its lid in the lower third of the oven and preheat the oven to 450 degrees F.
Baking
- Remove the hot pot from the oven and using hot pads, remove the lid. Lift the parchment with the round of dough on it and set it in the pot (parchment and all), then cover the pot and put it back in the oven.
- Close oven door and bake with the lid on for 25 minutes at 450. Remove the lid and reduce heat to 375 degrees F. Continue baking for another 30 minutes. Turn off oven. Take the loaf out and set it directly on the rack of the still warm "off" oven for 30 minutes. This is just to dry out the interior more. Let cool completely.

Anna says
Bridget, thank you, thank you, thank you for trying it! Also thank you for adding the measurements you used with the Krusteaz. These gluten-free breads always take some trial and error. I love that you are new to gluten-free baking because you're going to have so much fun experimenting with your psyllium powder and discovering what can be done.
Bridget says
I got a Dutch oven specifically to make some gf bread for soup season. I am not an avid breadmaker and appreciate how easy and simple this recipe is to throw together. I had to experiment a bit with my preferred flour blends to get a good rise while still achieving a rustic flavor. These are the modifications I ended up with:
100g + 3 tbsp Krusteaz gluten free flour
60g premium gold flax + ancient grains gluten free flour
1 whole egg instead of 1 egg white
Adding 1tsp of baking powder
The result is just what I was hoping for. I got a good rise and the crust is wonderful. I had never used psyllium husks before but I much prefer it to adding starches - I was surprised at how different the dough texture was. Thank you for the recipe!
Anna says
I can't wait to hear what you think! Psyllium powder might work, I just haven't tried it yet. If you want to try it with the powder it would still be 10-12 grams, but probably half the volume amount.
Katrina says
I'll have to get some of the whole psyllium husks. I only have the powder. But I've got this on the to-make list for this week!