This gluten-free wild rice cranberry bread recipe is one of my best! While it's not exactly an artisan bread, it has an artisan bread feel with a soft interior and chewy crust. And then you have the interior crumb serving up more texture and flavor from cooked wild rice, cranberries and walnuts. You can toast or serve it as is.
Jump to Recipe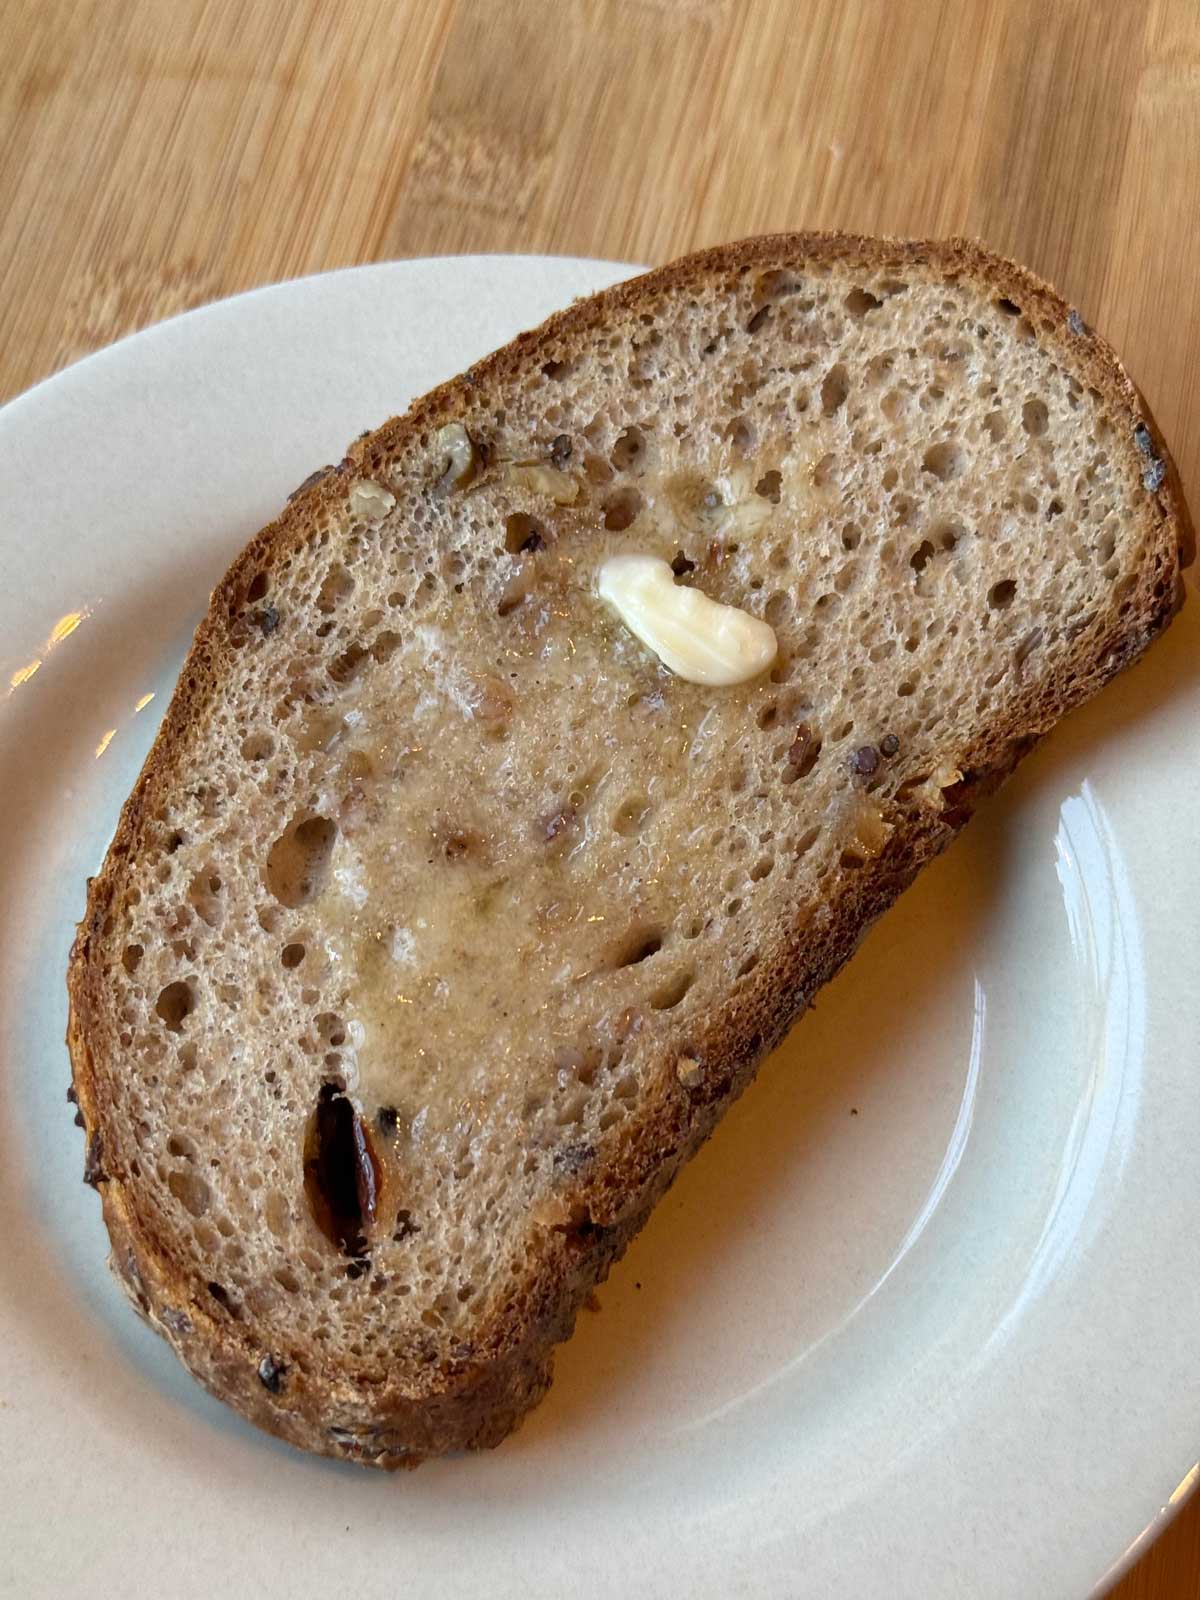
The recipe came from my Gluten-Free Teff Boule, but I changed the gluten-free grains a little, added the rice and cranberries and incorporated some flavorful La Tourangelle walnut oil.
Gluten-Free Blend of Flours
To make this bread, you'll need light buckwheat flour, tapioca starch and brown rice flour. These three flours along with a mixture of psyllium husks, water & vinegar will magically bake into a loaf that people might mistake for a wheat bread. When making gluten-free yeast breads, brands sometimes matter due to grind and absorbency. These are the brands I use.
- Anthony's Buckwheat Flour
- Bob's Red Mill Tapioca Starch
- Authentic Foods Superfine Brown Rice Flour
- Now Whole Psyllium Husks
The buckwheat flour needs to be the light type (like Anthony's) and the tapioca starch brands are usually interchangeable. The brown rice should be superfine, and Authentic Foods, Vitacost and Anthony's all work well. Bob's RM seems to absorb water a little differently so if you use their rice flour for this you'll end up having to adjust the water. The psyllium should be whole husks as in the link. I like Now brand.
Gluten-Free Wild Rice Bread Instructions
Here are some process shots of the bread being made. For this loaf I used ⅔ of the ingredients for a slightly smaller loaf. This is basically because I've made this so many times I am running out of room for another regular size loaf.
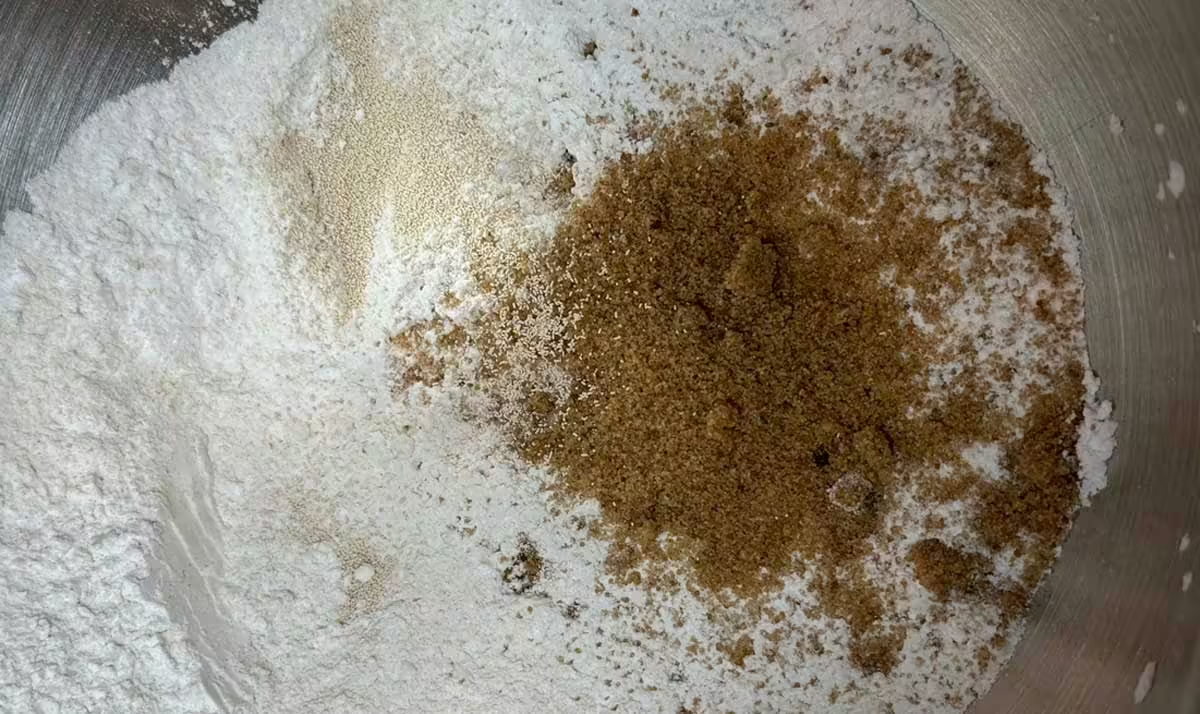
- Step 1: Combine the flours in a stand mixer bowl.
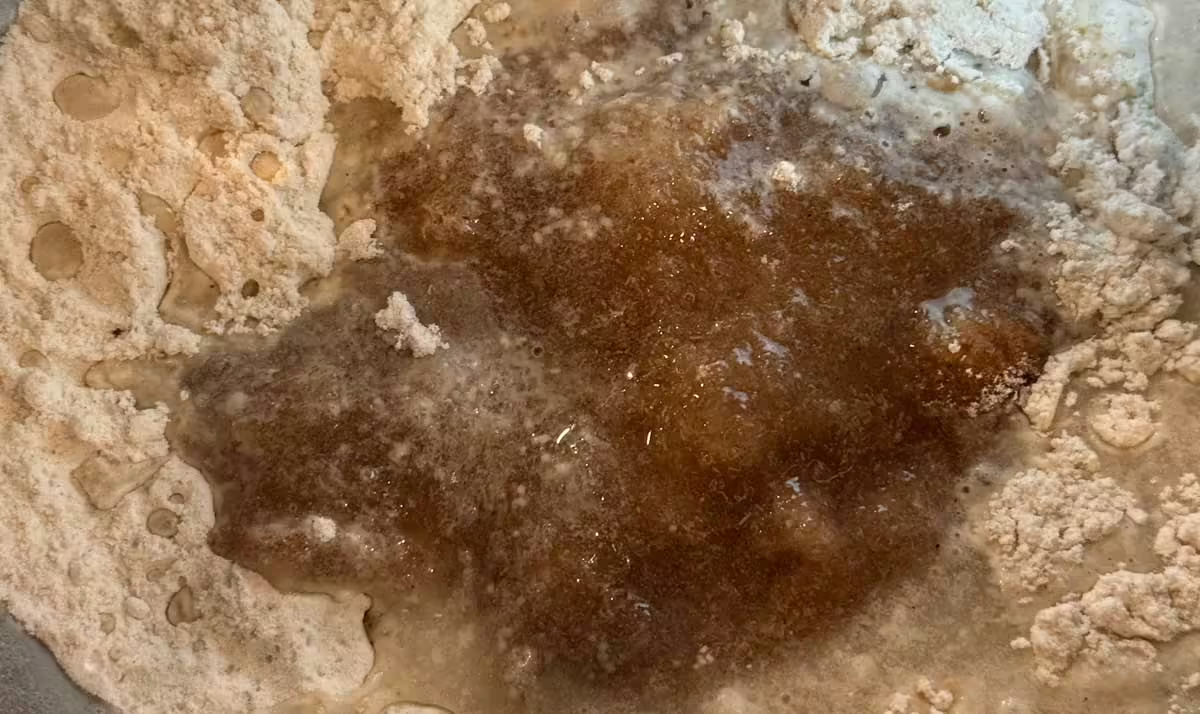
- Step 2: Make a gel with the psyllium and water and add.
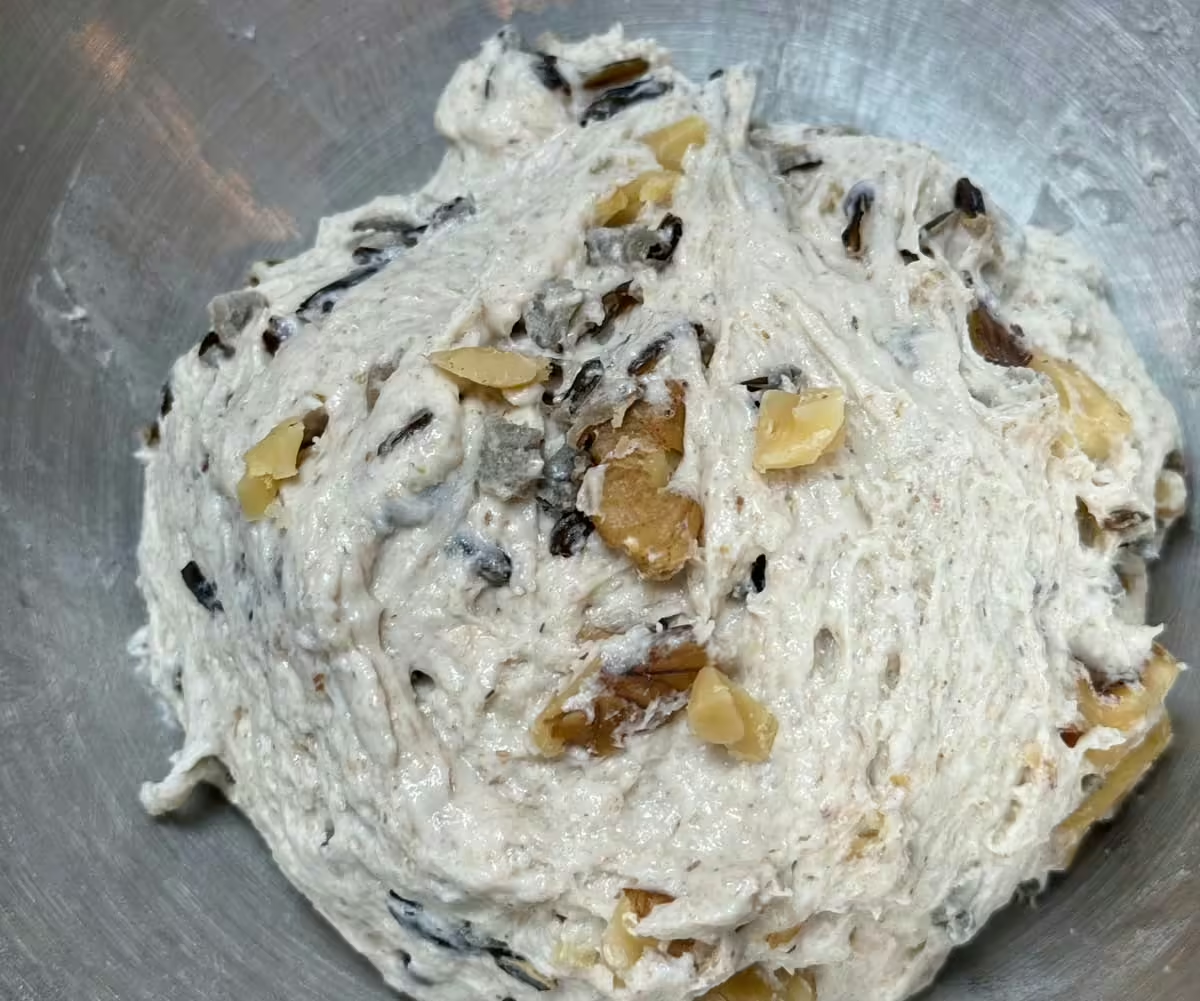
- Step 3: Add vinegar, oil and remaining water. Mix with the paddle to make a dough. Add the wild rice and cranberries.
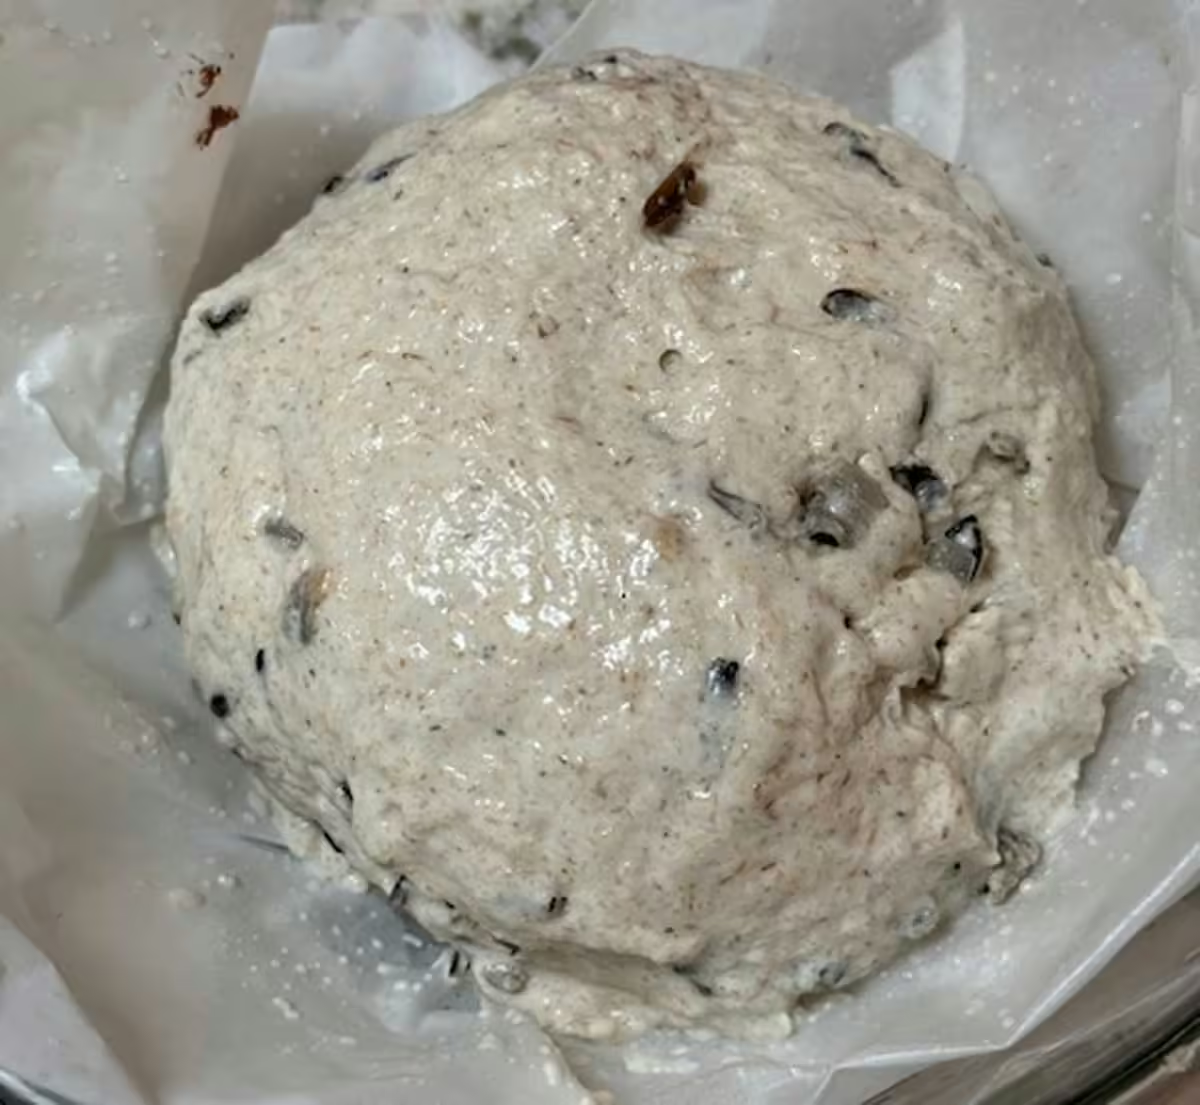
- Step 4: Let rise for only 35 minutes. then bake for 45 minutes in a Dutch oven with lid off for half the time. Let sit in off oven for an hour.
Finished Loaf
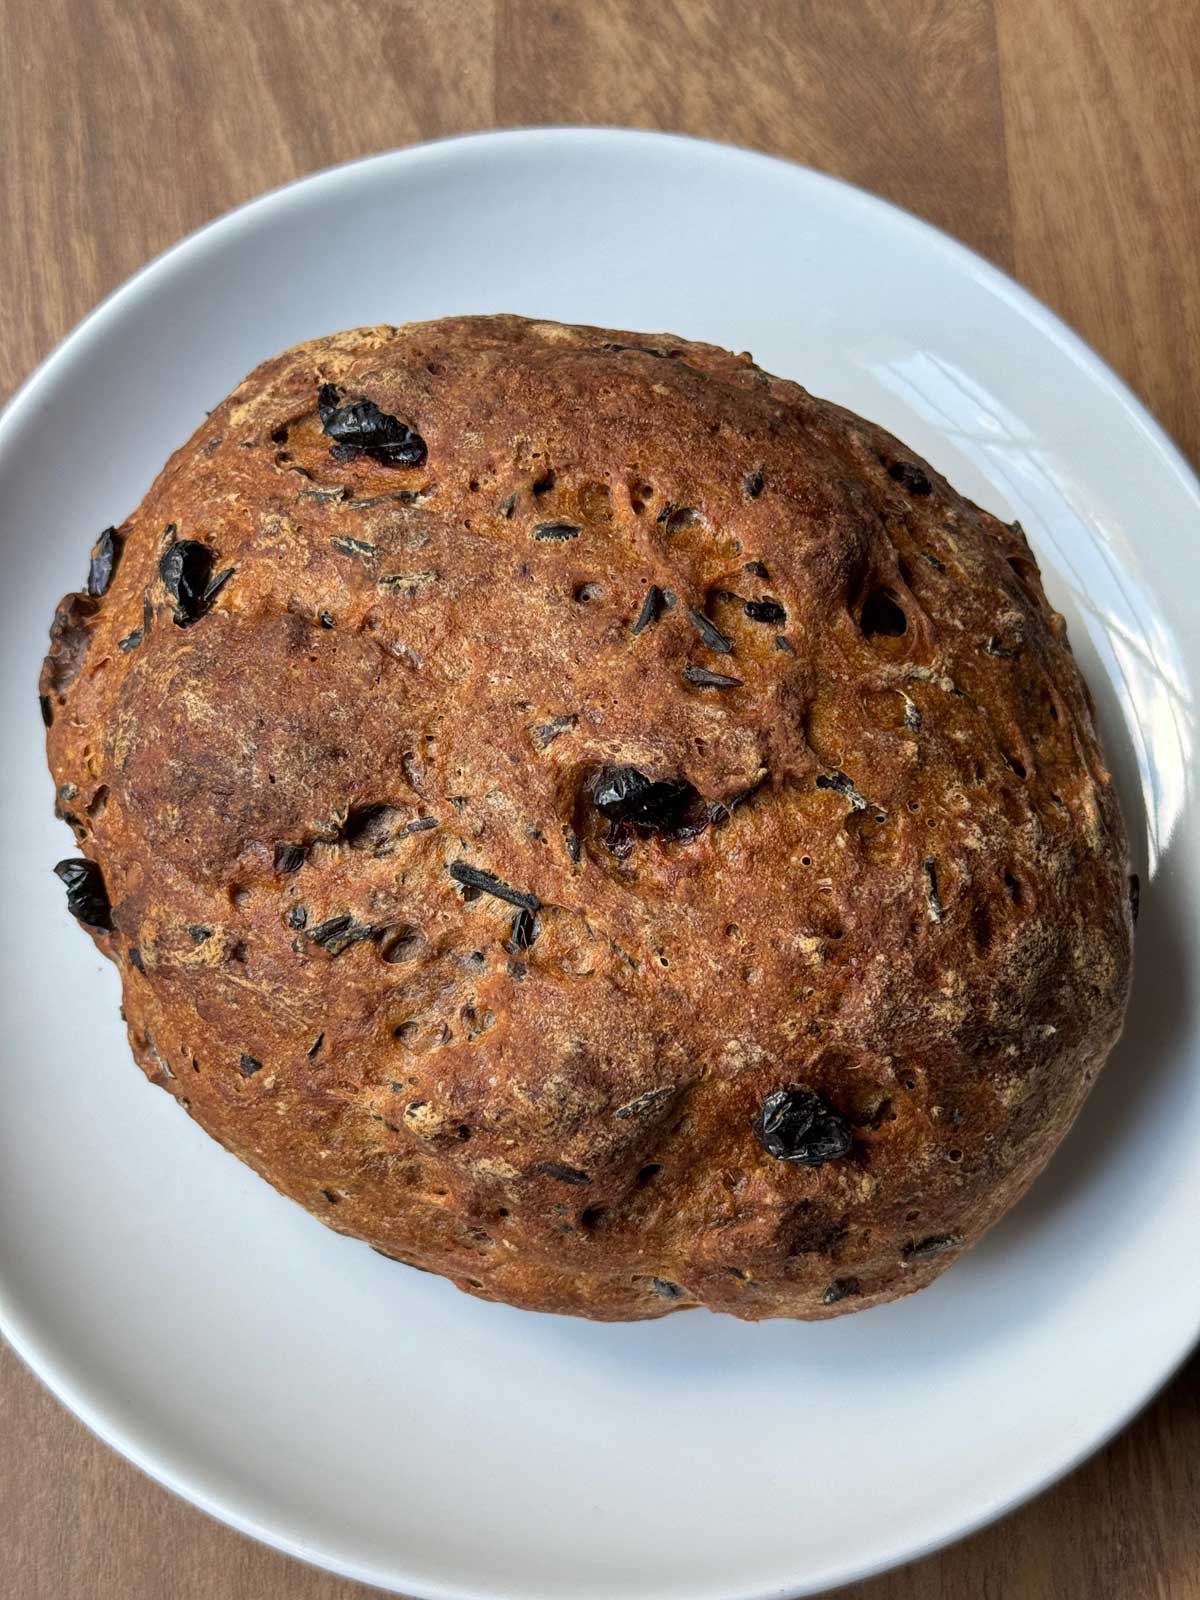
After 45 minutes in the oven and about an hour in the off oven, you should have a loaf that looks something like this.
Variations
- For a smaller, rounder loaf, use ⅔ of all the ingredients. Bake time is about the same.
- You can use pecans or hazelnuts instead of walnuts or leave the nuts out completely. The cranberries plus that little bit of molasses give the bread a sweet taste.
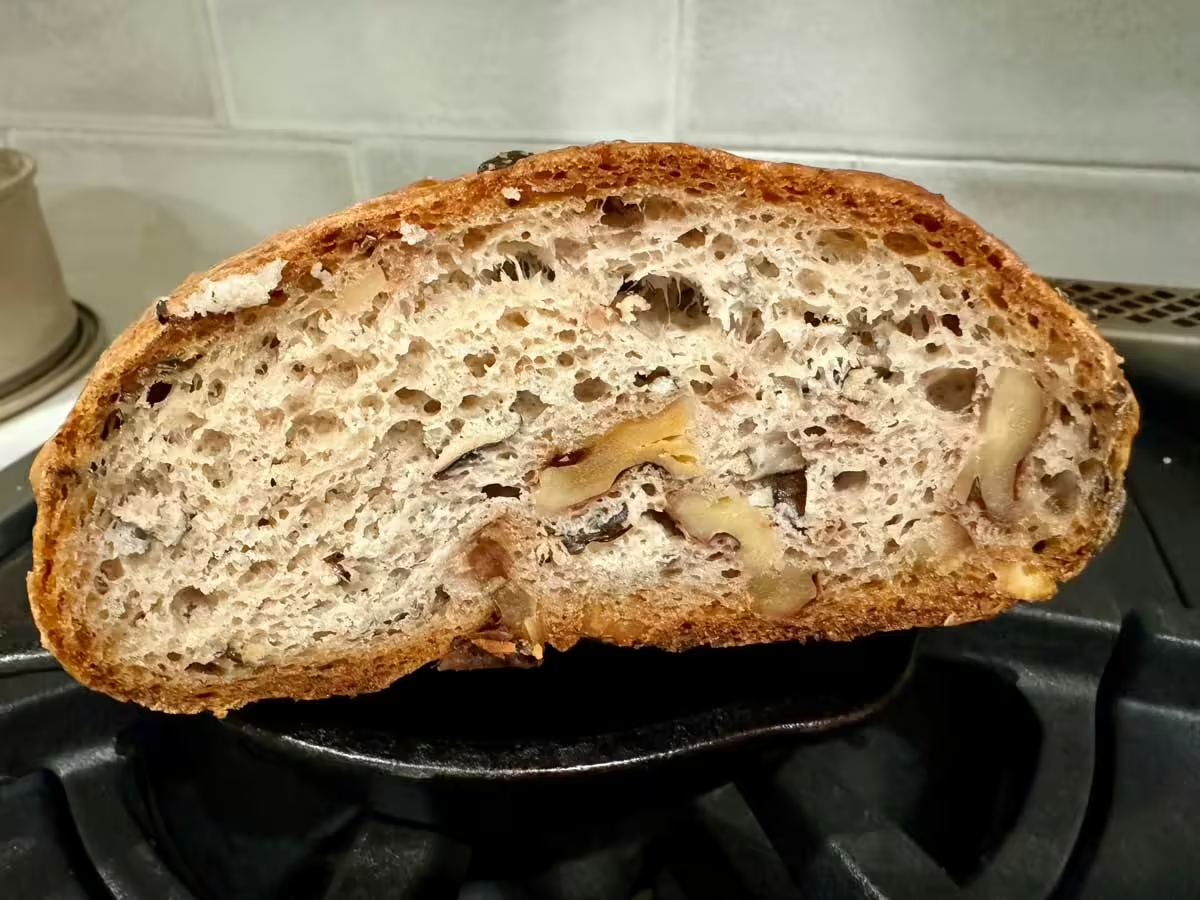
- For a less-sweet bread, leave out the molasses and cranberries and use a teaspoon or two more walnut oil. This is small loaf I made to serve with dinner.
Equipment
This is a Dutch oven gluten-free bread, so you'll need a large Dutch oven with a lid. I linked to my Le Creuset, but there are a lot of good ones out there for less. Also, I use a stand mixer with a paddle attachment. No dough hook required, just the paddle. And finally, while it's not really "equipment" and you can substitute, a 1 ½ quart Pyrex bowl is handy. I use it to mix the psyllium gel, then I clean it and set the dough in it to rise.
Storing Gluten-Free Wild Rice Bread
Store loaves in the freezer wrapped tightly in plastic wrap. Once you cut into it, you can slice the whole loaf and keep the frozen slices in a heavy duty freeze bag in the freezer. I usually keep a few slices in the refrigerator. They'll dry out a bit if stored there, but if you end up toasting them anyway it's not a huge deal. But for longer term it's best to store in the freezer
Slicing Thick Bread
Because the crust is so thick and chewy, you'll need a good bread knife to slice the loaf. I find it easier to cut when slightly cold, then I toast the slices.
Here's the recipe. I'm looking forward to hearing from other bakers and hoping it works well in other kitchens.
Recipe
Gluten-Free Wild Rice Bread
Equipment
Ingredients
- ¾ cup plus 2 tablespoons light buckwheat flour (120 to 130 grams)
- ¾ cup tapioca starch (90 grams)
- ¼ cup plus 2 tablespoons brown rice flour (45 grams)
- ¾ teaspoon salt plus a pinch
- 2 tablespoons brown sugar or granulated sugar (32 grams)
- 1 ½ teaspoon quick rising yeast (I use SAF gold label)
- 1 teaspoon molasses (optional)
- 3 tablespoons psyllium husks (whole husks, not powder) 18-20 grams)
- 10 ½ oz water
- 1 ½ teaspoon vinegar
- 1 tablespoon olive oil or walnut oil
- ½ cup cooked wild rice (use package directions)
- ⅓ cup coarsely chopped walnuts
- ⅓ cup coarsely chopped cranberries
Instructions
- In the bowl of a stand mixer, combine the buckwheat flour, tapioca starch, brown rice flour, sugar, salt, and yeast. If you are using molasses, just put it on top.
- Put the psyllium in a second medium size bowl. I recommend using a 1 ½ quart Pyrex (or glass) bowl, which you can use again for the rise.
- Heat 10 ½ oz of water to 130 degrees F. Pour exactly ¾ cup (6 oz) of warm water into the bowl with the psyllium and stir to make a gel. Add the vinegar to the gel.
- Add the psyllium gel to the flour mixture along with the oil. Give the mixture a stir. Add remaining 4 ½ oz water, stirring with a heavy duty scraper until mixed.
- Put the mixer on the stand and use the paddle to mix for 2 minutes. The mixture should look like muffin batter, but will be stiffer and have some elasticity to it. Scrape the sides of the bowl and beat with the paddle for another two minutes. Scrape sides of bowl. Add the wild rice and walnuts and beat until mixed. Scoop out about ¼ cup of the dough and set aside. Add the cranberries and beat with the paddle just until they are blended in.
- Turn the dough onto a pastry mat very lightly slicked with oil. Form dough into a round, then use the reserved ¼ cup of dough to patch up/cover any exposed cranberries (this prevents them from drying up in the heat of the oven).
- Scrunch up a piece of parchment paper and press it into a 1 ½ liter or so glass bowl. Cover with a piece of greased plastic wrap and let rise for about 35 minutes. It will not double, but it will puff up substantially.
- While the dough is rising, place a Dutch oven and its lid on in the oven and preheat the oven to 450 degrees F. Note: If your oven is really slow to preheat, you will need to do this earlier in the process since the dough only needs 35 to 40 minute sto rise.
- Carefully remove the hot Dutch oven from hot oven and set on a cooling rack or safe spot. Lift the parchment paper with the dough and set it in the hot Dutch oven. Cover with the lid and return pot to the oven. Close door and set timer for 25 minutes. After 25 minutes, remove lid from the pot and bake for another 20 minutes or until bread is browned and crusty.
- Turn off oven. Remove the loaf from the Dutch oven and set the loaf (no parchment) directly on the oven rack. If you are worried about sesame seeds falling off, you can put a baking sheet on the lower rack. Leave it in the closed oven for about an hour. This helps dry up any excess moisture that could contribute to gumminess.
- Let cool completely before slicing. This is very important. The loaf should feel very hard. Let it cool, you can even chill it if you want to make it easier to slice, then use a really good bread knife to slice through that thick, chewy crust.



Leave a Reply