This recipe was inspired by the Chocolate Fudge Thumbprints grocery store bakeries used to sell. As a child I found them very, very, appealing -- almost as much as the little pink and green leaf shaped sandwiches, which didn't taste nearly as good as they looked. These do! And they have that old fashioned cooked fudge filling as well.
Jump to Recipe
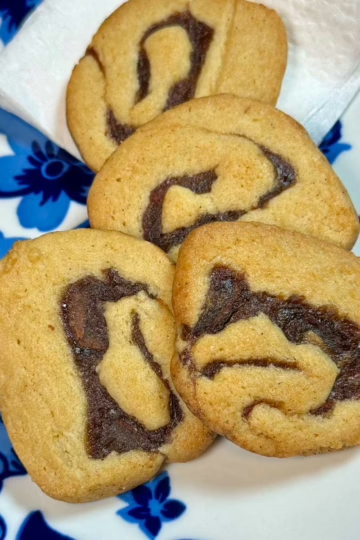
The recipe is from Paula Stone who submitted it to Southern Living back in 1985 after recreating her childhood favorites. The cookies have a sandy textured crumb and firm fudge filling. She called them Childhood Thumbprint Cookies.
Chocolate Fudge Thumbprints Cookie
So how do they compare to the old bakery cookies? The cookie part is excellent and has a lot of flavor from the butter and salt. When you make these, be sure to use a good brand of butter. I've been baking with salted butter lately and like that little bit of extra salt flavor. Also, use bleached flour.
Bleached Flour for More Buttery Taste
Years ago Cook's Illustrated did a holiday cookie taste test and found that their standard all-purpose butter cookies tasted better with bleached flour. They couldn't believe it, so they tested over and over and each time the bleached flour cookies were deemed more buttery while the unbleached flour cookies had more raw cereal flavor. They called their scientist buddies who said bleaching agents modify the protein producing a more elastic gluten, thus more tender cookies. That part is not surprising. But why would the cookies taste more buttery? They speculate that bleaching changes some components in the flour to compounds that taste better. They did their tests with Gold Medal bleached and unbleached.
Cooked Fudge Filling
I was a little hesitant about the fudge chocolate thumbprint filling because this saucepan type fudge can be grainy if cooked too long. However, I followed the directions and the recipe worked just fine. The fudge sets up soft and stiff. If you spoon it on at the right time, it should be shiny, then it will set and stiffen up in the cookie.
Fudge Filling Alternatives
The advantage to the fudge filling in the recipe card is that it sets up firm and you can stack the cookies and/or put them in boxes. However, if you want a filing that is smoother and creamier, you can experiment with some different options. Some people just use straight up ganache while others use American style buttercream frosting. Here's an alternative smoother textured filling which I also put in the notes.
Smooth Chocolate Thumbprint Filling
- 1 cup (6 oz) semisweet chocolate chips (or chopped chocolate)
- 3 tablespoons heavy cream
- 1 tablespoon unsalted butter
- ¼ teaspoon vanilla extract
- Pinch of salt (optional, for balance)
- Tiny dash of golden syrup or corn syrup for gloss
Instructions:
- Place the chocolate, heavy cream, and butter in the top of a double boiler or put in a microwave-safe bowl.
- Melt the mixture over simmering water or microwave on high in 20 second bursts, stirring after each burst. If your microwave has different power settings you can also try melting at a lower power for longer spurts, just don't let the mixture boil.
- Remove from heat and stir in the vanilla extract and a pinch of salt if using. For shinier filling, add 1 teaspoon of golden syrup or corn syrup.
- Once the cookies are baked and cooled slightly, spoon the warm fudge filling into the thumbprint indentations.
- Let the filling set at room temperature for 1-2 hours or chill to quick set
Recipe

Chocolate Filled Thumbprint Cookies
Ingredients
Cookies:
- 1 cup salted butter, softened (Land o'Lakes) (228 grams)
- ⅔ cup sugar (130 grams)
- 2 large egg yolks
- ½ teaspoon vanilla
- ½ teaspoon salt
- 2 ¼ cups bleached all-purpose flour (275 grams)
Chocolate Frosting/Fudge Filling
- 1 cup sugar (200 grams)
- ¼ cup unsweetened cocoa powder (20 grams)
- ¼ cup whole milk (56 grams)
- ¼ cup salted butter, cut into small chunks
- ½ teaspoon vanilla
Instructions
- Preheat oven to 300 degrees F. Have ready two or three ungreased baking sheets.
- With an electric mixer or by hand, beat softened butter and sugar until light and fluffy, then beat in the egg yolks, one by one. Beat in the vanilla and salt, scraping the side of the bowl often, then add flour and stir to make a soft dough.
- If the dough is warm or feels too loose to shape, cover and chill for about an hour. Otherwise, shape dough right away.
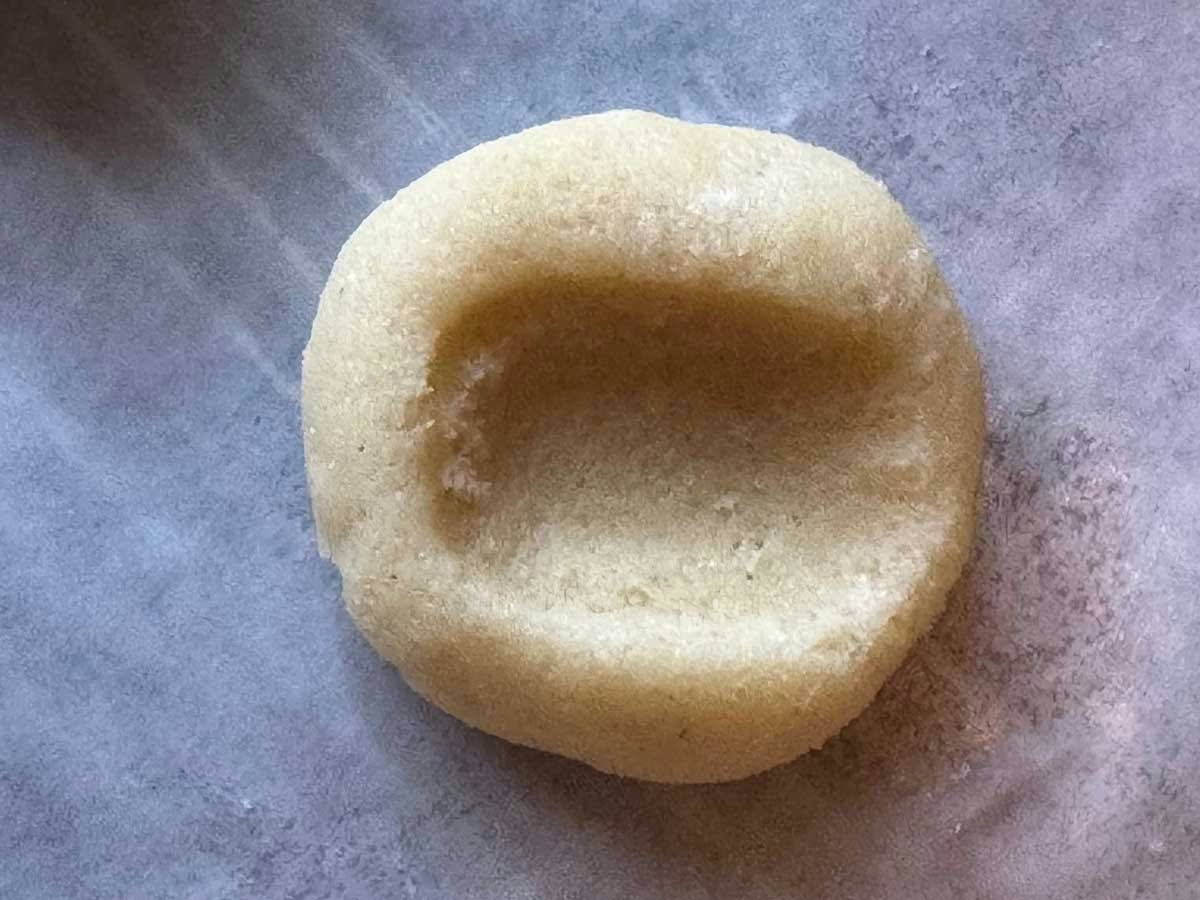
- Shape dough into about 40-42 1 inch balls and arrange about an 1 ½ inches apart on baking sheets. Use your thumb to make a deep indentation in each ball of dough.
- Bake at a low and slow 300 degrees F for about 22 minutes or until the cookies appear set by not browned. The bakery cookies were very white. Transfer to a wire rack to cool completely.
Filling
- Off the heat, combine sugar, cocoa, and whole milk in a small heavy saucepan and stir until evenly blended. Set over medium heat and bring to a boil. Boil for 1 ½ to 2 minutes (1 ½ minute works for me), stirring constantly. Remove from the heat and add butter and vanilla. Stir with a wooden spoon or heavy duty heat-proof scraper. As you stir, it will thicken to the point where you can spoon it.
- Put a spoonful of the filling in each cookie and allow it to set.
Notes
Rich Fudge Filling for Thumbprint Cookies
- 1 cup (6 oz) semisweet chocolate chips (or chopped chocolate)
- 3 tablespoons heavy cream
- 1 tablespoon unsalted butter
- ¼ teaspoon vanilla extract
- Pinch of salt (optional, for balance)
- Tiny dash of golden syrup or corn syrup for gloss
Instructions:
- Place the chocolate, heavy cream, and butter in the top of a double boiler or put in a microwave-safe bowl.
- Melt the mixture over simmering water or microwave on high in 20 second bursts, stirring after each burst. If your microwave has different power settings you can also try melting at a lower power for longer spurts, just don't let the mixture boil.
- Remove from heat and stir in the vanilla extract and a pinch of salt if using. For shinier filling, add 1 teaspoon of golden syrup or corn syrup.
- Once the cookies are baked and cooled slightly, spoon the warm fudge filling into the thumbprint indentations.
- Let the filling set at room temperature for 1-2 hours or chill to quick set

Anna says
The fudge filling is like old fashioned cooked fudge so it sets up pretty stiff. About the bleached flour, I made these with both bleached and unbleached and found that when using the bleached, the dough didn't crack as much when I did the thumbprint.
Sue K says
It’s good to know you’ve thoroughly tested them. 😉
I have cookie making on the brain even though I don’t have specific plans to make cookies soon. I find what you said about bleached all purpose flour to be very interesting. I didn’t know that. I always use unbleached AP flour unless a recipe specifically calls for bleached.
The fudge filling in these also interests me. It seems like it would be just the right thing for a cookie like this.
Anna says
Yeah, maybe a little too great. I found myself "testing the recipe" three of four times yesterday.
Sue K says
These look great!