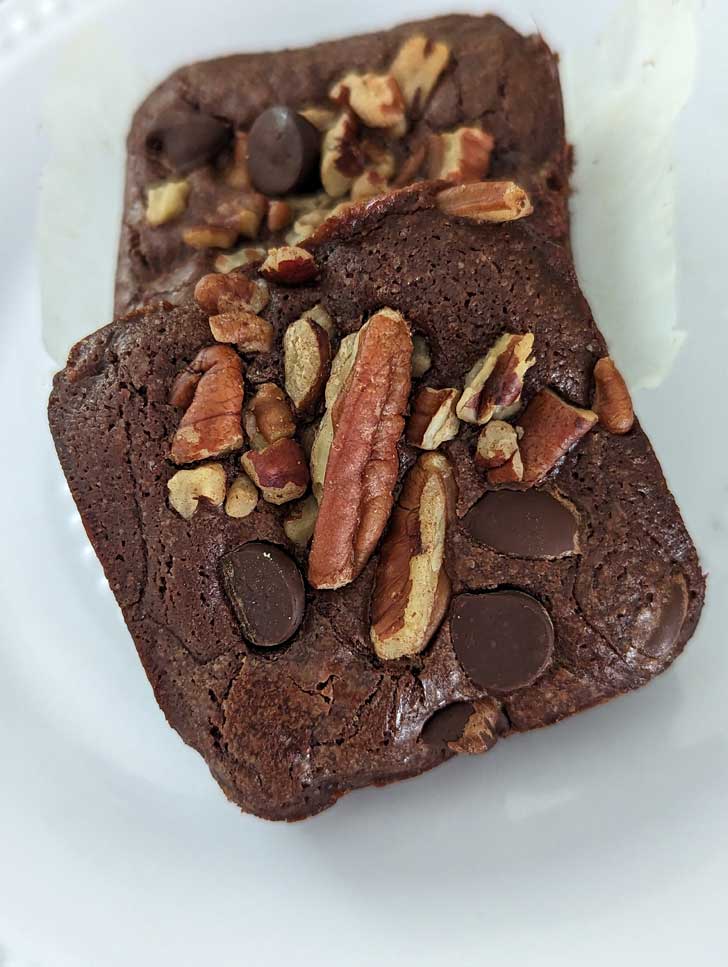
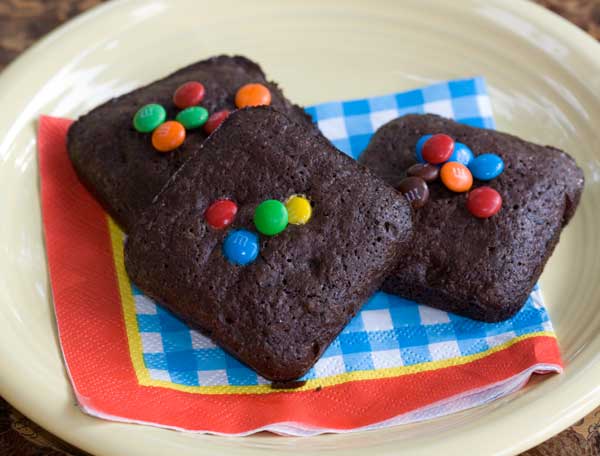
The older I get, the more I like edge pieces, so I’ve been making Mini Bar Pan Brownies fairly often. With a bar pan, also known as a brownie bar pan, you naturally get more edges because each brownie bakes in its own individual cavity. In the past I used a Calphalon bar pan. Unfortunately it’s nonstick-ability wore off and I found myself having to line each cavity with parchment paper. Nonsense! But so far it's been necessary with the fudgier recipes. More on that later.
What is a Mini Brownie Bar Pan?
A mini brownie bar pan is a baking pan designed specifically for making square shaped brownies and muffins. It typically features individual rectangle or square shaped compartments that vary in depth. These pans are usually made of non-stick material, such as silicone or metal, to ensure easy release of the brownies and (almost) effortless cleaning. Neither of these last two things is 100% true based on my experience, but I do make some pretty sticky brownies.
Why Use a Mini Brownie Bar Pan?
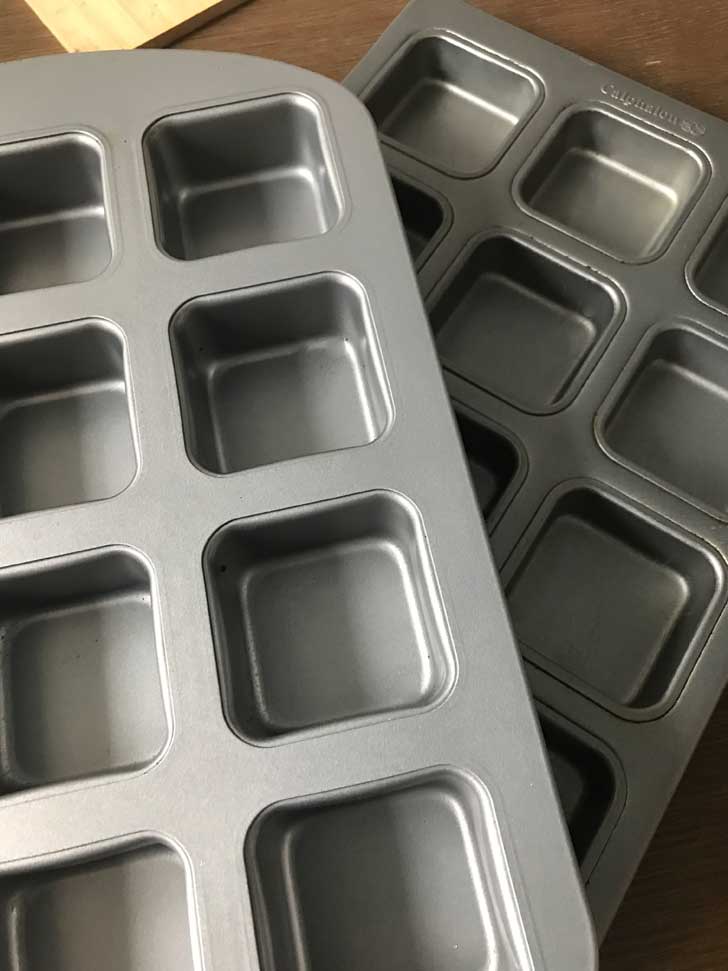
There is the "more edges" benefit, but there are other advantages as well. Mini Brownie Bar Pans help you create perfectly portioned brownies for a neat presentation. Generally, baking time is quicker due to the smaller size, and the brownies bake more evenly. You get chewy edges and soft centers. And finally, a mini brownie bar pan provides versatility with add-ins and toppings. You can customize each individual brownie by adding different nuts, chocolate chips, or peanut butter swirls. So a mini brownie bar pan is a handy tool for creating perfectly portioned, quick-baking, and customizable brownie bars. While it's not exactly a "must-have" bakeware item, it's a fun one!
What's the Best Brownie Bar Pan?
When it comes to finding the best mini brownie bar pan, there are a few factors to consider. Specifically, durability, how evenly it conducts heat, depth of wells and non-stick properties. I own the Celebrate It! Pan, and while it is durable and bakes evenly, it seems to be losing its non-stick properties over time. For my next pan, I am ordering the one from Chefmade, which as great reviews on all fronts and also has deep wells. The picture below is my old one, which is a Calphalon and which has shallow wells.
Recipe Tips
Okay, so on to this recipe. There are a lot of different recipes you can try in your special pan, and this is just one of them. One advantage to this recipe is that it halves evenly, so you can make all 12 brownies or use half the ingredients and just make 6.
Also, this is a new version. I put the one from 2012 below it outside the recipe card, so if for some reason you liked that one it is still there. The 2012 brownies are a little less fudgy.
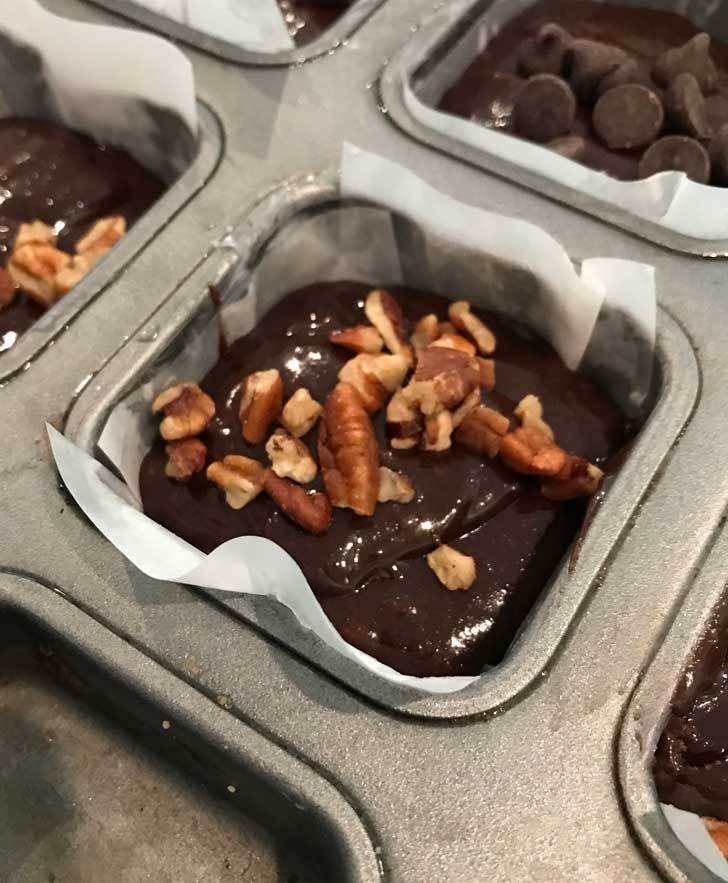
As far as tips, these brownies are fudgy and want to stick even though the pan is non-stick. I've been using lightly oiled pieces of parchment, but have found that squishing a regular old cupcake wrapper into a ball, rolling it in oil also works. I've get to try a dusting of flour, but that might help as well. If you have the time and patience, using strips of parchment that go up along the walls of the well is even better. This where the "nonsense" comes into play because you shouldn't have to do that with something that claims to be non-stick.
The recipe gives you 12 fairly thin brownies or 8 to 10 thicker ones. If you make thick brownies, they'll take longer to bake.
Store the brownies in a heavy duty freezer bag in the freezer.
Recipe
Mini Bar Pan aka Brownie Bar Pan Fudge Brownies
Ingredients
- 8 tablespoons unsalted butter, cut into chunks (114 grams)
- ⅔ cup bittersweet chocolate chips or 4 oz chopped bittersweet chocolate (114 grams)
- ⅓ cup unsweetened cocoa powder (so far I've only tested with Dutch)
- 1 cup granulated sugar (200 grams)
- ½ teaspoon espresso powder (optional)
- ¾ teaspoon vanilla extract
- ¼ teaspoon salt plus an extra pinch
- 2 large cold eggs (100 grams)
- ½ cup sifted or lightly spooned cake flour, best to weigh out 50 grams. If using all-purpose, use only ⅓ cup which should be 45 to 50 grams. (50 grams)
- ¼ cup chopped semisweet chocolate chips or chunks or mini chips
- ¼ to ½ cup chopped walnuts or pecans for top
Instructions
- Preheat the oven to 350 degrees F.
- Grease a brownie bar pan lightly. If yours has lost its nonstick-ability, grease and line each little section with a square of parchment (then go order a new pan).
- Melt the butter in a saucepan over low heat. Add the chocolate chips and stir until melted, then remove from heat and stir in the cocoa powder until smooth. Add the sugar and stir until smooth.
- Let cool slightly then stir or whisk in the egg, espresso powder (if using) and vanilla.
- Stir in the salt, then stir in the cake flour. I recommend doing this with a heavy dury scraper.
- Pour the batter into the litte troughs, dividing evenly.
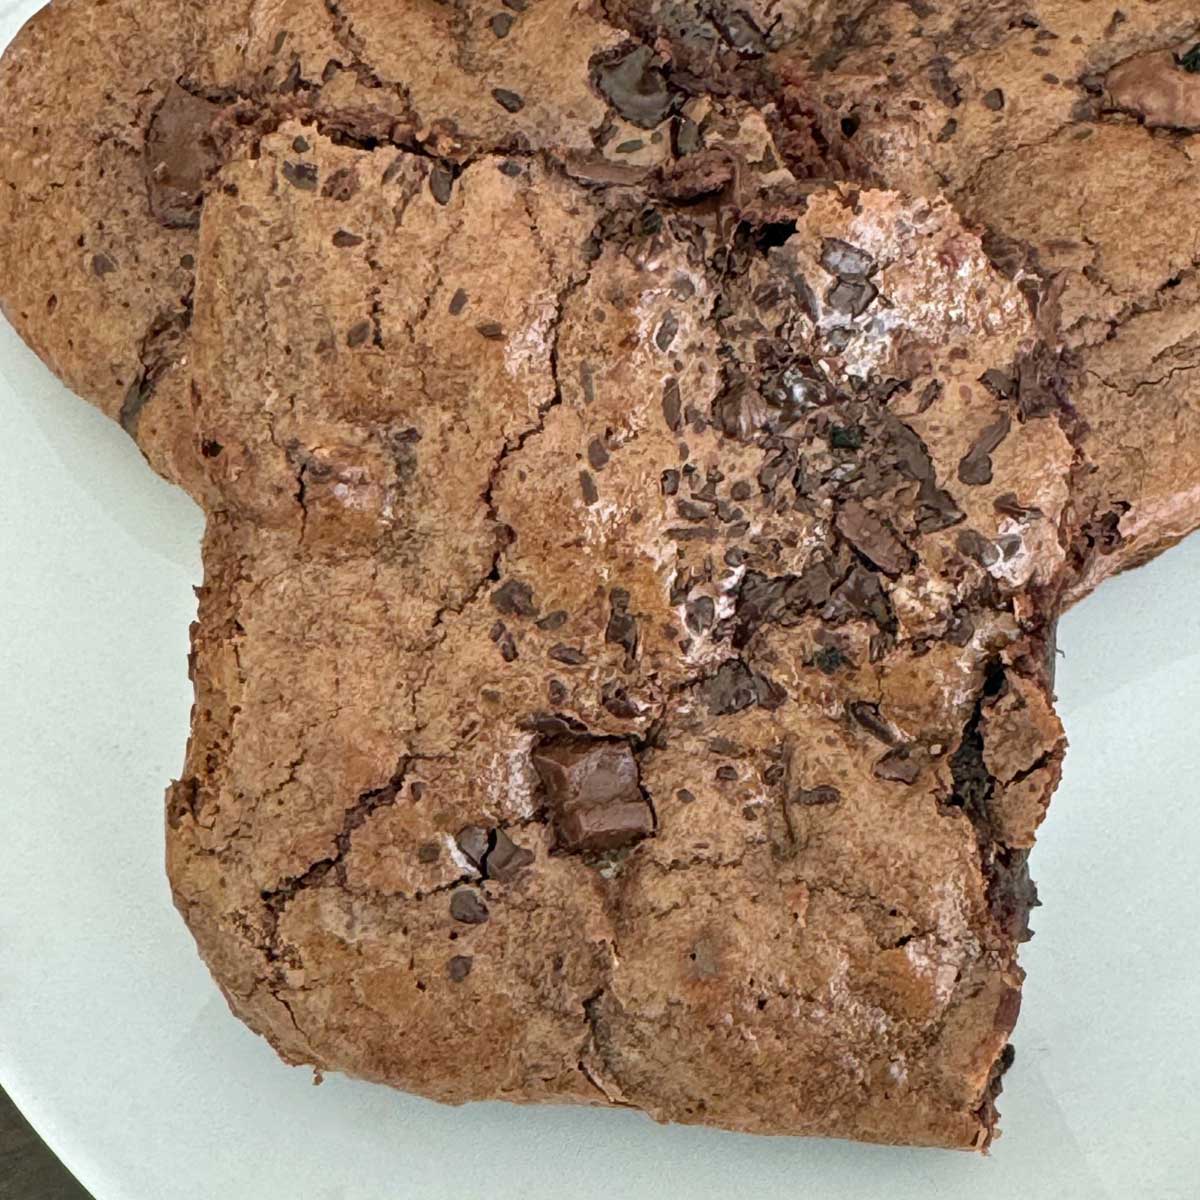
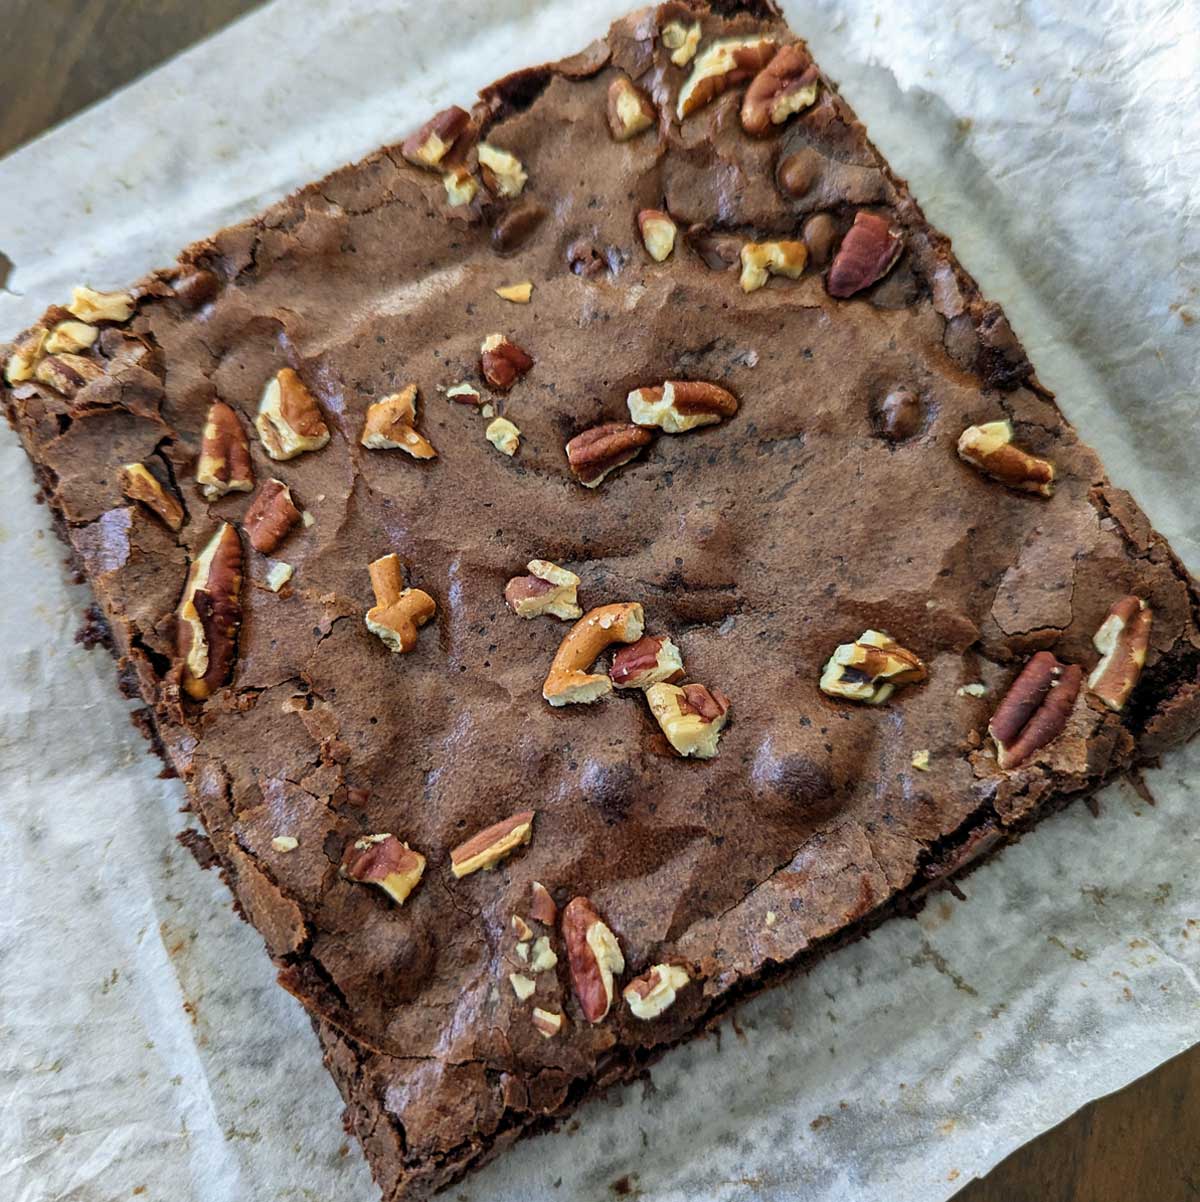
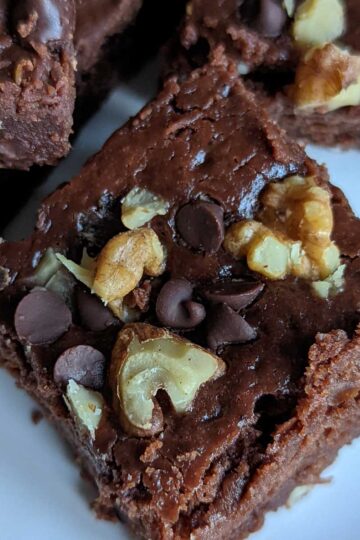
- Sprinkle the nuts and some extra bittersweet or semisweet chocolate over the top and bake the brownies for about 15 to 18 minutes or until the tops appears set. The brownies most likely will not be shiny on top, but they should be plenty fudgy inside.
- Let cool completely. Carefully pry from pan, then bring to room temperature before serving.
Nutrition
Old Version
Mini Bar Pan Brownies 2012 -- Very Chewy, Be Sure Not to Overbake
- 6 tablespoons unsalted butter (84 grams)
- 2 oz dark or semisweet chocolate, chopped or use ⅓ cup of chocolate chips** (56 grams)
- ⅓ cup unsweetened cocoa powder I used Dutch processed
- ¾ cup granulated sugar (150 grams)
- ½ cup all-purpose flour (weigh or measure with a light hand by spooning gently into cup) (65 grams)
- ¼ teaspoon baking powder
- Scant ¼ teaspoon salt
- ¼ teaspoon vanilla extract
- 2 large cold eggs (medium eggs would also work)
- ⅓ cup chopped and toasted walnuts
- ⅓ cup miniature chocolate chips optional but really help
- Preheat oven to 350 degrees. Spray a 12 indentation mini bar/dessert pan with baking spray.
- Melt butter in a large saucepan set over medium heat. When melted, remove from heat and add chocolate chips. Stir until melted, then stir in the cocoa powder and sugar. Set aside and let cool to lukewarm.
- Stir the flour, baking powder and salt together in a small bowl
- When the chocolate/butter mixture has gone from hot to warm, stir in the cold eggs and vanilla.
- Add the flour mixture and stir to combine, then stir in the walnuts (or just wait and pile them on top after you've poured the batter into the pan).
- Make sure the batter is cool, then add chocolate chips if using. Alternatively, just don't add them yet. Wait until you've divided the batter between the cups, then spoon them on tops of each. You can swirl some in quickly before baking and leave some one top.
- Pour batter into prepared baking pan and bake 12 to16 minutes or JUST until brownies appear set. It's better to slightly underbake then overbake these. Let cool in the pan for about 15 minutes, then use a knife to carefully dislodge the bars from the pan.

Anna says
Yes! It works really well.
Letty says
Can you use store bought brownie mix in silicon mini pan
Anna says
Manjari, I apologize for taking 12 years to answer your question. It is a good one, and I somehow missed it. About the eggs, you can try substituting 80 to 100 grams of unwhipped or whipped aquafaba. I did a small half batch using 40 grams of unwhipped. The aquafaba version rose and sank, but once they cooled they tasted pretty good. I'm going to try again with another half batch but ust 50 instead of 40 and whip the aquafaba so that it will hold more air. I think 80 to 100 grams of pureed tofu might also be a good substitute.
Sue says
Those are super cute! The description makes them sound worth trying even if you dont have the pan.
Manjari Jain says
I am a pure vegetarian. Is there a substitute for eggs in the above recipe?