I think I have a new favorite apple pie. It's Stella Parks' No-Fuss Apple Pie from Brave Tart: Iconic American Desserts. I recommend the book, but if you haven't bought it yet you can get the recipe from Serious Eats. This is an apple pie with warm fall flavors and loads of fresh apples. It slices neatly and is not runny -- especially on day 2. Now I kind of disagree with its title since I find peeling and slicing 4 ½ pounds of apples kind of a fuss, but that's hard to get around when it comes to apple pie! For the most part, the recipe is fairly streamline and doesn't use tons of dishes since the filling ingredients are thrown into a bag and shaken. So what else makes this pie great?
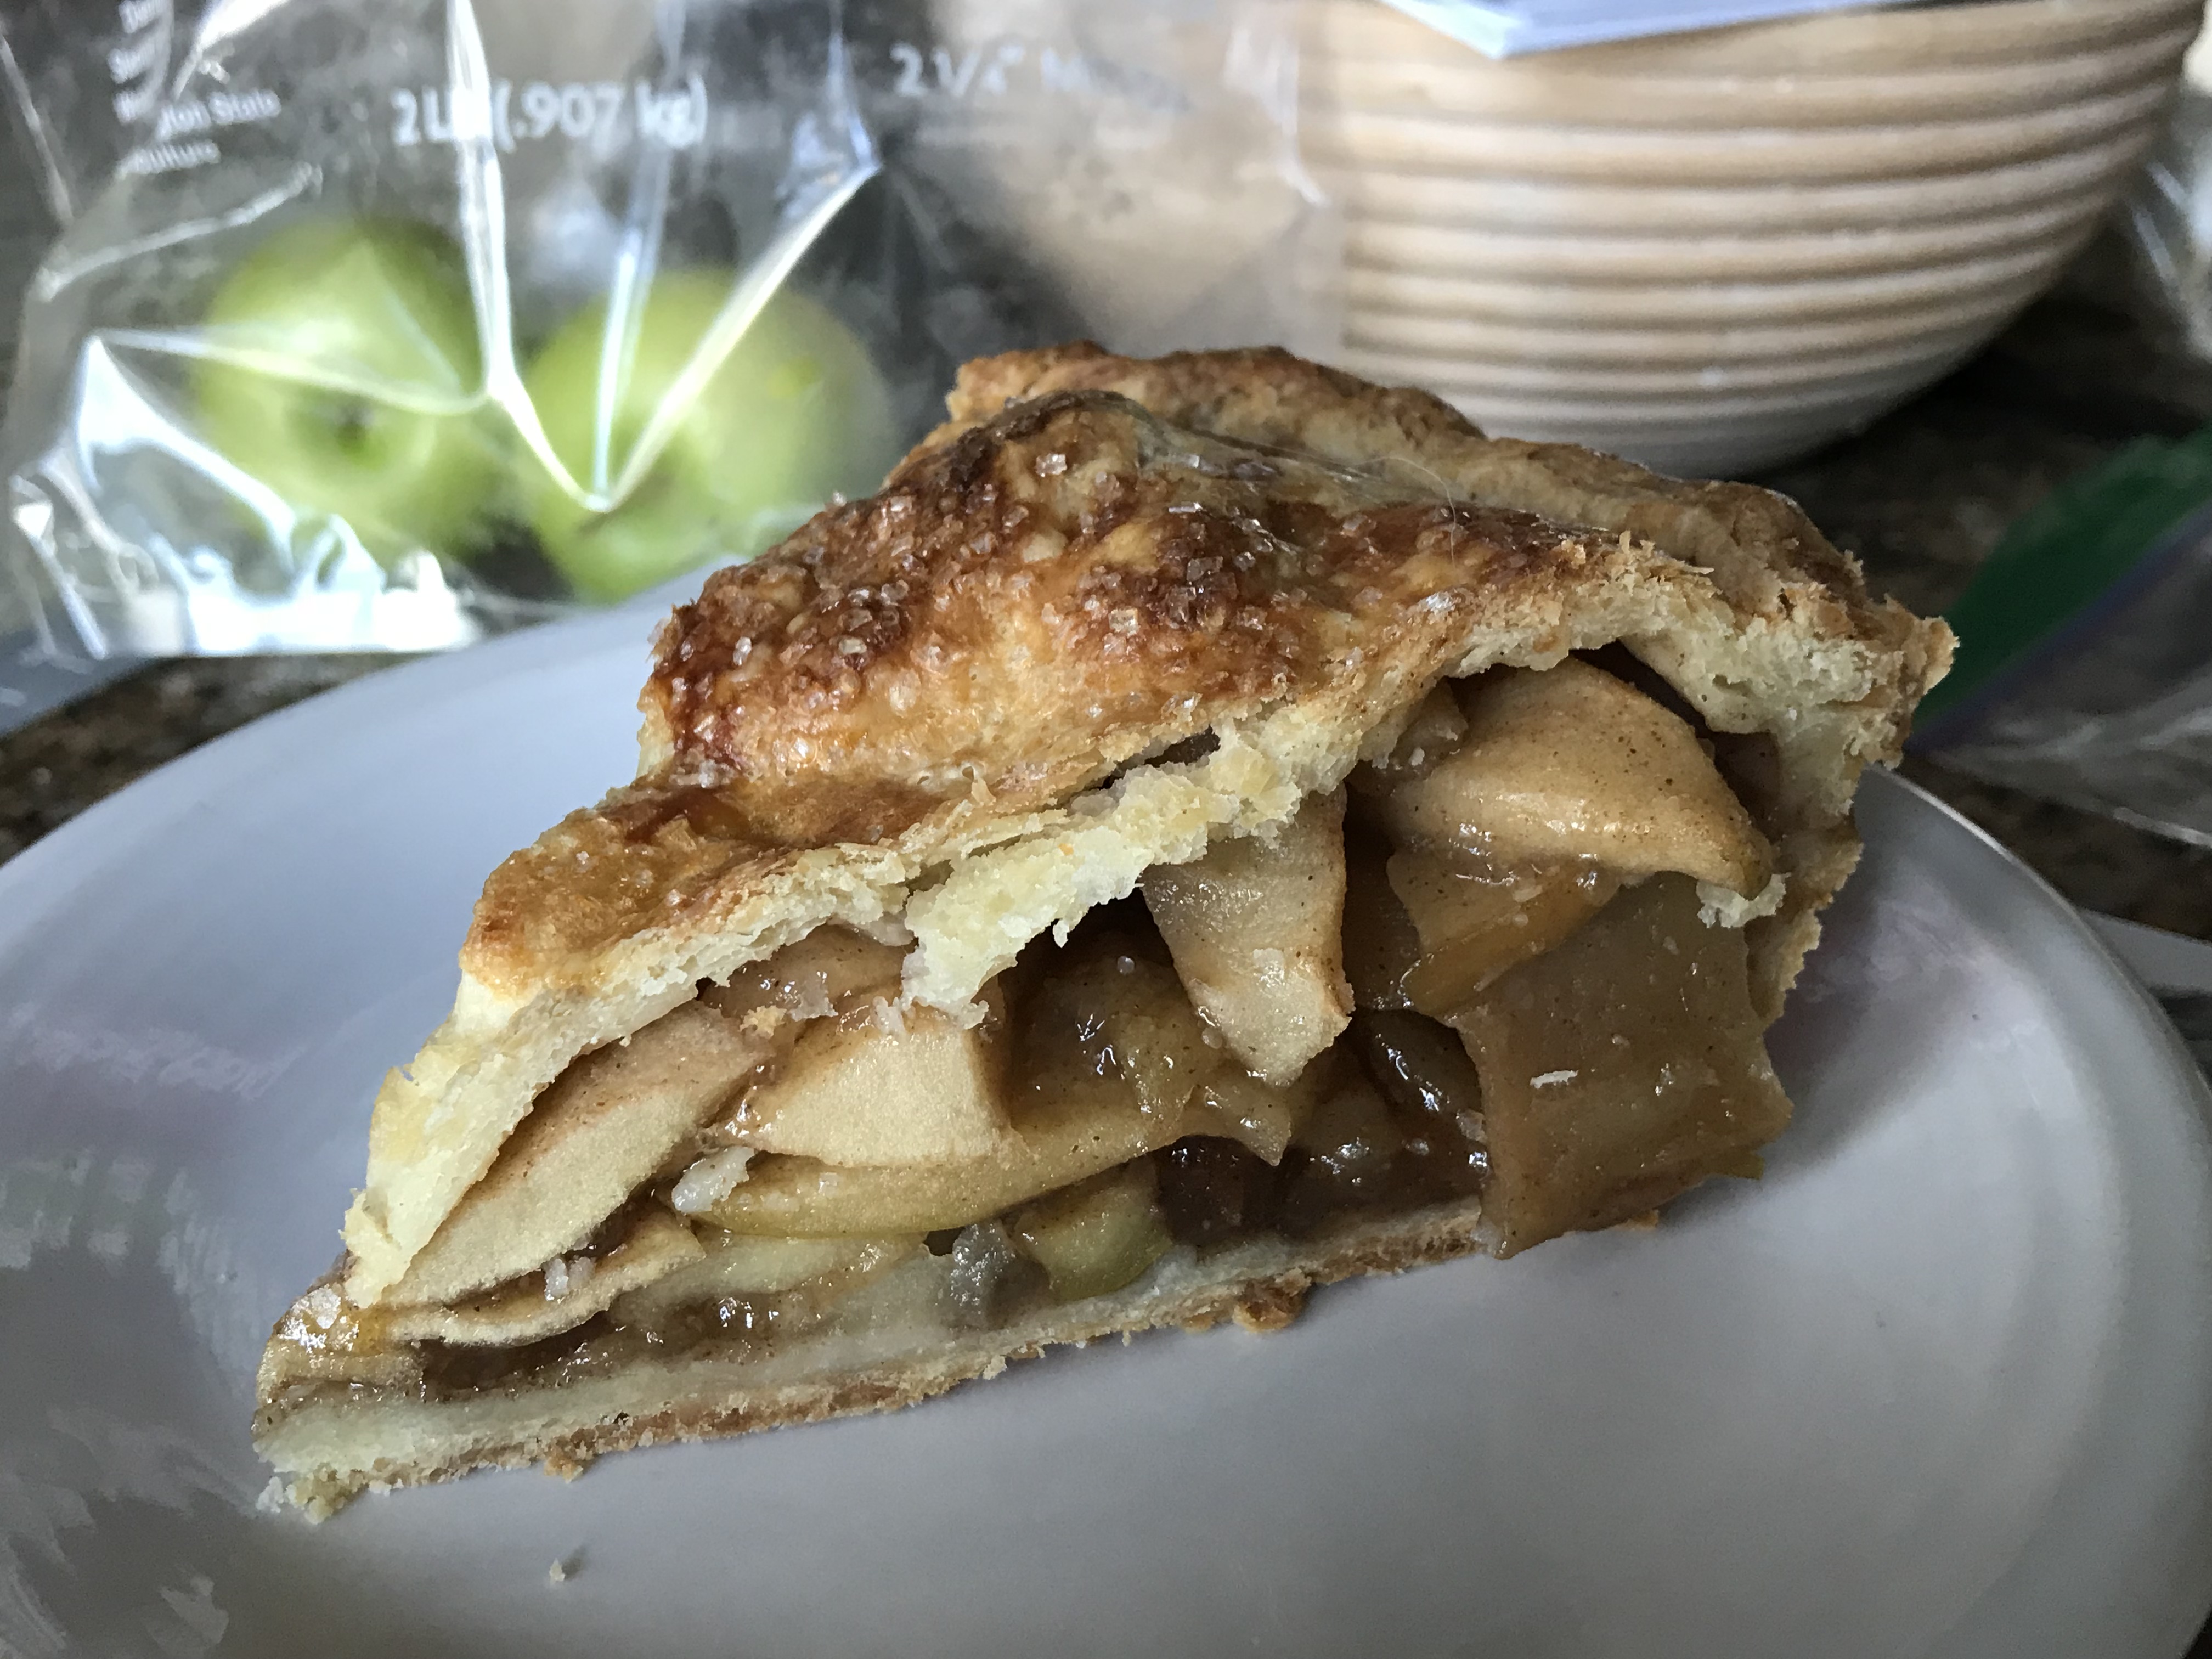
Macerating the Apples for Pie
First, there's the maceration. Most pie fillings are made by putting apples, sugar and spices in the pie shell and baking. This is perfectly fine, but apples release a lot of juice when they bake which means their volume shrinks and the top crust sinks. Macerating the apples reduces the volume of the fruit allowing you to fit more apples into the pie. You might get similar results by cooking the apples first (like in broiled apple pie) or draining the juice and then boiling it into syrup, but Stella's method is easier and you get four passive hours of doing nothing (or working on your pie crust baking skills).
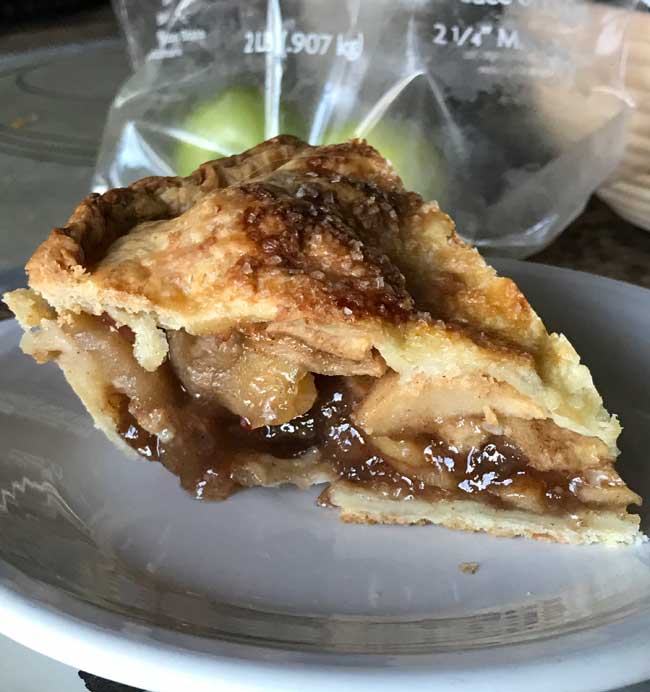
Tapioca Starch
In addition to macerating the apples, the recipe calls for tapioca starch. I'm a big fan of using ground Minute Tapioca as a pie filling, which is a good substitute for the tapioca starch. Whichever you use, you can be sure the filling will be clear (rather than cloudy). Cornstarch and flour are also decent thickeners, but I've found I get more consistently thick and clear fillings with tapioca, so I like that it's in this pie.
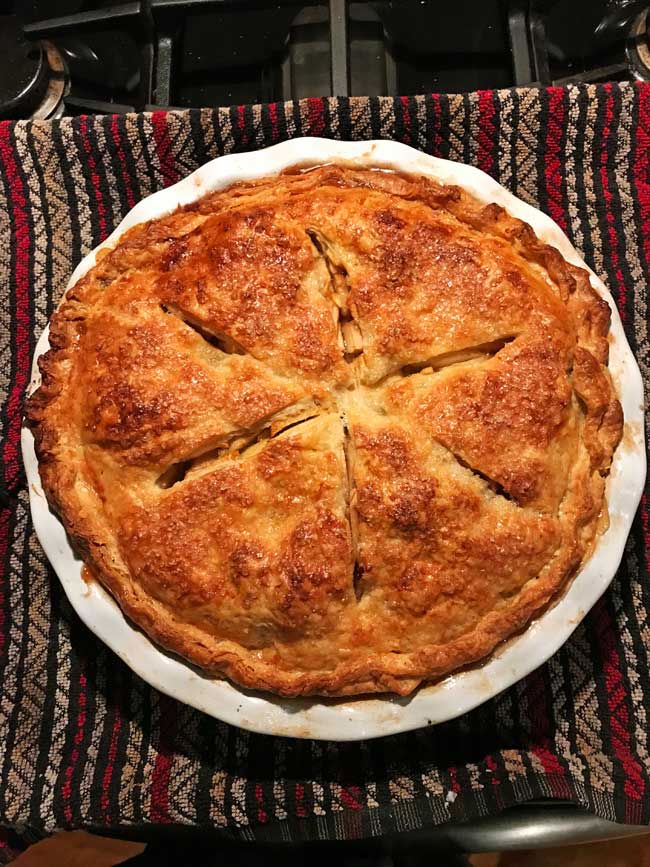
Chill The No-Fuss Apple Pie Filling
So macerating the apples and using tapioca are two tricks Stella uses, but she also includes another, which is not to let the pie filling get too hot. I never paid much attention to the internal temperature of apple pie, but Stella says that when the filling boils it overcooks the apples causing mushiness. Also, more juice is released which means runny filling. So Stella advises chilling the assembled pie so that the filling starts out cold and doesn't get to over 195 degrees. Makes sense! You can even test the filling with an internal thermometer to see if it's 195, though I didn't bother. I could tell just by looking at the pie that it was going to be perfect.
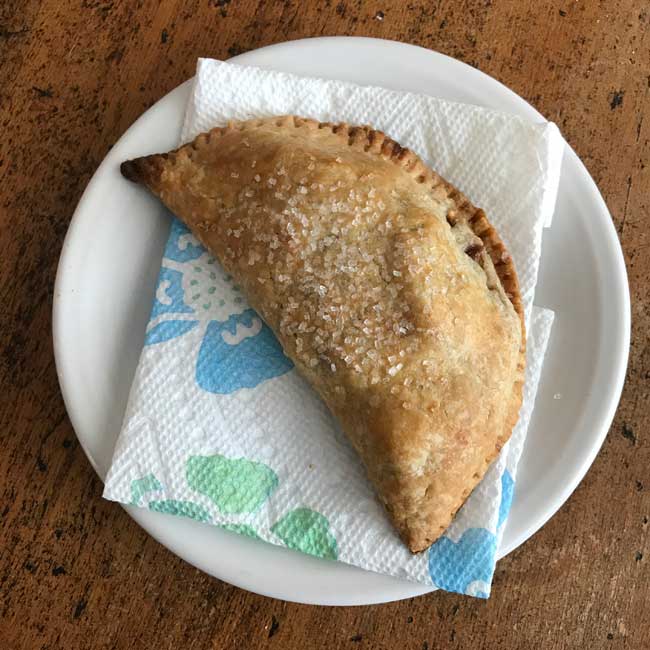
No-Fuss Apple Pie Hand Pies
Given the success of this pie, I decided to try something a little different make it as hand pies. I used Stella's maceration and tapioca method, but I changed the crust to a simple food processor crust made with whole wheat pastry flour. You could use any crust recipe, but I'm fond of this one and like how the light whole wheat flavor goes with the spices. Here's my hand pie version, and (as mentioned) the original pie version is on Serious Eats.
Recipe
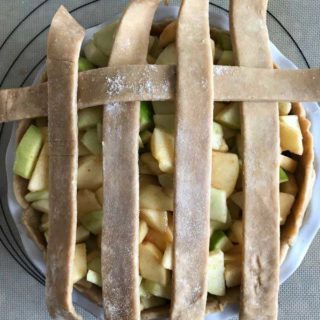
Whole Wheat Apple Hand Pies
Ingredients
Apple Mixture
- A little over a pound of whole apples about 18 oz
- ¼ cup light brown sugar brown sugar packed (50 grams weight)
- ½ teaspoon cinnamon
- ¼ teaspoon ginger
- Pinch of ground cloves
- Pinch of ground nutmeg
- 1 tablespoon ground Minute Tapioca
Whole Wheat Crust ( makes 12 oz of dough, enough for 5 or 6 hand pies)
- 1 ¼ cups whole wheat pastry flour
- ½ scant teaspoon salt -- reduce to ¼ if butter is salted
- 1 tablespoon sugar
- 1 stick 115 grams unsalted butter, cut into small chunks
- ⅓ cup ice water
- Whole milk for brushing plus coarse or regular sugar
Instructions
- Peel the apples and cut them into thin slices. Cut the slices into chunks and put them in a large zipper bag. Add the sugar and spices and shake the bag to combine. Put apple mixture in the refrigerator for 4 hours. You will add the tapioca later.
- Make the crust. Combine the flour, salt and sugar in a food processor and pulse to combine.
- Add cut up butter and pulse until mixture is coarse.
- Add water 2 tablespoons at a time, mixing or pulsing, until mixture holds together. Do not keep processing until it forms a ball -- you just want dough that is moist enough to hold together when pinched.
- Empty dough onto a large pastry mat and pat it into a large rectangle. It should be moist enough to hold together, though it will crumble slightly. Pat until it holds together, then fold it over on itself and pat to make a block. Wrap in plastic wrap and chill.
- Assemble the hand pies, but before doing so add your ground tapioca to the bag of apples and shake it well. Let sit for about 10 minutes more in the refrigerator.
- Divide the chunks of dough into 4 3 ounce pieces. Take one piece and roll it into a circle between 6 and 7 inches on a floured surface.
- Spoon filling on half of the the circle, then fold over and trim. Save trimmings.
- Crimp edges and set on a parchment lined plate. Repeat, creating 4 more hand pies (using trimmings will give you 5 altogether), then put all of the pies in the refrigerator for 1 hour.
- When ready to bake, preheat oven to 400 degrees F. Line a large baking sheet with parchment paper (or nonstick foil).
- Arrange pies on the baking sheet. Brush with milk and sprinkle with sugar. Bake 25 to 30 minutes or until pies are golden. Let cool slightly before serving.

Sue says
Day two and the pie is no longer runny.
I’ve read all of the comments on this pie over at Serious Eats. I should have added that I used a Pyrex pie plate and an aluminum pan covered with parchment and used the rack in the lower position.
I think the only wild card is the apples. I used Granny Smith as directed but maybe they were riper than ideal, or maybe their growing conditions were wetter so they were juicier?
I should also mention that I served it about 2.5 hours after baking. Maybe that was too soon?
I don’t expect any help problem solving. The pie did taste really great but it was disappointing to have it be runny.
Anna says
Sue, sometimes that just happens even with the best recipes. We'll have to try to figure out what went awry. Maybe the apples released too much juice?
Sue says
I made this recipe exactly as written in the book. I also watched the video on Serious Eats. The pie tastes great and the texture of the apples is perfect but mine was runny. I even tested the internal temperature with a Thermapen thermometer to make sure I wasn’t over or under baking.
When I say I followed the recipe exactly I mean I used the exact ingredients called for, measured using a digital scale, checked my oven temperature, and tested for doneness with the Thermapen. I have no idea where I went wrong. Sigh.......
Angie Argento McMaster says
Thanks! I'm in Pennsylvania and the forecast is a little snow and ice, I'm making this pie today!!
Sonya says
Looks delicious and I learned a lot! Happy New Year!
Sue says
I’m so happy to read this review! I have the book and need to try more recipes from it. This is encouraging!