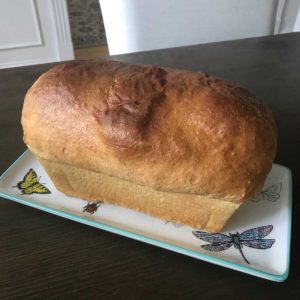
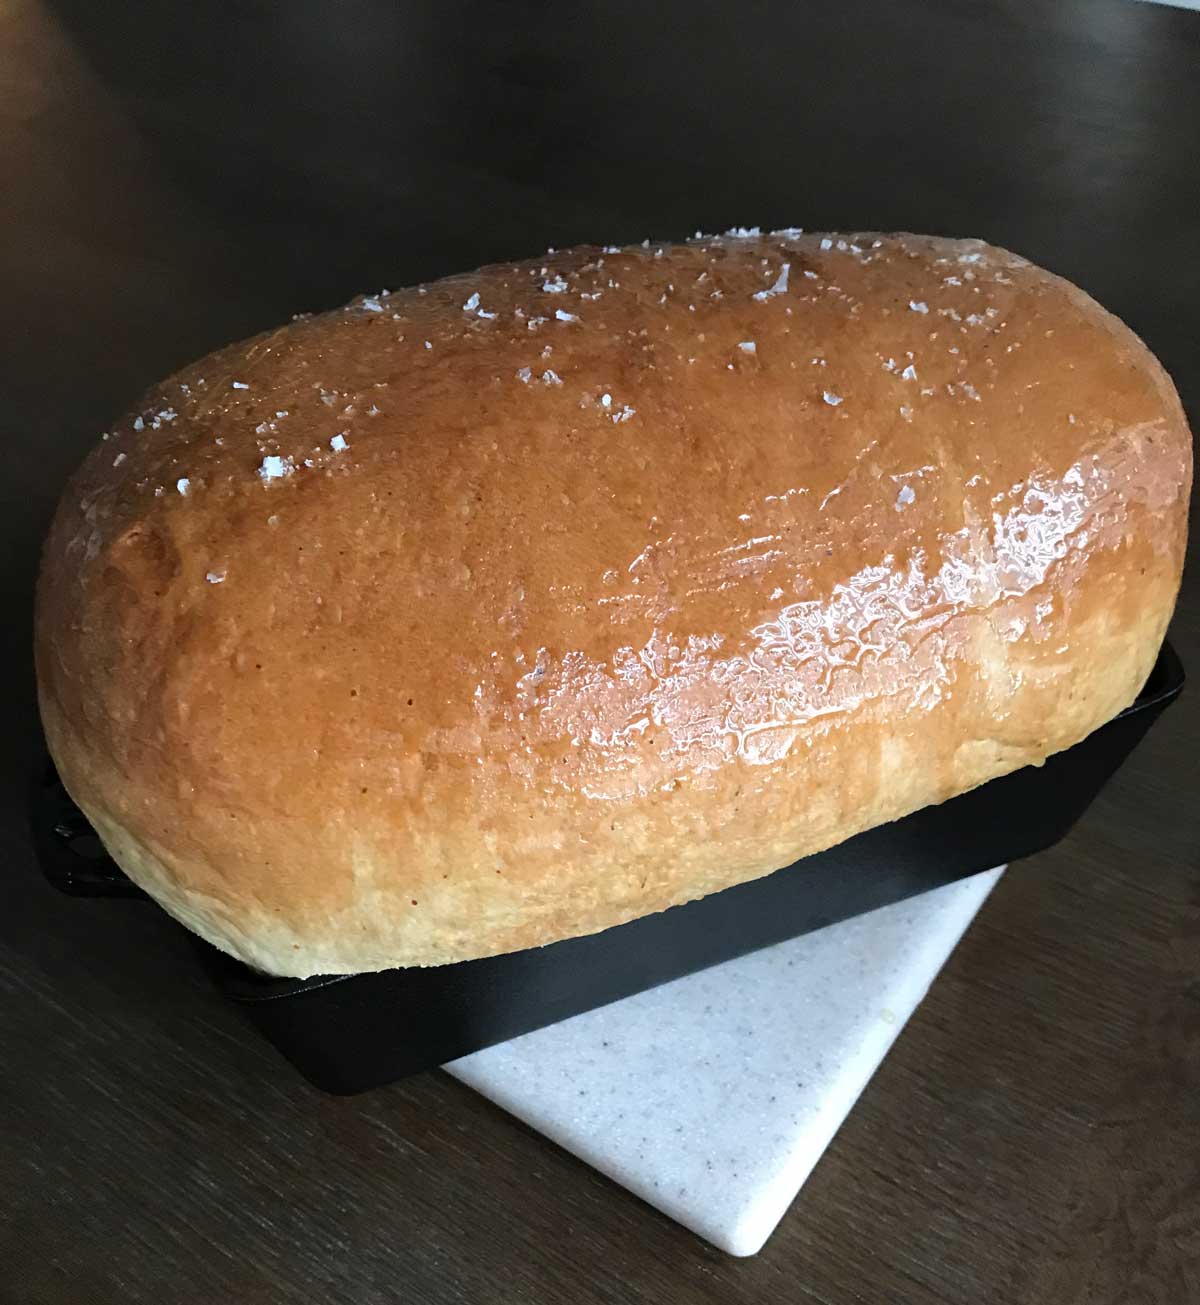
It's hard to come up with new descriptions for plain white sandwich bread, so what I'll say about this one is it's tight crumbed, fluffy, tall, high rising and has a touch of sweetness to it. It also has three rise times, so to distinguish it from my other good white sandwich breads I'm calling it Three Rise Sandwich Bread.
Jump to Recipe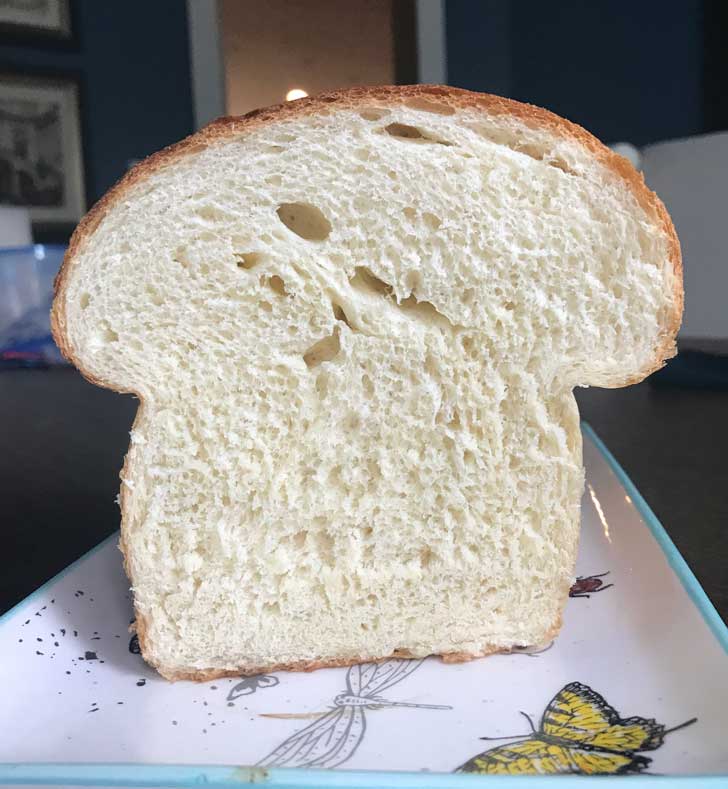
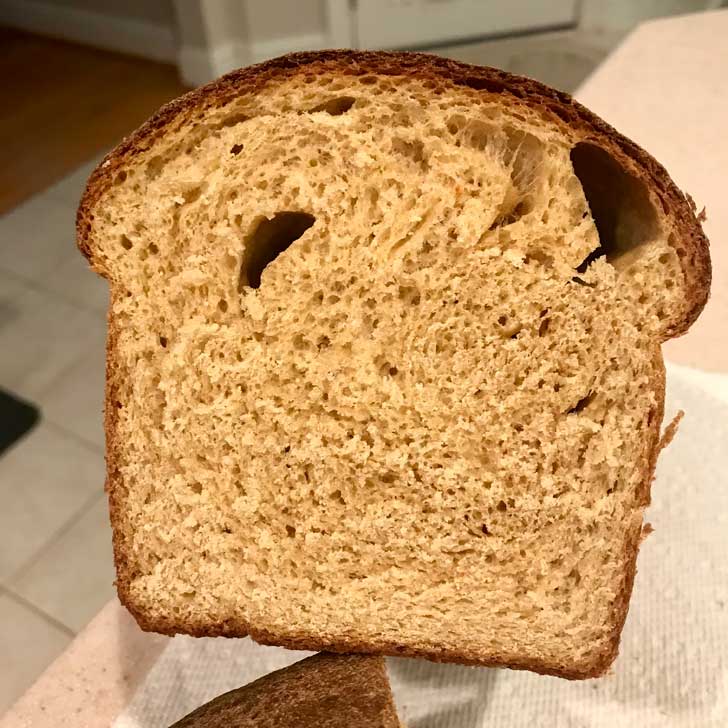
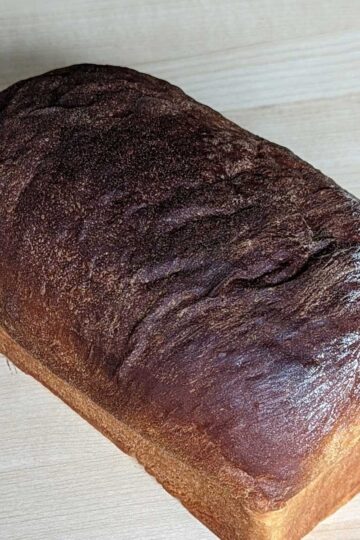
Here's a picture of the wheat version. The color is off because I didn't have any natural light, but as you can see the wheat version didn't rise *quite* as high as the white. It was still very good.
Weight of Milk Powder in Bread Making
This recipe calls for ¼ cup of milk powder. I've noticed that different brands of milk powder have different weights per volume. Carnation, which is usually easiest to find at grocery stores, weighs 23 grams per ¼ cup. Bob's Red Mill milk powder weighs about 30 grams per ¼ cup. The bread is a little lighter textured with 23 grams and richer with 30 grams.
USA Loaf Pan
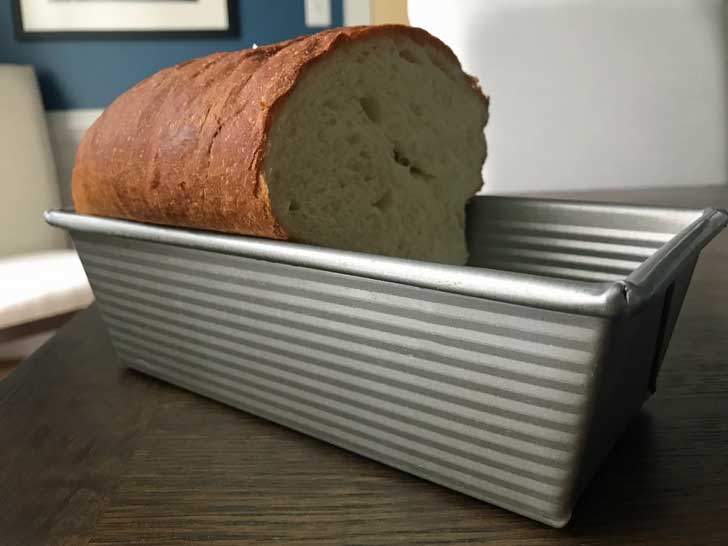
By the way, I have a new loaf pan to recommend. My trusty 8 ½ by 4 ½ inch Chicago Metallic pan was getting lonely (and a wee bit rusty), so I bought it a friend -- the 8 ½ by 4 ½ inch USA Pan. It seems to be well built, it's a nice shape, and I love the little ridges on it that appear in the finished loaf. A few people on Amazon have complained that rust catches in the corners, but if you stay on top of it and clean diligently, you can keep the rust at bay. I'm just impressed with the pan's performance.
But back to the bread, I hope you try this one. Here's the ingredient rundown.
Ingredient Rundown
- Yeast -- I'm a fan of SAF yeast. It keeps well in a sealed bag in the refrigerator or freezer.
- Sugar-- The first time I made the bread I used the full amount of sugar. We loved it. It was slightly sweet, but not too sweet for sandwiches. The second time I accidentally used only about ½ tablespoon of sugar. The bread was slightly lighter in texture and still great for sandwiches. So with or without the sugar it's a good bread, but I prefer the full 3 tablespoons of sugar version.
- Water or Milk -- Powdered milk is now a staple, so I use ¼ cup dry milk and 8 oz of water. If you need to, you can omit the powdered milk and use a cup of regular milk.
- Salt -- Morton kosher which measures like table salt. 1 teaspoon seems just right.
- Flour -- I've tested with all-purpose flour, white whole wheat flour and bread flour. With the AP flour and the white whole wheat, I add 2 teaspoons of King Arthur Dough Improver. With bread flour, I leave it out. The bread in the first picture was made with bread flour and without dough improver.
- Butter -- 2 tablespoons for the loaf and as needed for the pan and the bowl the dough rises in.
- Egg -- It seems like white bread with an egg or two always tastes better and has a more pleasing crumb.
I've made this bread four times in the past 3 days, so if you have any questions leave me a comment or send and email and we can talk about bread. Next up I'll be posting a great way to use what's leftover.
Raisin Bread Variation
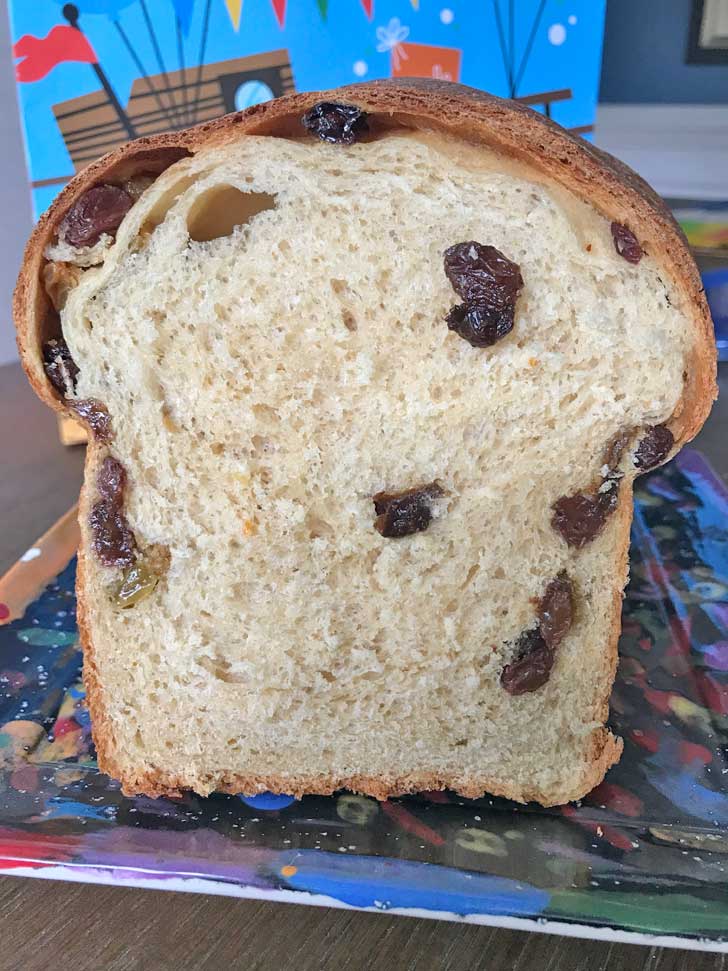
As requested, here's a raisin bread variation. I tried making changes without straying too far from the recipe, so I kept the flour amount the same but used a mix of white whole wheat and bread flour (so no dough improver is needed), added a few scrapes of orange zest for flavor, and used 1 tablespoon of brown sugar plus 2 tablespoons granulated. For the raisins, I used 1 cup, which I soaked in water for a few hours and drained. Next time I'll use even more and use a better method of incorporating them because this time I just rolled them in and they migrated to the edge of the loaf. The Milanese Raisin Bread recipe (also very good!) calls for a method that keeps the raisins more scattered throughout.
Recipe
Three Rise Sandwich Bread
Ingredients
- 2 teaspoons instant yeast
- 3 tablespoons sugar
- 1 cup warm water
- ¼ cup nonfat milk powder
- 3 ⅓ cups all-purpose flour, white whole wheat or bread flour 432 grams plus more if needed
- 2 teaspoons King Arthur Dough Improver (optional)
- 1 teaspoon salt
- 2 tablespoons softened butter (28 grams)
- 1 extra large egg, room temperature** (60 grams)
Instructions
- Put ¼ cup of the warm water in a stand mixer bowl and add the yeast to proof. When you start seeing bubbles, add the sugar, dry milk powder and a cup of the flour. Stir well. Add remaining flour, dough improver (if using) salt, butter and egg and stir until blended, then gradually pour in the rest of the water.
- Put the stand mixer bowl on the stand and knead until smooth and elastic. The dough should leave the sides of the bowl and cling to the hook. It should not be sticky, but it shouldn't be really dry either. If the dough clings to the side of the stand mixer as it's being kneaded, add more flour one tablespoon at a time until it doesn't. This is a very smooth but firm and not too airy or fluffy dough. It will rise, but it takes its time, so be patient. If you've reduced the sugar, it might rise a little quicker.
- Rub a large bowl with oil or melted butter and put the dough in it, rolling it over so it's slick on all sides. Cover and let rise until it doubles in size. This should take about an hour, but could take longer, so go by how the dough looks and not the clock.
- Punch down the dough and knead gently once or twice, then put it back in the bowl and let it rise again for 30 minutes.
- On a pastry mat (you can flour it if you need to, but I find I don't need to with slick, buttery, dough), shape the dough into a loaf. Pinch down the ends and put in a greased 8 ½ x 4 ½ inch loaf pan or a 9x5 inch loaf pan.
- Cover loosely with some greased plastic wrap and let rise in a warm place until the dough domes at least an inch over the pan. This is a strong dough and shouldn't collapse on you if you've kneaded it well.
- Preheat oven to 400 degrees F. Bake the loaf at 400 for the first 20 minutes, then drop the heat to 350 and bake for another 15 minutes.
- Let cool in pan for about 15 minutes, then remove from pan and let cool completely.

Mark S says
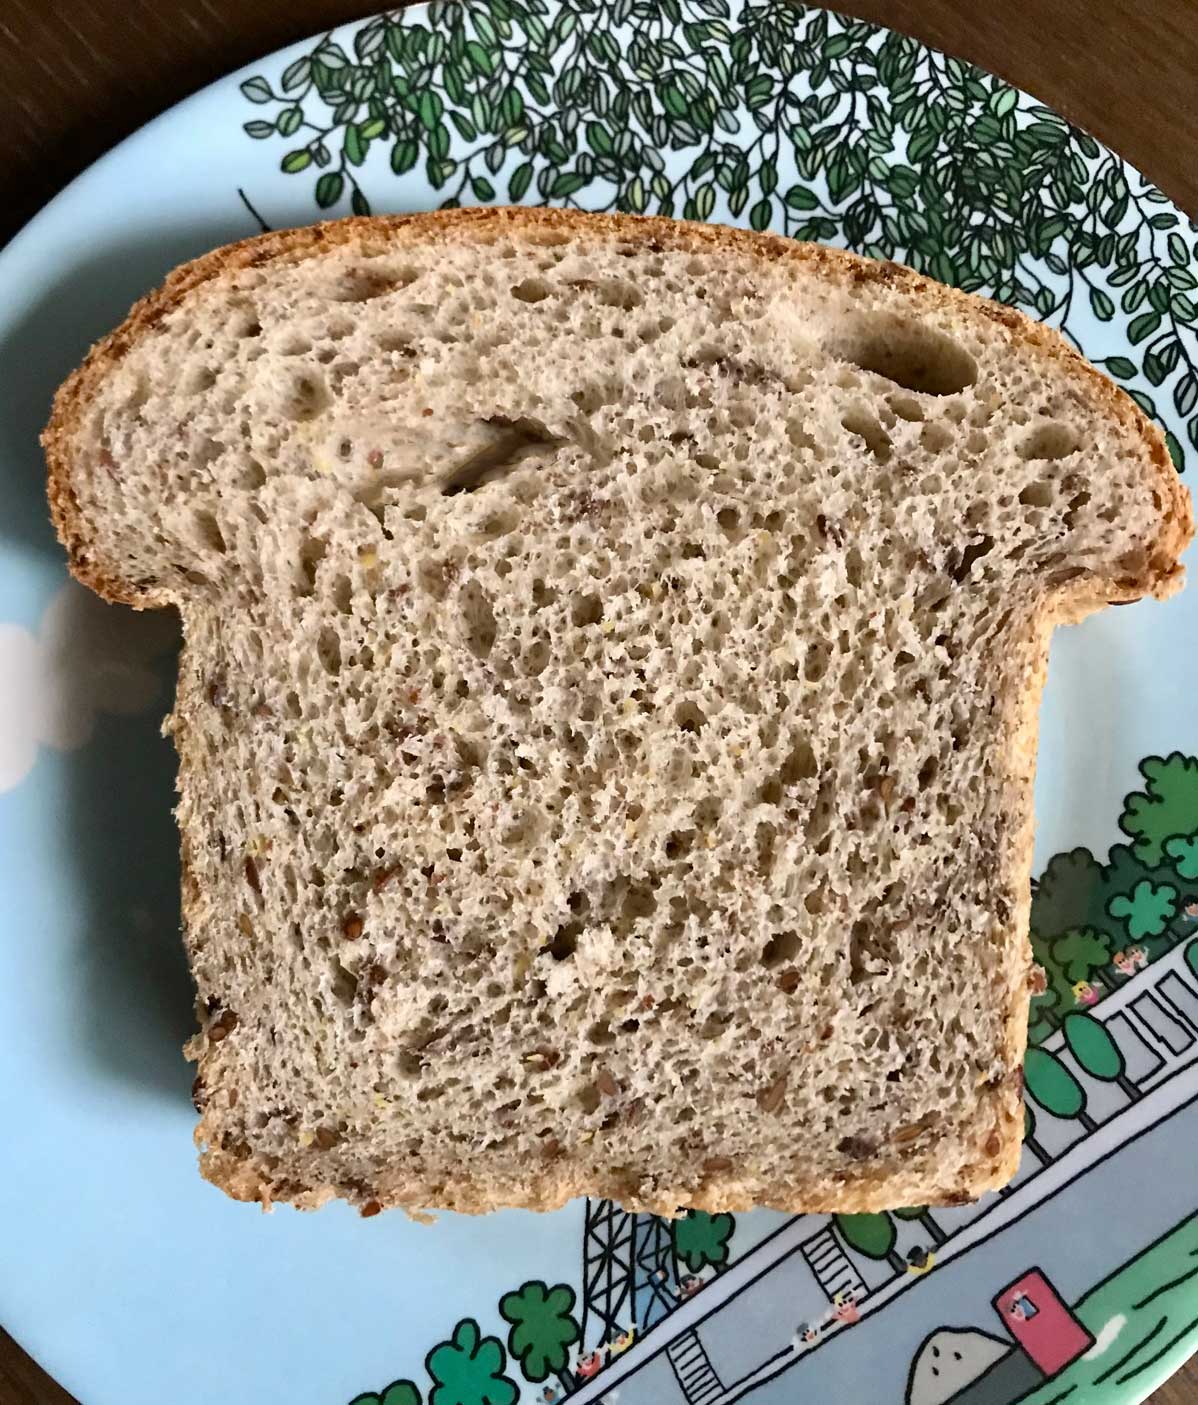
Hello , made your three rise bread today with three flours. Mostly wheat, one cup unbleached white ,1/4 cup rye. Rose to above pan but ended up even with top. No air holes. Rye flour gave it just a taste of bitter. Which I like. Will try all white next time.
Anna says
Hi Mike,
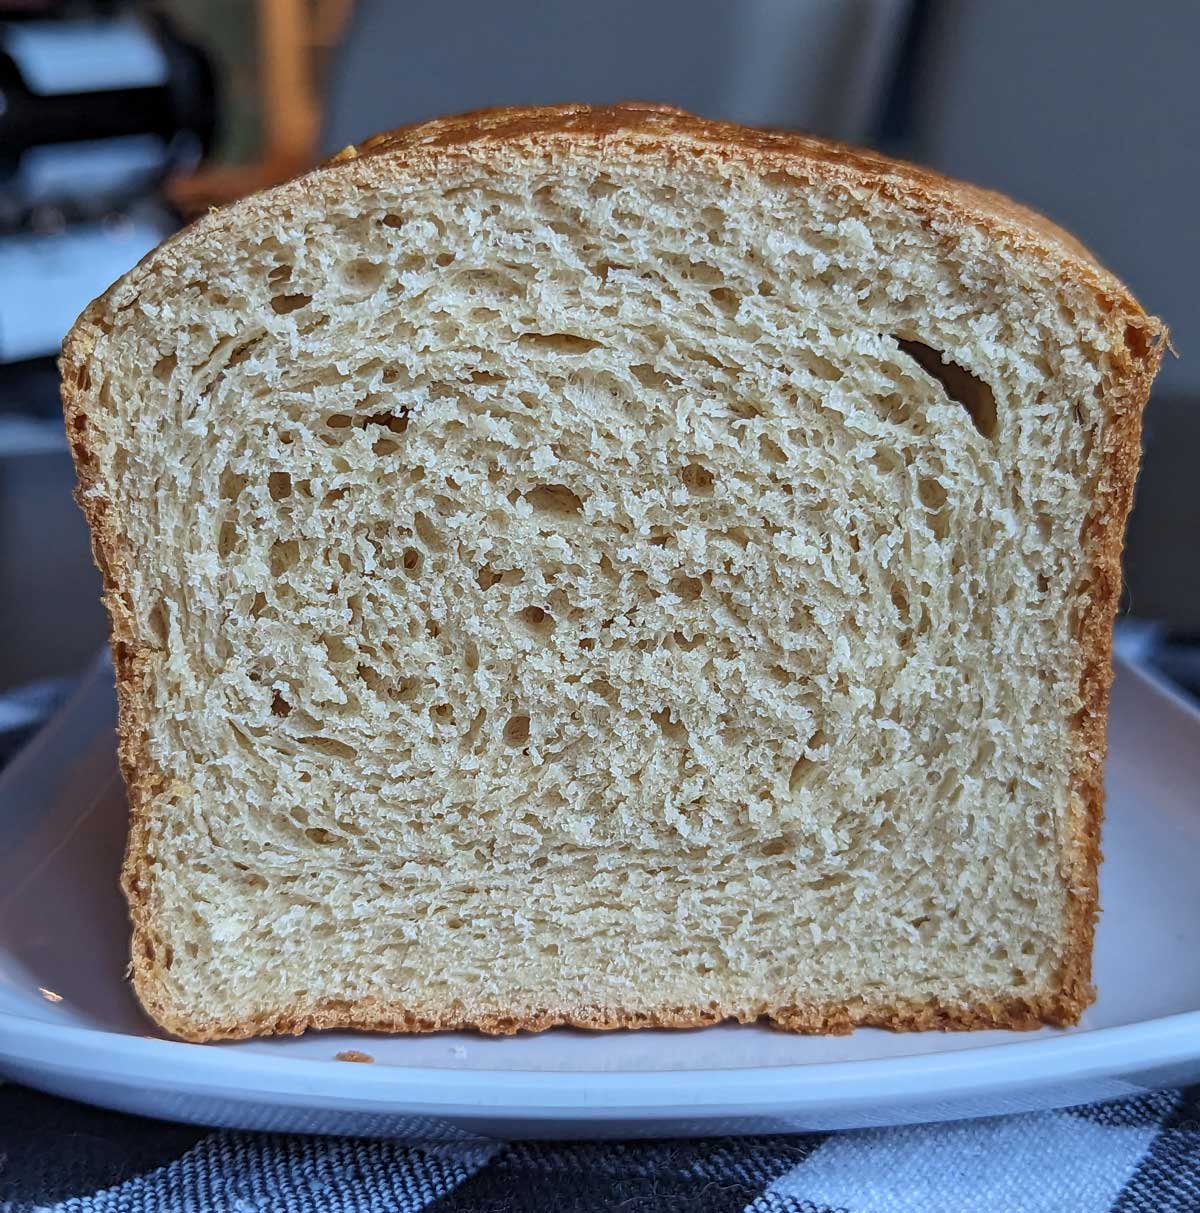
The gaps are from me not pushing enough air out as I roll the dough into a cylinder. For fewer gaps you can roll and press tighter or just use a different dough shaping method. I'm practicing, but we can only eat so much bread! I wish I could make 10 loaves a day because it's so fun.
As for the three rises, there are a lot of different opinions on whether that is necessary. In theory it's supposed to give you a tighter crumb and fewer gaps. I really think there are so many variables including what kind of flour you use, what kind of yeast, and how much fat and sugar are in the dough. But all 5 times I've made this recipe I've had great results with the three rises and a pretty tight crumb. The loosest crumb was when I accidentally left out most of the sugar. Also, with the SAF yeast my rise times have been fairly quick. The first rise has been 1 hour, the second rise between 35 minutes and 1 hour and the third rise has taken 40 minutes for the bread to dome high over the pan. If you get around to making it and have time to share notes, please do!
Mike Sr says
I haven't tried making this yet but why 3 rises versus the usual two, are there any benefits? I noticed in both photos there are multiple large gaps in the crumb, is that due to the extra rise, not rolled up tight enough or something else?
Anna says
Lee, that's a great question. The white flour version is pretty fluffy and has a flavor similar to a dinner roll (though with more of a loaf bread texture) and the 100% white whole wheat flour version is strong on wheat. I think mixing the two flours would give the best results for raisin bread, so I'll give it a try today. I might work in some honey, too. It would be nice to get a raisin bread similar to Arnold's brand or Sun Maid, which both have slightly denser textures than bakery raisin bread or Pepperidge Farm. The raisin bread recipe I usually use is light textured and more like a bakery raisin bread. Sorry about the bad photos, but here's the "usual" raisin bread recipe. I will play around with this one today and see what it's like with raisins.
Lee says
How would this be with raisins added? Or if whole wheat bread flour was used, mixed with white whole wheat flour?