It looks like we need to increase our raisin budget, because I recently discovered Milanese Raisin Bread. It is so packed with raisins, the weight of the raisins equals the weight of the flour! If you don't like raisins you obviously won't like this one, but if you like or are indifferent to them, you may love this bread.
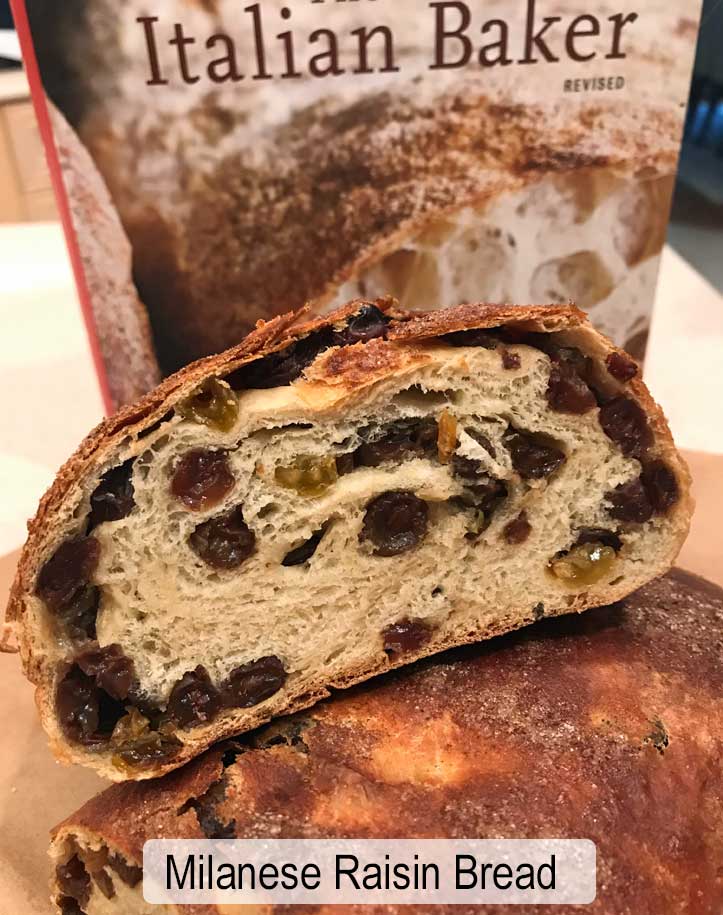
Also known as Pan Tramvai or Pane all'Uva, the recipe is from Carol Field's The Italian Baker, which has become my go-to cookbook for Italian bread. Field, who passed away in 2017, had a true passion for Italian baking. The book is just a treasure trove of knowledge, but conveyed in an easy and friendly manner.
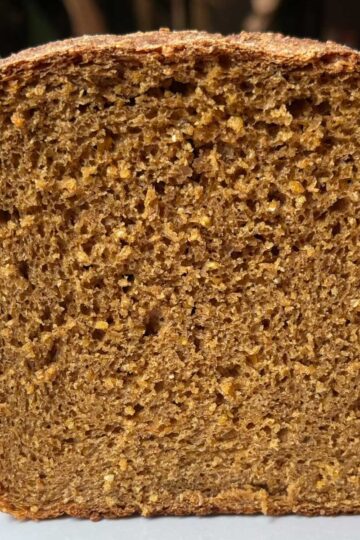
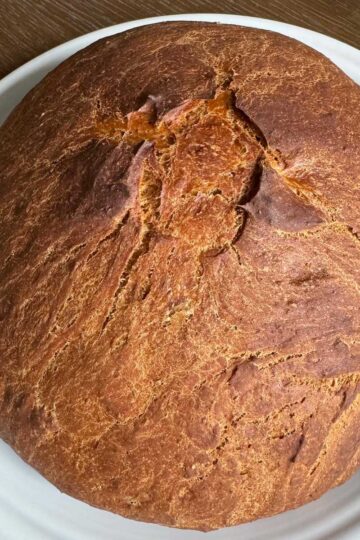
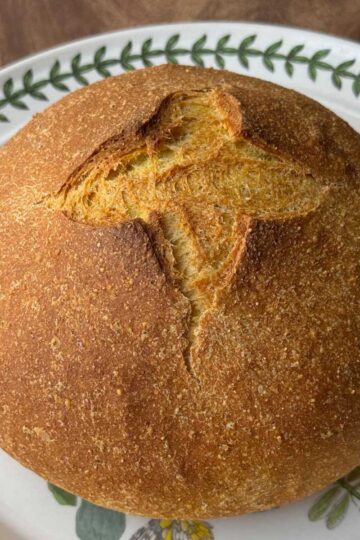
The raisin bread is one of the few recipes in the book with a photo, and that is what caught my attention because it reminded me of the bread I used to buy at an Italian grocery store near my apartment in New York. I could practically taste it by looking at the picture, so of course I had to make it even though it involved ordering a special ingredient -- non-diastatic malt powder. This is the key to its texture. You can make it without the malt powder, but (cue inner Matthew McConaughey voice) it would be cooler if you did. Sorry.
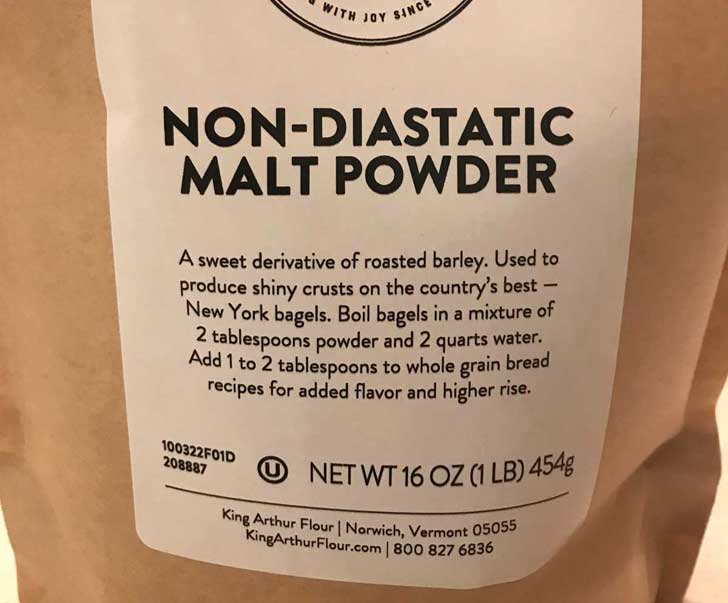
So I've now made the bread twice and feel pretty good about the malt powder purchase because I'll be making the bread again. I'll still experiment with substitutes such as vital wheat gluten or maybe even malted milk powder, but for now I recommend ordering some non-diastatic malt powder. You can buy it from King Arthur. I had Amazon listed before, but it linked to diastatic. Amazon does have non-diastatic, but for $32, so it's probably best to order from King Arthur.
Milanese Raisin Bread Notes
- After making the bread I found another version where a few people mentioned the dough being sticky. With King Arthur bread flour, it wasn't sticky at all, but I can imagine other flours might give different results. For me, 250 grams flour worked perfectly.
- The raisin water is a flavoring ingredient, so you need to get the amount of soaking water just right. Too little water and you won't have enough, too much and it will be dilute. I just eyeballed, but will update when I have an exact amount of water to use. It's not really a difficult problem.
- I've only tested Platinum instant yeast, which is a rapid rise yeast with Vitamin C and enzymes. I'll update when I test with active dry.
- With all the raisins in this recipe you'll want to find an inexpensive source. I buy them at Aldi. If you are really into raisins and appreciate different varieties, this is the recipe to showcase them! I haven't bought any fancy or interesting types of raisins, but I'm going to hunt some down.
- Someone asked if chocolate chips might be a good substitute, and I don't think so. The bread seems to need the moisture from the raisins. For a chocolate chip bread you're probably better of going with a different recipe (like Babka).
- This recipe makes one nice size loaf or two stubbier ones. Next time I make it I might try halving for a smaller loaf.
Diastatic vs. Non-Diastatic -- Clarification
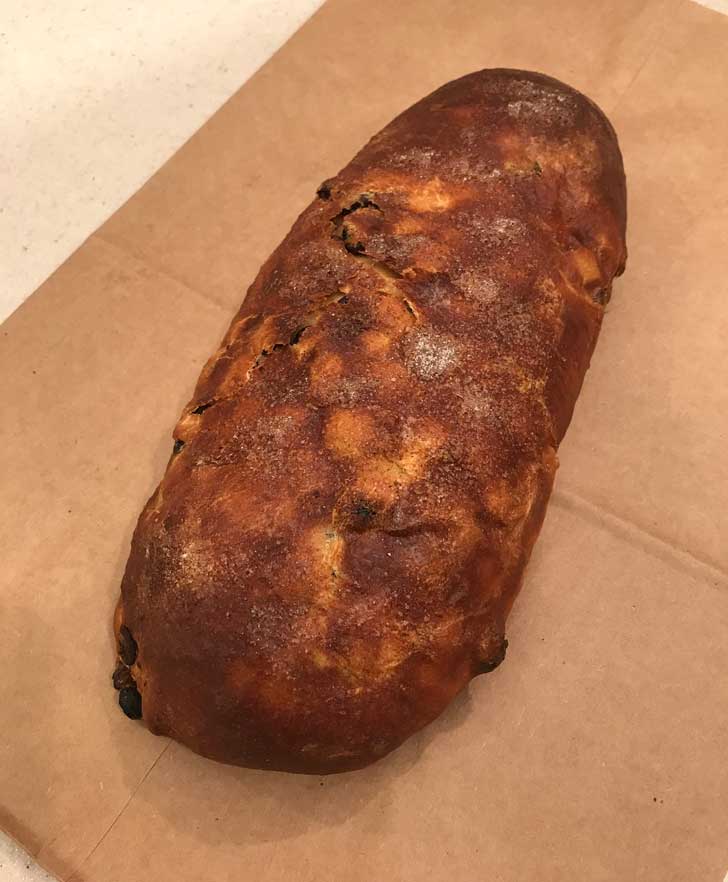
The type of malt powder I ordered and am using is non-diastatic, rather than diastatic. The original recipe calls for "malt syrup or malt powder". Malt syrup is more like non-diastatic, which is the type used in bagel making. It adds a touch of sweetness, a little flavor and promotes browning. The diastatic malt powder helps with rise and texture. I think either would work, but so far I've only used non-diastatic.
Recipe
Milanese Raisin Bread
Ingredients
- 1 ½ cups raisins, mix of Dark and Golden (250 grams)
- Water for covering raiains
- 2 cups bread flour or however much to make 250 grams** (250 grams)
- ¾ teaspoon salt
- ½ tablespoon sugar (6 grams)
- ¾ teaspoon non-diastatic malt powder
- 2 teaspoons of Platinum or Rapid Rise instant yeast
- 1 teaspoon unsalted butter, soft or room temperature
- 1 ½ tablespoons extra flour for the raisins
Instructions
- Put the raisins in a large bowl and cover with water. Carole Field recommends covering dark raisins with cool water and golden raisins with warm. Let raisins soak for 1 ½ hours, then drain and reserve raisin flavored water. When you cover the raisins, keep in mind you'll need ⅔ cup of the raisin water.
- After the raisins have soaked, drain and reserve ⅔ cup of the raisin water. Heat the water to around 120 degrees. It can be slightly higher (up to 125) if you are using Platinum or Rapid Rise yeast. Lower for active dry.
- Mix only 1 ½ cups of the flour (about 200 grams), salt, malt powder, sugar and yeast in the bowl of a stand mixer. Add the warm raisin water and stir. I recommend doing this by hand with your favorite mixing tool such as a heavy duty scraper. This will give you a feel for the dough. At this point it should be light and sticky.
- Put the dough on the mixer stand and let the dough hook knead. It should still be clinging to the sides of the bowl at this point. Start adding the remaining flour a couple of tablespoons at a time, kneading and stopping to scrape side of the bowl. You should end up using all 250 grams of the flour. Continue kneading until the dough is smooth and elastic and no longer clings to the side of the bowl.
- Transfer it to a well-oiled bowl and turn to cover. Cover and let rise until it's almost double in bulk - about 1 hour. If you are using active dry, it will take longer.
- After dough has risen, turn it onto a lightly floured surface. Without punching the dough down too hard or kneading it, pat it gently with your palms into a very imperfect (almost oval) rectangle somewhere around 8 inches wide. Pat the raisins dry and toss with the reserved flour.
- You will add the raisins to the dough in 3 additions. Put ⅓ of the raisins on top of the dough. Fold the dough up and over the raisins and pinch it to seal them in. Pat dough down again and repeat with half the remaining raisins, bring dough up and around and sealing. Cover the dough with a greased piece of plastic wrap and let it rest for about 5 minutes before you add the last round of raisins.
- Now you will add the rest of the raisins and shape the loaf. Press the dough down flat into a slightly rectangular shape. Scatter on the last of the raisins. Starting on the long sides, roll the dough up into a cylinder and seal the edges by pinching. Try to lock in all the raisins, but if some fall out that is okay. Try to make your loaf as even as possible.
- Place loaf on a parchment lined baking sheet. Cover with greased plastic wrap and let rise for about 45 minutes. It should be puffed not quite doubled. Gently roll sheet back and forth to help shape loaf during baking (I actually did this gently with my hands).
- While the bread is rising, go ahead and preheat the oven to 450 degrees.
- Bake for 5 minutes at 450, then reduce heat to 400 and bake 30-40 minutes longer (check at 30 if you are baking smaller loaves). Let cool completely on a rack.
Notes
- If using active dry yeast, heat the water to only 115 degrees and add the yeast to the water to dissolve it. Rise times will be about 1 ½ to 2 hours for the first rise and 1 hour for the second.
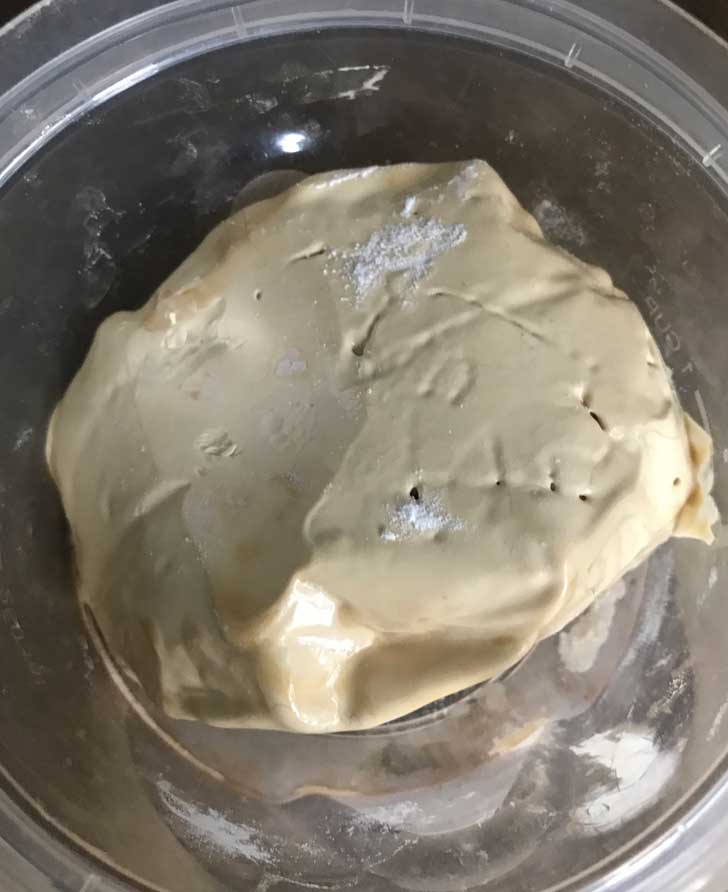
Hard Lump of Non-Diastatic Malt Powder
FYI, here's what happens when you don't seal your non-diastatic malt powder bag correctly. It gets as hard as a rock! Next time. This malt powder is so hard it can't even be broken off in lumps or chips. I should have transferred mine to an airtight container.

Anna says
Mike and Sue, please let me know what you think of the raisin bread. Hopefully I'm not over-selling it.
Sorry for any confusion regarding the non-diastatic malt powder. Now that I've studied up on both types I may order some diastatic as well.
Mike Sr says
Oh yeah, I need that cook book too!
Mike Sr says
Thank you for clarifying the diastatic / non-diastatic malt powder issue. It was on the verge of driving me nuts-o! I didn't really want to have to purchase another ingredient. I have a bag of the non-d from King Arthur that is to be used for bagels now I have another use for it. Oh happy day! And we do love our raisin bread.
Sue says
Oh wow!! That looks so good!!!