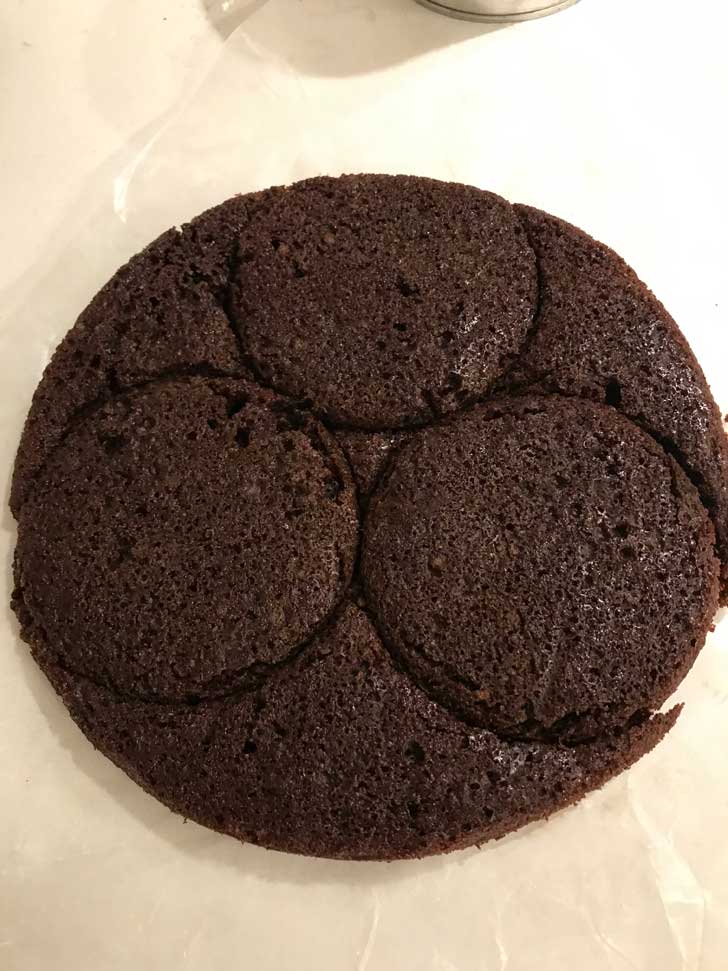
Lately I've been making very small chocolate layer cakes by baking one 9-inch layer, cutting out rounds with a 28-oz can, then stacking and frosting to make a three layer cake. It's a great way to practice decorating without having to make a giant cake. Also, if you have a small household you get just enough cake for 3 or 4. Here's my latest no-egg cake. Still practicing that drip! This one is on a Mini Ice Cream Cake.
Jump to Recipe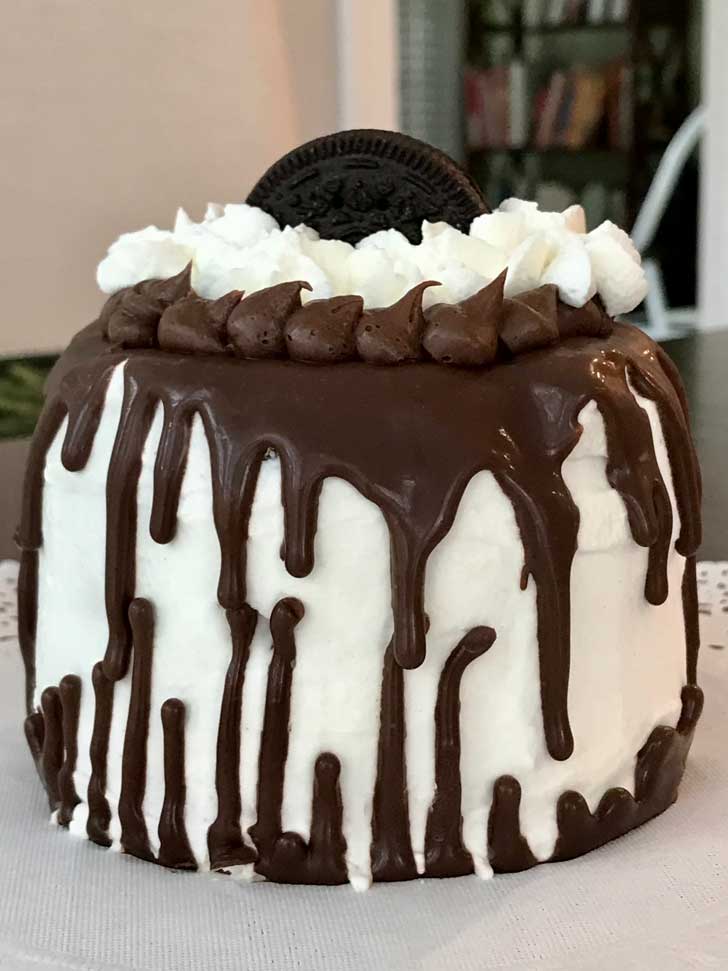
No Egg Cake Recipe
You can make these cakes with any recipe, but I like this one because it's an easy stir-and-bake chocolate cake recipe that doesn't call for eggs. A combination of buttermilk and oil keeps it moist, and the 2 tablespoons of cocoa powder combined with the mini chips is enough chocolate. If you are familiar with Wacky Cake, this may remind you of that type of cake, but the ratios are a little different.
Mini Ice Cream Cake Filling and Frosting
You can make this as a regular 4-inch three layer cakes or as an ice cream cake. Freshly whipped sweetened cream works well for the frosting, and for the frosting/icing garnish, you can use homemade or even canned. I've become spoiled by homemade chocolate frosting, but the canned is pretty convenient for decorating. You can use it straight out of the can or mix in a little heavy cream to make it easier to pipe. Of course if you have some extra time, this is a great excuse to try my latest chocolate frosting recipe.
4-Inch Cake Pans vs. the Single Layer Cut-Out
If you'd rather not make the cut-out cake version you can make this as a two layer cake in two 4-inch pans. The pans I've been using are 4x2 inches. The advantage to using actual mini cake pans is you don't have a bunch of scraps left, but then that could also be considered the disadvantage! It's nice being able to actually taste the cake before you frost it.
Recipe
Mini Ice Cream Cake
Equipment
- 1 3 to 3 ½ quart plastic bowl with lid (handy for storing cake in the freezer)
- 1 cleaned 28 oz tomato can with one side removed (works as a cutter)
- squeeze bottle or pastry bag with small round tip for dripping You can also do this with a spoon, but a squeeze bottle or pastry bag makes it easier.
Ingredients
- ½ cup all-purpose flour (65 grams)
- ¾ teaspoon baking soda
- ¼ teaspoon salt
- 2 tablespoons cocoa powder, natural (12 grams)
- 7 tablespoons sugar (90 grams)
- ¼ cup full fat whole buttermilk (3 tablespoons) whole milk blend if possible
- 1 tablespoon whole milk yogurt or applesauce (14 grams) -- This is the binder
- 2 ½ tablespoons light olive oil or vegetabe oil (30-32 grams)
- ¼ teaspoon vanilla extract
- ¼ cup brewed coffee or use ¼ cup water and ¼ teaspoon espresso powder
- 2 tablespoons mini chocolate chips
Filling
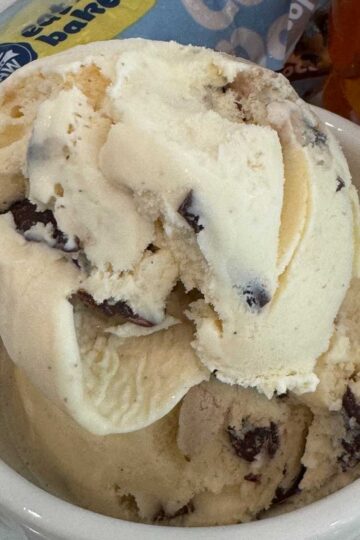
- 1 pint Cookies and Cream Ice Cream (you won't use all of it)
Whipped Cream Frosting
- 1 cup heavy cream
- ¼ cup powdered sugar
- ½ teaspoon vanilla extract
Chocolate Drip
- ½ cup dark chocolate chips (84 grams)
- 3 ounces heavy cream (¼ cup plus 2 tablespoons) (84 grams)
Chocolate Frosting for Garnishing
- Canned Frosting
Instructions
- Preheat oven to 350 degrees F. Grease a 9x2 inch round pan and line bottom with parchment paper or wax paper. Grease again and dust with a little more flour.
- In a mixing bowl, mix together the flour, baking soda, salt, cocoa powder and sugar until evenly blended. Make a well in the center.
- Put the yogurt (or applesauce), oil, buttermilk and vanilla in the well, then stir until almost fully blended. Stir in the coffee, it can be warm or cool, then beat by hand about 40 strokes or until batter is smooth. Make sure it's not too warm from the coffee (so as not to melt the chips) then add the miniature chocolate chips.
- Pour the batter in the pan. It will be a very thin layer.
- Bake at 350 for about 18 to 20 minutes or until cake appears set and it pulls away from the edges of the pan.
- Allow the cake to cool for 10 minutes, then very carefully loosen edges with the tip a knife. At this point you can carve, or you can just keep it in the pan, let cool completely and freeze right in the pan. My preferred method is to "score" the cake with the 28 oz can-turned-cutter, then put it in the freezer and cut fully when firm and cold.
- To assemble, prepare the whipped cream by beating the cream and sweetening with sugar. Flavor with the vanilla.
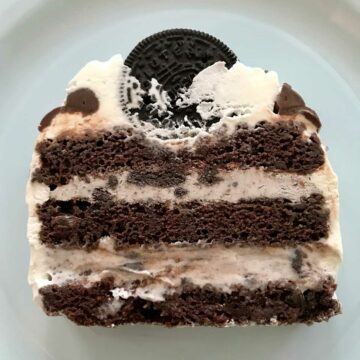
- Spoon softened ice cream onto one of the frozen cakes and sandwich with a second cake. Add another layer of ice cream and top with cake.
- Spread a thin layer of whipped cream over the whole cake to make a crumb layer, then freeze just until firm (shouldn't take more than 30 minutes). Frost the firm layer with the remaining whipped cream. Put the cake back in the freezer so that it will be nice and firm when you are ready to make the chocolate drip. While the cake is in the freezer, fill a decorating bag with your tip of choice with canned or homemade frosting for garnishing. You'll only need about a cup at most. You can also put the whipped cream in a decorating bag if you plan on piping it.
- To make a chocolate drip, heat the cream until it just starts to bubble, then add the chopped chocolate. Let stand for about a minute, then stir until smooth. Put mixture in a squeeze bottle or a decorating bag fitted with a small round tip. Carefully dot ganache around the edges of the frozen cake allowing it to drip down.
- Store in a plastic tub in the freezer.

Anna says
What's funny is I've managed to carry this tomato can cutter from Chicago to Dallas to Raleigh. Also, you can use these cleaned tomato cans for Ukrainian bread, Kolach.
Sonya says
so cute!!!
Darlene says
An excellent suggestion to use an empty tomato can to cut circles for a little multi-layer cake! I'm sure I'd enjoy tasting the cake scraps before frosting the cake, just to be sure it was tasty (LOL, I'll take one for the team!)